
How to De-Winterize Your RV for Spring Camping
The first warm weekend can turn sour fast if rv antifreeze is still hiding in your lines. A few missed checks can also leave you with a dead battery, soft tire, or leak that shows up after you reach camp.
The good news is that it is not hard to de-winterize rv if you work in a calm order. Take your time, keep the job simple, and your first spring camping trip will feel a lot more like freedom and a lot less like repair day.
Key Takeaways
- Perform a methodical walk-around: Begin your season by inspecting tires, roof seals, and undercarriage components before engaging any power or water systems.
- Clear the water lines carefully: Systematically flush your plumbing to remove RV antifreeze, ensuring you keep the water heater in bypass mode until all air and chemicals are purged.
- Prioritize safety checks: Verify that your battery connections are clean, propane lines are leak-free, and all safety alarms—including smoke, CO, and LP detectors—are fully functional.
- Conduct a short shakedown trip: Before heading out on a major journey, book a local weekend trip to test all appliances and identify any minor issues that may have developed during storage.
Start With a Slow Walk-Around
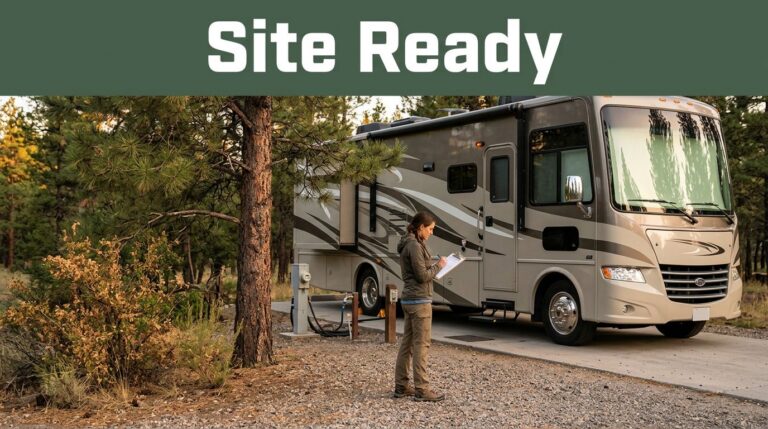
Before you hook up water or flip on the power, give the whole rig a patient look. Winter storage can be rough on seals, tires, battery cables, and plastic fittings. A five-minute walk-around often catches the kind of problem that turns into a long morning later.
Start outside. Look at the roofline, vents, windows, storage doors, and awning arms. Then check under the RV for hanging wires, wet spots, or signs that rodents moved in while the rig sat still.
Tires deserve a close look too. Check the tire pressure when they are cold to ensure they meet the manufacturer recommended psi, and scan the sidewalls for cracks or bulges. If the tread looks fine but the tires are old, keep that in mind before you head out for highway miles.
Many seniors prefer to split this job over two easy sessions, and that is smart. One person can inspect outside while the other checks cabinets, drawers, and the fridge inside. Slow is better than rushed.
Have a few basic items ready before you begin:
- A potable water hose, pressure regulator, and new water filter cartridges.
- A flashlight, gloves, paper towels, and a small bucket.
- Basic hand tools for battery cables, drain plugs, and access panels.
- A tire gauge and air source.
- Fresh batteries for your smoke alarm, propane alarm, and carbon monoxide detector.
If your RV has been in rv storage for months, crack open a few compartments and let the air move through. Stale odors, dampness, and mildew are easier to handle before you pack for camping. Many full time RVers do a lighter version of this each season, but a stored rig needs a fuller check.
Flush the Water System the Right Way
For most owners, the water system is the heart of spring startup. When you de-winterize RV systems, this is where the pink RV antifreeze has to be cleared out and where small leaks often reveal themselves.
First, confirm that the freshwater drain, low point drains, and water heater opening are in the condition you need. If you removed the water heater drain plug or anode rod in the fall, reinstall it now. Keep the water heater bypass in bypass mode until the lines are fully cleared.
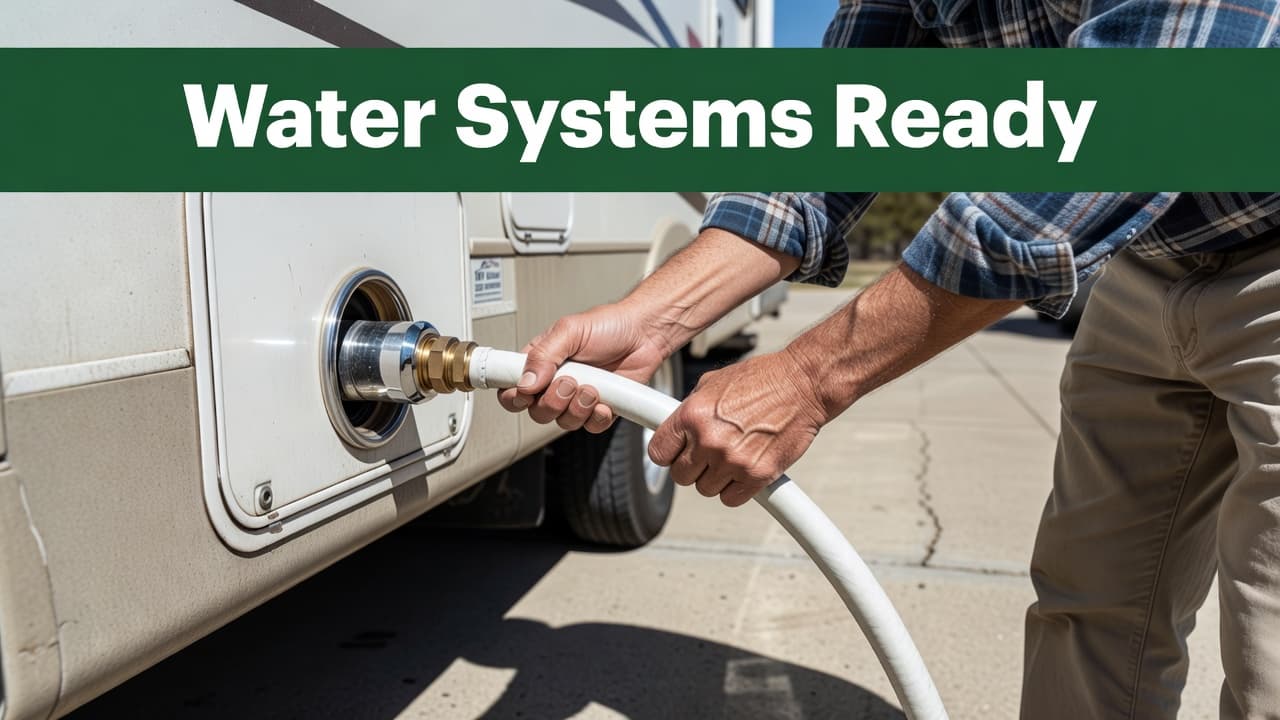
Then work through the system in order:
- Close the low point drains and any faucet you left open for storage.
- Connect to the city water connection with a pressure regulator, or fill the fresh water tank and use the water pump.
- Flush water lines by opening the cold side of one faucet until the water runs clear, then do the hot side.
- Repeat that process at the kitchen sink, bathroom sink, shower, toilet, and outside shower.
- Watch for pink color, a sweet smell, sputtering, or weak flow that could point to trapped air or a leak.
- After the lines run clear, return the water heater bypass valves to normal and fill the tank before turning the heater on.
Don’t switch on the water heater until the tank is full and the bypass valves are back in the normal position.
Keep a dry paper towel under fittings while the water runs, as even a tiny drip will show up fast. Pay close attention around the water pump, the water heater, and any place where PEX lines bend into a cabinet wall. Additionally, check the valves for your black water tank and gray water tank to ensure they are secure and free of winter damage.
If the water smells stale, or if the RV sat for a long time, take the time to sanitize RV water system components before your first trip. Use your owner’s manual or the manufacturer directions for the correct bleach solution mix and flushing steps. That is one of those spring camping tips that pays off every time you fill a coffee pot or brush your teeth.
Wake Up Batteries, Propane, and Appliances
Once the water system is ready, move on to power and fuel. Begin with the RV batteries if you removed them for winter or disconnected them for storage. Reconnect the cables as labeled and clean any corrosion from the terminals before you tighten them down.
If you have flooded lead-acid batteries, check the fluid level before charging. Sealed batteries do not need this step, so do not pry them open. Once connected, plug into shore power and confirm that the converter is charging.
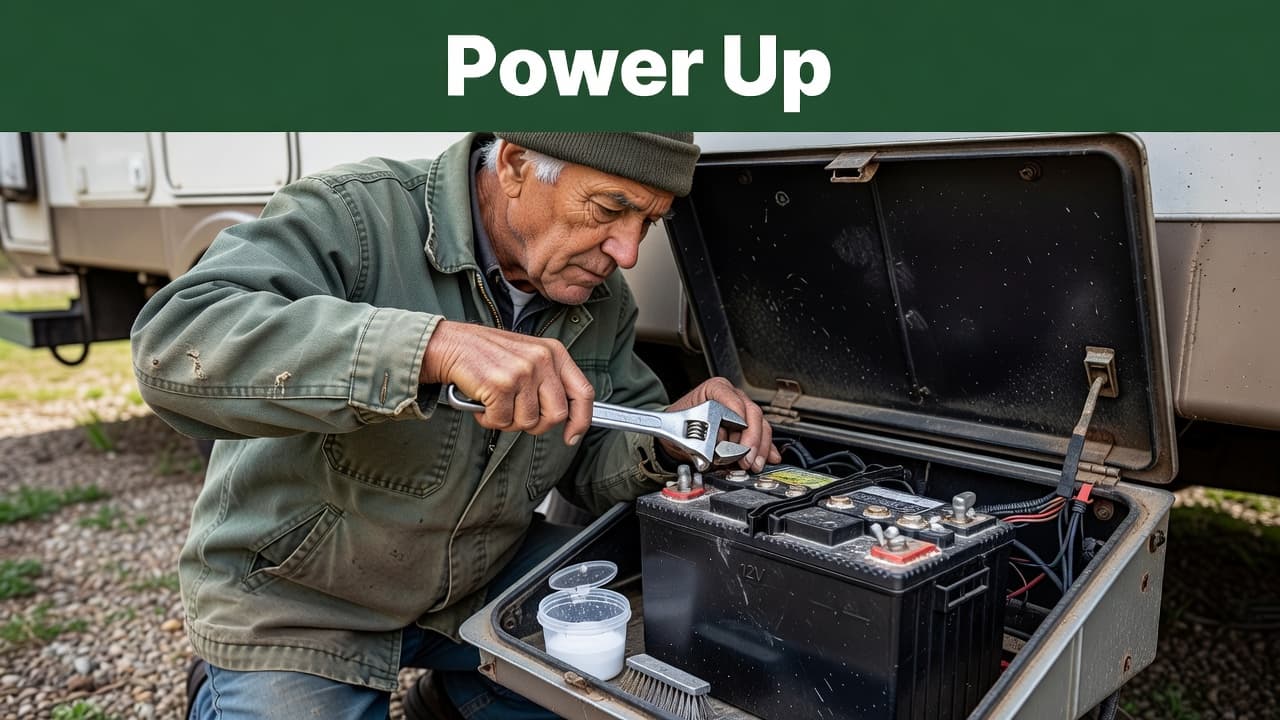
Turn on the interior lights, fans, slide-outs, and leveling system one at a time. Listen for normal operation and check for weak batteries before you leave the driveway. It is also vital to test every safety device, including your smoke alarm, carbon monoxide detector, and LP gas leak detector. These alarms are easy to overlook, yet they are the most important components of your spring maintenance check.
Next, slowly open the valves on your propane tanks. Inspect the regulator and visible fittings with a spray bottle of soapy water. Bubbles indicate a leak, which you must address before using any appliances.
After that, test your main propane appliances. Light the stove first to help purge air from the lines. Then, test the furnace, water heater, and refrigerator on propane mode if your setup allows. If your rig is equipped with a generator, be sure to start it and let it run under load to ensure it is ready for your travels.
This is also the perfect time to check the air conditioner on shore power, reset GFCI outlets, and verify that the microwave and fridge are cooling properly. If you discover a problem at home, you have time to fix it. If a component fails at a campground after dark, the mood changes quickly.
The same process applies to those who enjoy van life in a smaller rig. While the systems may be simpler, the batteries, propane, and electrical components still require a thorough spring inspection.
Check Seals, Tires, and Your First Spring Trip
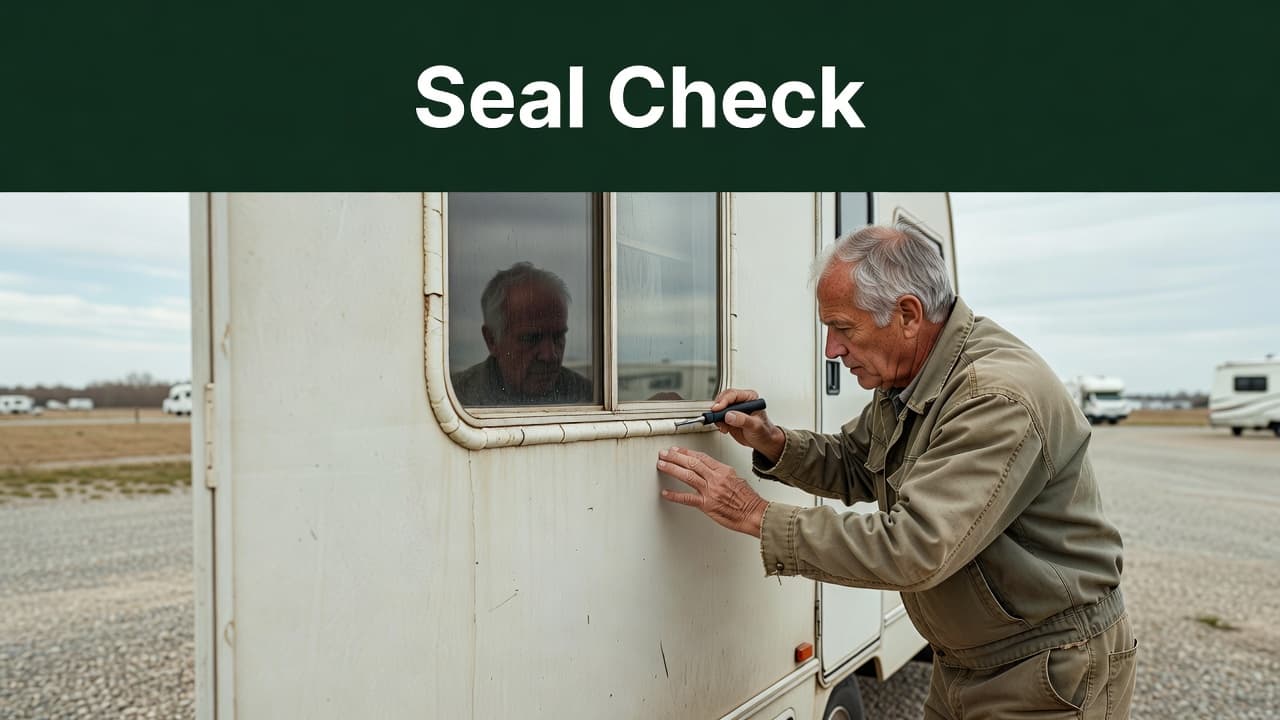
After the inside systems are running, go back outside for the last round. Water damage often starts with a small crack in old sealant, not a dramatic hole. Look around windows, roof edges, marker lights, ladder mounts, and storage doors.
Press lightly on suspect sealant with a finger. If it feels brittle, pulls away, or shows gaps, repair it before camping season gets busy. When performing these touch ups, ensure you apply the proper roof sealant for your specific exterior, and always rely on high-quality rv maintenance products to ensure a watertight bond that lasts throughout the season.
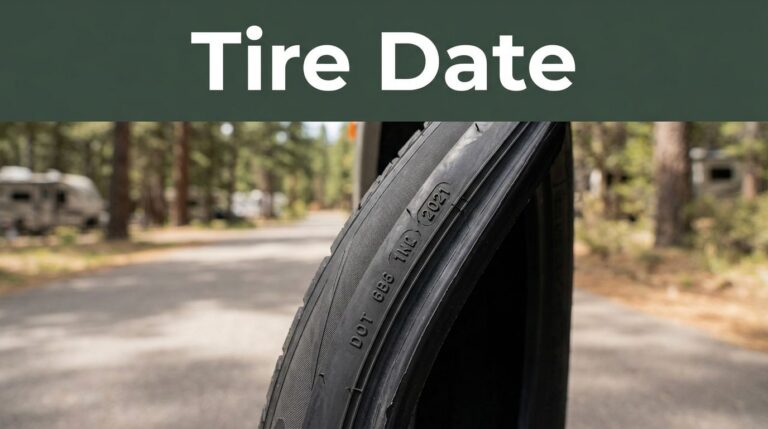
Now circle back to the tires. Pressure matters, but age matters too. Read the date code if you are not sure how old they are, and do not trust good-looking tread alone. For towables, check the hitch coupler, breakaway cable, and trailer plug. For motorhomes, check engine fluids before your first longer drive.
Keep your first outing short. A one-night or weekend trip close to home is the best shakedown trip you can take. Run every faucet, cook one meal, turn on the furnace in the morning, and test the awning before you call the rig spring-ready.
Those simple camping tips beat a long trip with a long repair list. Arrive early, stay close to home, and leave extra room in your schedule for one or two fixes. Most rigs need at least a small adjustment after storage.
If you like seasonal reminders, campground ideas, and road-tested advice for seniors, RV Life Insider shares practical help through View All Our Newsletters. You can also View Our Website for travel guides, planning tools, blog posts, community conversations, and RV marketplace finds.
Frequently Asked Questions
Should I sanitize my water system every spring?
Yes, it is highly recommended to sanitize your fresh water system if the RV has been in storage for an extended period. This process removes bacteria and stale odors, ensuring your water is clean and safe for drinking or cooking.
How do I know if my RV tires are safe for the season?
Do not rely solely on tread depth; check the date code on the sidewalls, as rubber degrades over time regardless of mileage. Always inspect for cracks or bulges and ensure the tires are inflated to the manufacturer’s recommended PSI while cold.
Is it necessary to disconnect my RV batteries during winter storage?
Yes, disconnecting your batteries helps prevent them from draining due to parasitic power draws from onboard electronics. If you choose to leave them connected, be sure to keep the RV plugged into shore power or use a trickle charger to maintain a healthy charge.
What should I look for when inspecting my roof seals?
Look for cracks, gaps, or brittle areas in the sealant around roof vents, skylights, and mounting hardware. If the sealant feels stiff or shows visible separation, clean the area and apply a fresh layer of appropriate RV roof sealant to prevent water intrusion.
Final Thoughts
That first warm weekend feels a lot better when the taps run clear, the battery holds a charge, and the seals look sound. A careful spring reset protects your RV and makes the first camping trip easier from the start.
Take the job one system at a time, and do not rush past the small checks. When you take the time to properly de-winterize RV systems with care, the road opens up again the way it should: calm, comfortable, and ready for the season.
This post may contain affiliate links. If you make a purchase through these links, I may earn a small commission at no extra cost to you.