Used RV Inspection Checklist for First-Time Retirees
Retirement is a perfect time to buy your first RV, but a shiny coach can often hide expensive mechanical trouble. A smart used RV inspection checklist helps you protect your hard-earned savings before your first camping trip ever begins.
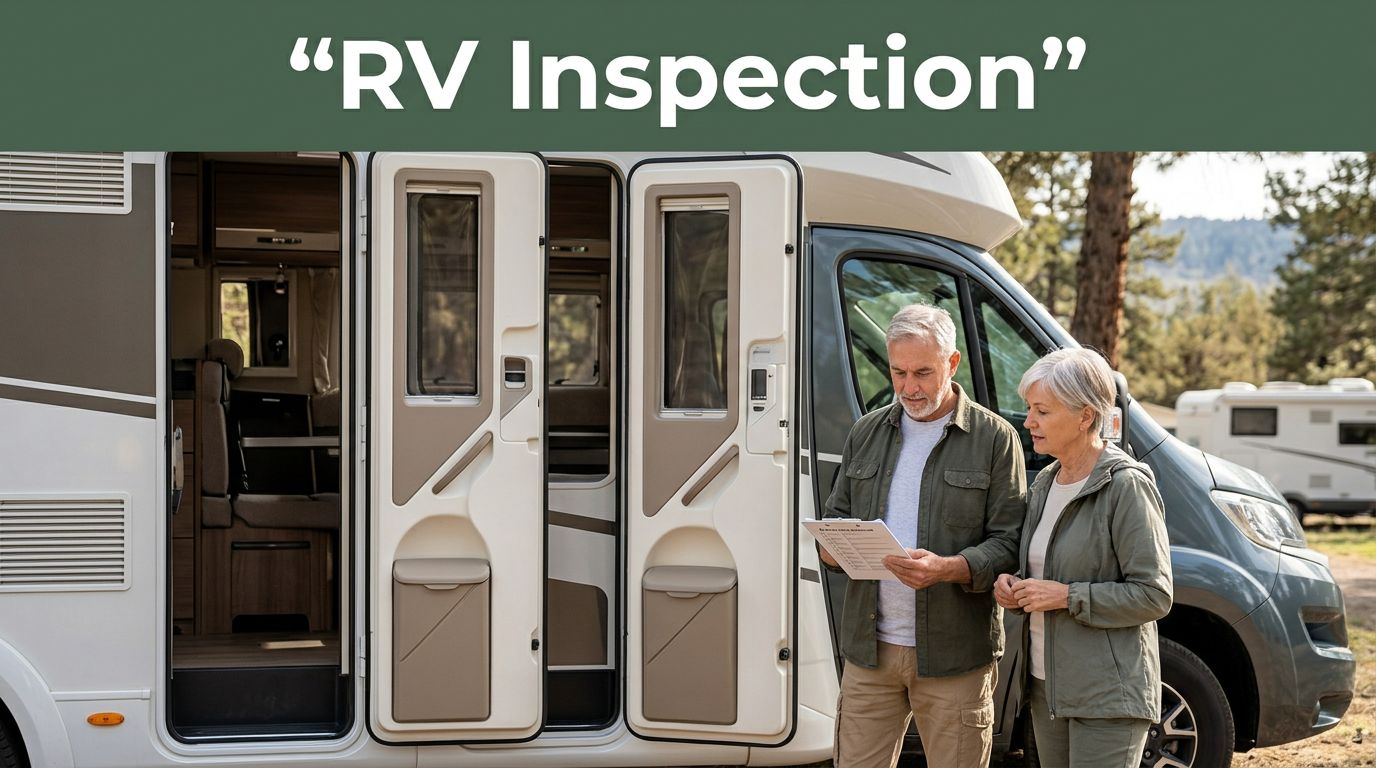
Whether you are shopping for a spacious motorhome or a versatile travel trailer, conducting a thorough pre-delivery inspection is vital to your long-term success. Many seniors start this process with a dream in mind, such as planning longer road trips, enjoying easy weekends away, or even transitioning to full-time RV living. While a careful DIY walk-around and a full systems check are excellent starting points, hiring a professional RV inspection service is the gold standard for protecting your retirement nest egg. Approaching your purchase with a calm head and these professional insights will ensure your investment provides years of enjoyment.
Key Takeaways
- Prioritize Structural Integrity: Water damage is the most critical issue to identify, as hidden leaks in roofs, floors, and walls often lead to expensive, long-term structural repairs.
- Establish a Systematic Routine: Use a consistent inspection order—starting with the exterior, moving to interior moisture checks, and finishing with system testing—to ensure you do not overlook defects due to superficial cosmetic appeal.
- Test Every System Independently: Do not rely on seller claims; manually verify all appliances, electrical outlets, plumbing fixtures, and slide-out mechanisms to ensure the RV is fully operational.
- Verify Documentation: Always match the VIN to the title and request maintenance records to confirm the history of the vehicle and avoid potential legal or registration complications.
Start with a plan before the floor plan wins you over
A used RV can charm you fast. The dinette feels cozy, the bed looks roomy, and the storage seems endless. Still, your exterior inspection must come first, because a layout is easy to love but difficult to repair if the coach has hidden damage.
Start in daylight, and ask to see the RV before the seller warms it up, cools it down, or plugs in air fresheners. Fresh scents and pre-run appliances can mask mechanical issues. Also, take your time. A rushed visit benefits the seller, not you.
Bring a few basic items to your inspection:
- A flashlight for dark corners, storage bays, and the undercarriage
- A phone charger, outlet tester, or multimeter to check batteries and electrical circuits
- Paper towels for wiping around seals and checking for grime or moisture
- A notepad so you do not have to rely on your memory alone
If you are new to RV shopping, keep learning while you compare different rigs. RV Life Insider shares expert buyer advice, trip ideas, and practical camping tips to help you identify red flags early, and you can View All Our Newsletters while you shop.
Try to inspect in the same order every time. Walk outside first to check the exterior condition. Then go inside and look for signs of water damage. After that, test every major system. Finish with paperwork and a drive. That routine keeps you from missing key items just because the upholstery looks nice.
A calm, repeatable process matters even more for first-time buyers. Many retirees do not need a perfect coach. They need one they can trust on the highway and at the campground.
Check the exterior, roof, tires, and undercarriage first
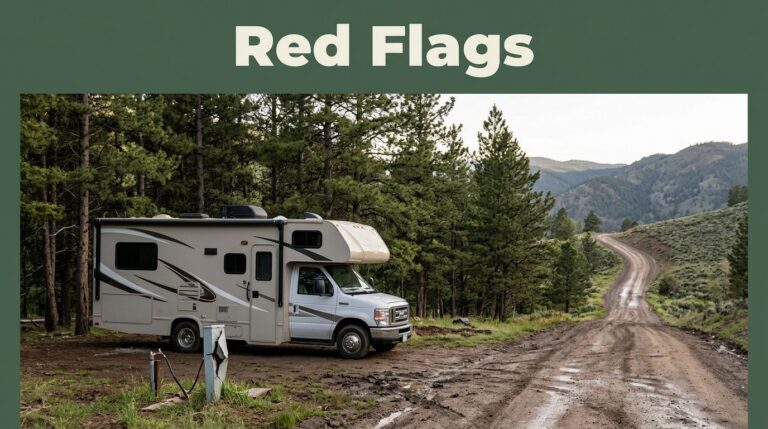
A thorough exterior inspection tells you a lot about how the RV was treated. While faded decals are rarely a deal-breaker, cracked sealant, soft walls, and aging tires should receive your full attention. Keep in mind that structural damage can often be hidden behind glossy fiberglass, so look beyond the shine.
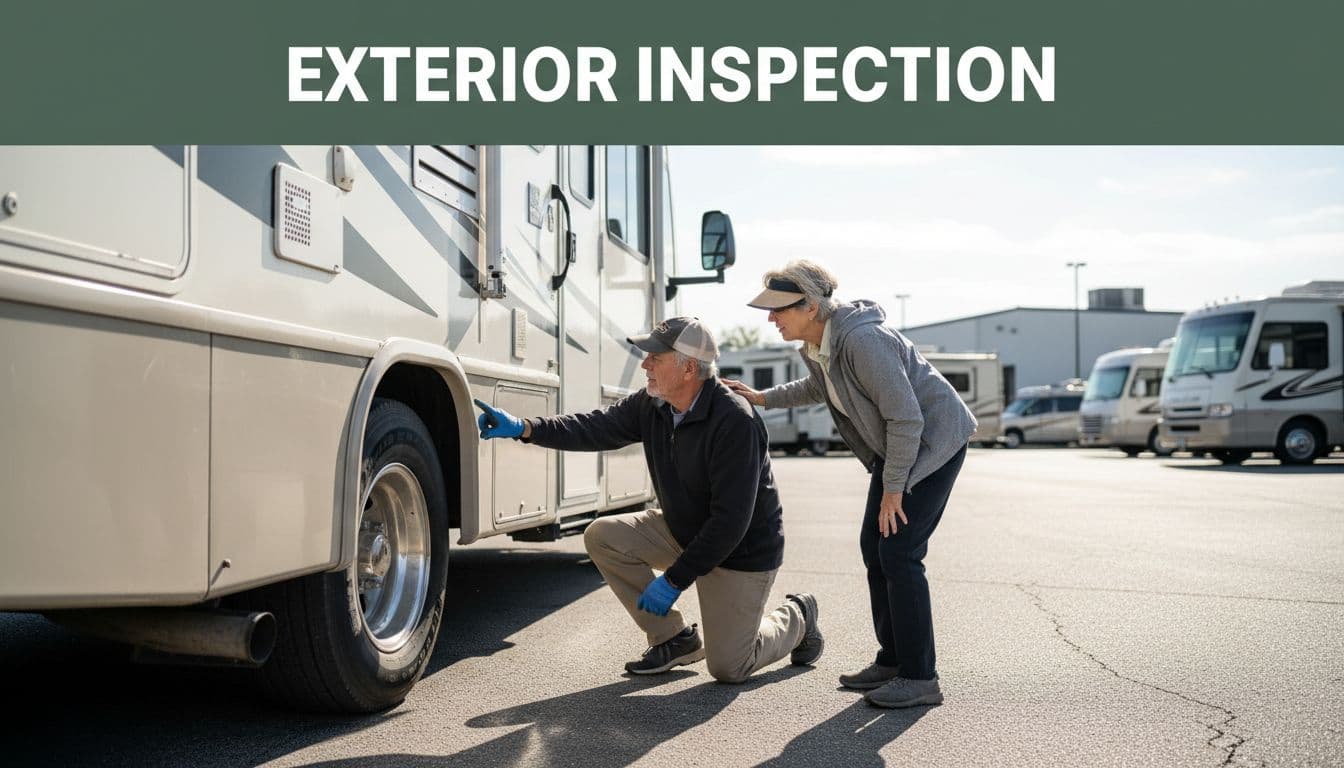
Look closely at the roof edges, seams, vents, skylights, and ladder mounts. You want sealant that looks maintained rather than split, missing, or piled on as a quick patch to prevent costly roof leaks. If the roof feels soft underfoot, that is a major warning sign. Remember that water often starts up top and travels much farther than you expect.
Next, stand at the corners and look down the sidewalls. Wavy surfaces, bubbles, or ripples can point to delamination. That often means water has migrated behind the outer skin. Repairs for this can be quite costly, and some surfaces never look or perform the same again.
Then study the tires. RV tires often age out before the tread looks worn. Read the DOT date code, check the tire pressure, and look for sidewall cracking or uneven wear. Uneven wear may point to underlying suspension, axle, or alignment issues. On a motorhome, inspect the front tires closely because your steering feel and safety depend on them.
Crouch down and inspect the undercarriage. Surface rust is common on older rigs, but heavy rust, bent parts, fluid leaks, or damaged tanks are different issues entirely. If it is a travel trailer, ensure you inspect the weight distribution hitch components and check the safety chains, tongue jack, and brake wiring. If you are looking at a motorhome, look for oil or coolant leaks and signs that the engine bay has been neglected.
Finally, open every storage bay. Wet compartments, rusted latches, or swollen wood tell a story. Do the same for slide seals and awning fabric. While small exterior flaws are expected on a used vehicle, structural damage is a serious problem you should avoid.
Search the interior like you’re tracking a leak: A complete interior inspection
Inside the RV, you are not judging decor first. You are looking for evidence. While water stains matter, texture matters more. Press with your hand around windows, roof openings, slide corners, and the base of walls. Softness, swelling, or spongy flooring points to hidden damage. If you want to be thorough, bring along a moisture meter to detect hidden water damage behind walls or beneath floor coverings that may not be visible to the naked eye.
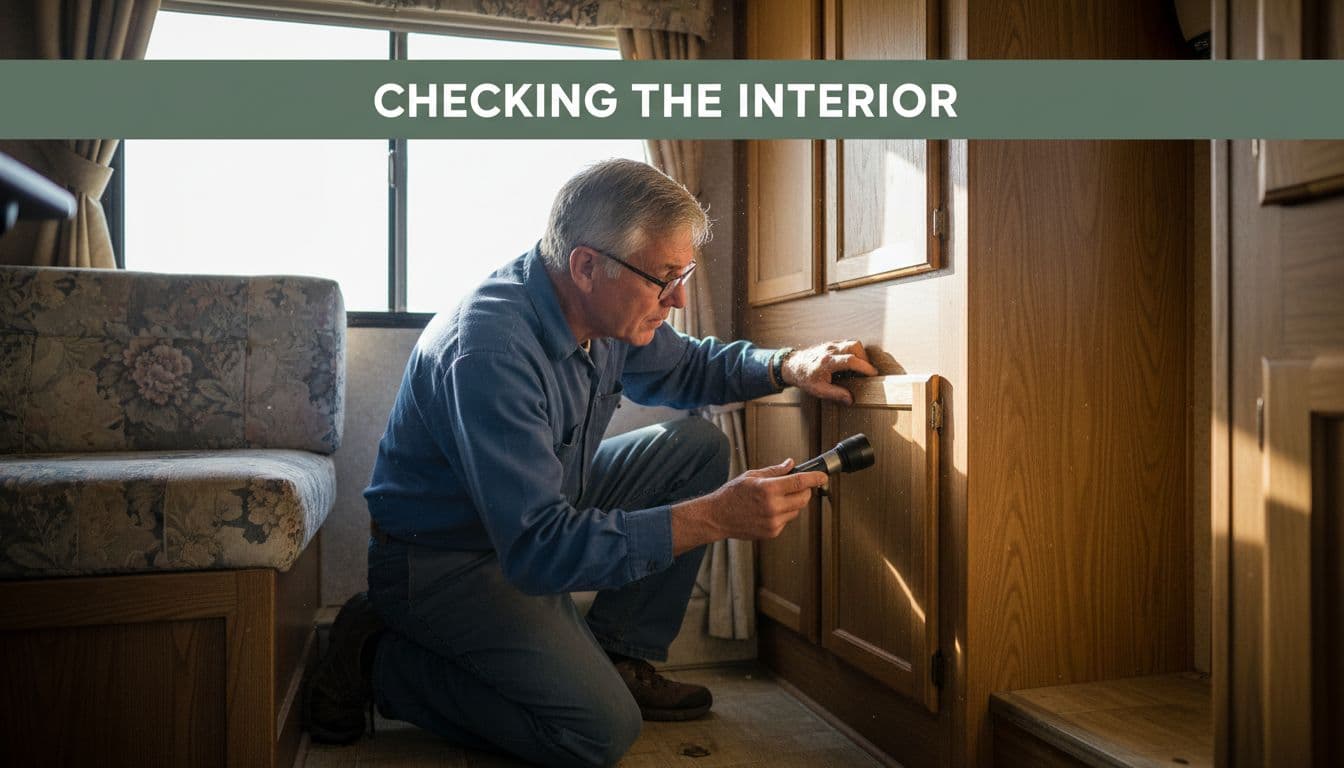
Pay close attention to cabinet corners, inside closets, and under beds. These spots often reveal leaks before the main living area does. Also open the bathroom vanity, look around the toilet base, and inspect the shower skylight for any soft spots. Even a small past leak can turn into rot if it was not repaired correctly.
A clean smell does not prove a dry RV. It may only prove someone sprayed deodorizer before you arrived.
Run your hand along the ceiling trim and wall panels. Loose trim can hint at past movement or water intrusion. Check windows for broken seals or fogging between panes. Fogged glass will not necessarily stop a sale, but it adds expense and tells you the RV may have sat for long periods.
Furniture matters too. Sit on the dinette, sofa, and bed platform. Open and close drawers. Test shades and blinds. If cabinets do not latch well, ask yourself whether the RV was maintained or merely cleaned up to sell.
This interior inspection often decides the whole deal. Cosmetic issues are fixable, but water damage changes everything because it can compromise the roof, walls, floor, wiring, and resale value at the same time. If left unaddressed, this type of moisture infiltration leads to serious structural damage that can be expensive and time-consuming to repair.
Test every system, including electrical and plumbing, before you talk price
A seller may say, “Everything worked last season.” That is not enough. You need to see it work now, because broken components stack up fast.
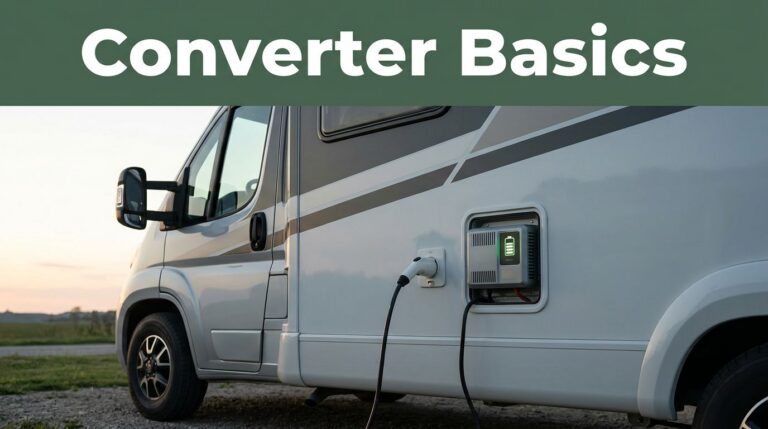
Start by examining the electrical systems. Plug into shore power to test outlets, lights, GFCI resets, and the converter. Then, switch to battery power to see what remains operational. While weak batteries are simple to replace, dead batteries can also hide underlying charging issues.
Move on to appliances. Run the air conditioner, furnace, refrigerator, microwave, water heater, and stove. If the fridge works on both electric and propane, test both modes to verify the integrity of the propane system. Let the air conditioner run long enough to feel steady cold air rather than a quick burst, and turn on the furnace to listen for proper ignition rather than repeated clicking.
The plumbing system deserves extra care. Fill the fresh tank if possible, engage the water pump, and turn on every faucet. Check under sinks for leaks while water flows. Flush the toilet to ensure the seal holds water in the bowl. Also, inspect the dump valves and ask when the black and gray tanks were last serviced.
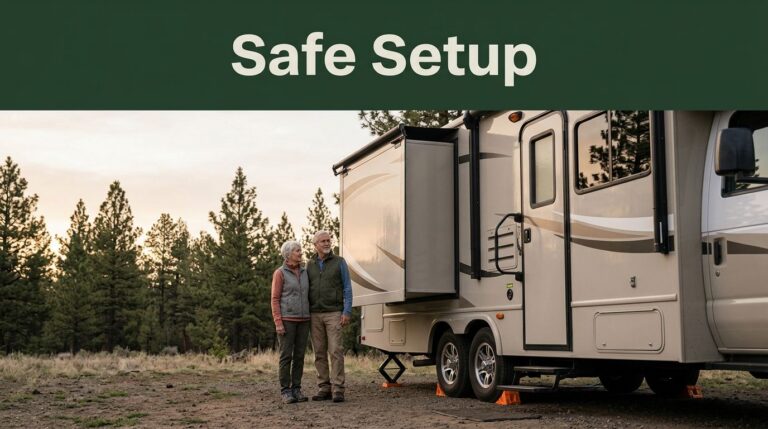
If the RV has slideouts, extend and retract each one fully. Listen for strain, jerks, or uneven movement during the process. On motorhomes, run the generator and test the dash air conditioning. On trailers, test the tongue jack, stabilizers, and trailer brakes if a tow test is possible.
If the seller will not power everything up, pressurize the plumbing system, or allow a drive, move on.
One hidden system failure can wipe out what looked like a good deal. Several hidden failures can end your first camping season before it even starts.
Review paperwork, match the RV to your travel style, and take a real test drive
Paperwork is a critical part of any used RV inspection checklist, because the nicest rig on the lot still needs a clean title and a verifiable history. Match the VIN on the title to the coach and request all maintenance records, owner manuals, and receipts for major repairs. A file full of documentation is not a guarantee of perfection, but a lack of records should make you proceed with caution. If you are buying from an RV dealer, always ask to see their specific inspection report to understand what they discovered before putting the unit up for sale.
Then, think about fit. Many seniors prioritize easy entry steps, a simple bathroom layout, and storage they can reach without climbing. Whether you are choosing between a compact Class B for van life, a fifth wheel, or a traditional travel trailer, the right answer is the model you can manage without physical strain. If you are planning short camping weekends, you may not need the same complex setup as full-time RVers.
The table below can help you sort normal wear from major problems.
| Finding | What it may mean | Best move |
|---|---|---|
| Worn flooring or faded fabric | Normal age and use | Negotiate price |
| Old tires with good tread | Near-term replacement cost | Budget or ask for a discount |
| Soft roof, floor, or wall | Current or past water damage | Get a professional RV inspection or walk away |
| VIN or title mismatch | Legal and registration risk | Stop the deal |
After that, take it for a drive. A motorhome should start cleanly, brake straight, and feel stable at road speed. Watch for steering wander, vibration, warning lights, and dash air conditioning that does not cool effectively. If you are looking at a travel trailer or fifth wheel, hook it up to your tow vehicle to test braking, sway, and turning clearance.
If you want more travel help after you buy, RV Life Insider has route ideas, planning tools, blogs, and community resources. You can View Our Website and keep the research going long after the sale.
Frequently Asked Questions
Why should I consider hiring a professional inspector for a used RV?
Professional inspectors provide an unbiased, third-party assessment that identifies hidden mechanical and structural issues you might miss. Given that RV repairs can be exceptionally costly, this small upfront investment often saves you thousands of dollars by preventing the purchase of a damaged unit.
What are the most common signs of water damage I should look for?
Look for spongy or soft flooring, particularly around the corners of rooms, slide-outs, and windows. You should also watch for discolorations or water stains on ceilings and cabinets, and check for a musty odor that may indicate trapped moisture behind walls.
Should I be worried if an RV has a few small cosmetic flaws?
Small cosmetic issues like faded fabric or worn trim are normal for older rigs and are usually not a deal-breaker. However, you should use these findings as leverage to negotiate a better price while focusing your primary concern on mechanical systems and structural integrity.
Can I trust an RV that smells like air freshener or cleaning products?
Exercise caution with vehicles that have strong artificial scents, as these are often used to mask the smell of mildew or previous water damage. Always inspect the RV before the seller has a chance to warm it up or use air fresheners, and perform a thorough moisture check throughout the interior.
Final thoughts
Your first used RV does not need to be flawless, but it must be sound, safe, and dry. If you remember one thing from this used RV inspection checklist, make it this: water damage is the costliest problem to miss. By taking the time to carefully identify red flags during your walkthrough, you can save yourself thousands of dollars in potential repairs down the road.
A missed cabinet stain is merely annoying, but overlooking structural damage or a hidden leak can completely ruin your ownership experience. Your primary goal is to spot these issues before you sign the paperwork. Take your time, test every system, and do not let a pretty interior rush you into the wrong rig. Once you have confirmed the RV is in good condition, you can head out on your retirement journey with total peace of mind, knowing your new home on wheels is ready for the open road.
RV Life Insider
www.rvlifeinsider.com
This post may contain affiliate links. If you make a purchase through these links, I may earn a small commission at no extra cost to you.