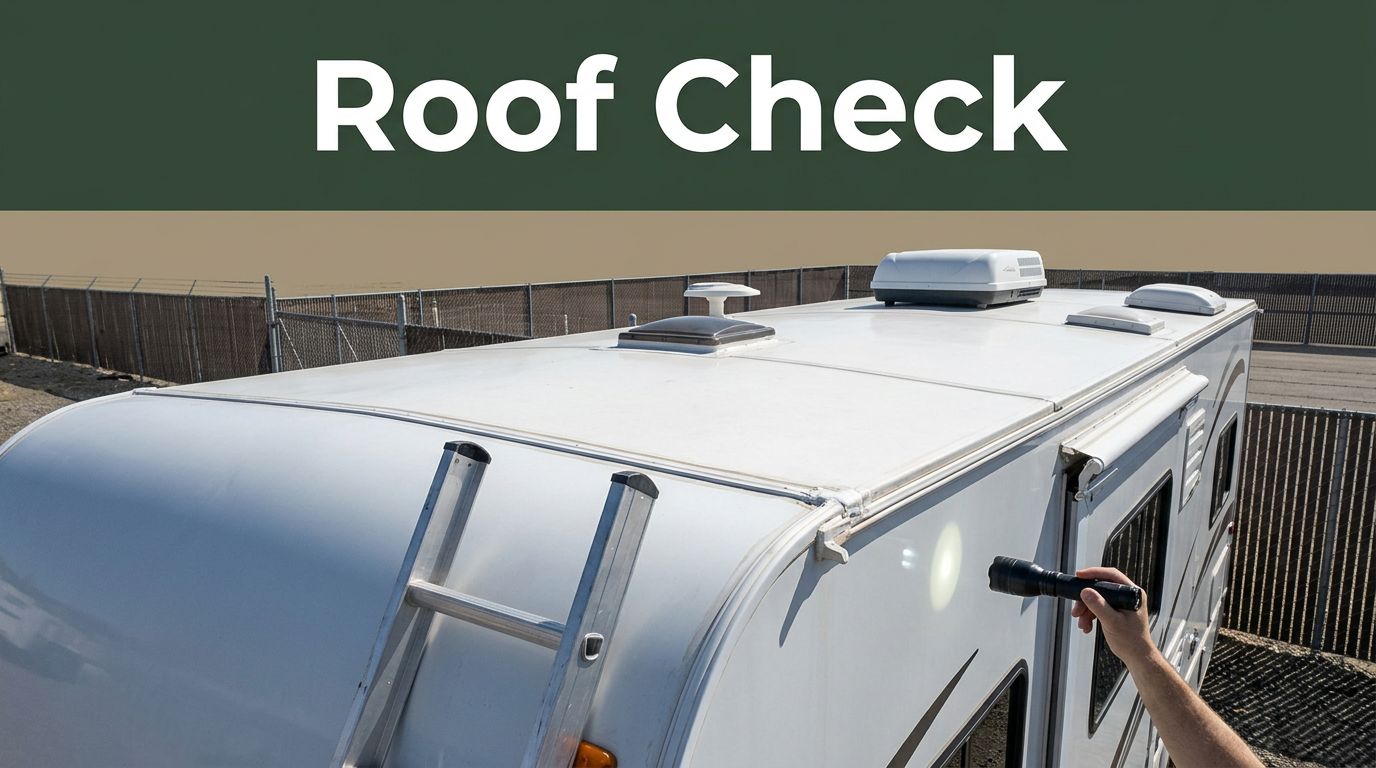
RV Roof Inspection Checklist for Part-Time Owners
A roof leak can start while your RV sits still. For part-time owners, that is the hard part, because damage often begins in storage rather than at the campground.
A simple RV roof inspection checklist helps you catch small cracks, dried sealant, and loose trim before they turn into stained ceilings and expensive repairs. If you love weekend camping but your rig spends long stretches parked, this routine matters more than any other gadget in the storage bay. By regularly checking your seals and seams, you can catch potential issues early to prevent severe water damage that threatens the structural integrity of your vehicle.
Key Takeaways
- Preventative Maintenance is Critical: Roof damage often develops during storage rather than on the road, making consistent, scheduled inspections essential for protecting your investment.
- Prioritize Safety: Always conduct inspections on a dry day, ensure your ladder is stable on level ground, and never hesitate to hire a professional if you are uncomfortable with heights or the roof’s integrity.
- Inspect All Penetrations: Most leaks originate around items that pierce the roof, such as vents, skylights, antennas, and AC units, where sealants are prone to cracking and shrinking over time.
- Document Changes: Use a camera or smartphone to take photos of your roof during every inspection; comparing these images over time helps you identify whether small cracks or sealant gaps are worsening.
- Address Issues Immediately: Never ignore soft spots, musty smells inside, or brittle sealant, as these are indicators of water intrusion that can lead to expensive structural damage if left untreated.
Why part-time RV owners need a roof routine
A roof takes abuse even when the wheels do not move. Sun bakes sealant, rain finds weak seams, and tree debris traps moisture against the surface. Because part-time owners often go weeks or months between trips, those changes can go unnoticed.
That is one reason part-time owners face a different risk than full-time RVers. People who live on the road tend to spot RV roof leaks sooner because they use the rig more often. You, on the other hand, may open the door for a long-awaited camping trip and only then notice a musty smell or a ceiling stain. By the time you notice these signs, water may have already caused significant structural damage to the interior of your vehicle.
Most camping tips focus on packing, leveling, or campsite comfort. Consistent RV roof maintenance is less exciting, but it protects everything below it, including your walls, wiring, insulation, cabinets, and bedding. One bad seam can do more harm to your investment than a rough road.
For seniors, a planned inspection also beats a rushed repair. You can choose a dry day, take your time, and stop if the ladder feels unsafe. That is better than scrambling after a storm, right before departure.
The basics of roof care are similar across motorhomes, trailers, fifth wheels, and even some van life builds. Whether you have an EPDM rubber roof, a TPO roof, or a fiberglass roof, the maintenance routine remains essential. While specific materials vary, the potential trouble spots remain familiar: seams, vents, skylights, antennas, air conditioners, and roof edges.
Set up safely before you inspect
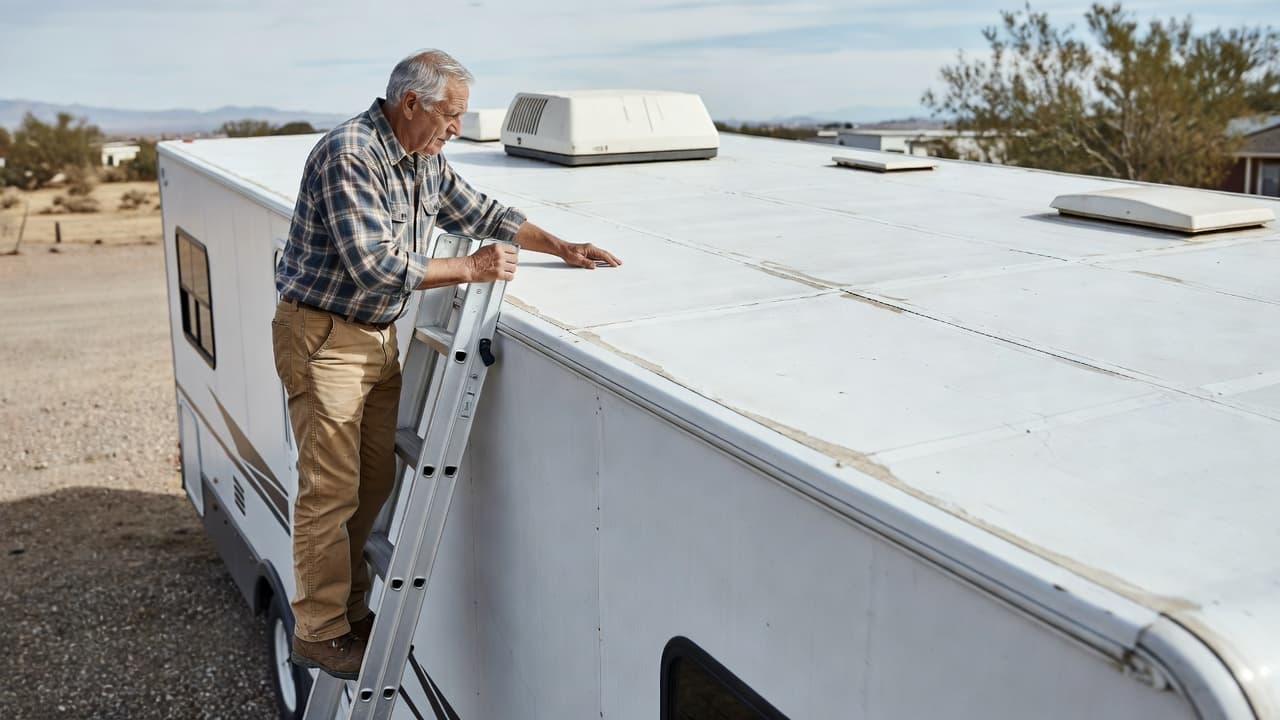
Before you climb up, prioritize the weather. Choose a dry day with clear visibility and minimal wind. Wet surfaces become slick very quickly, especially if pollen, leaves, or black streaks have accumulated. Before you begin your exterior inspection, make sure to clear away any debris around the base of your RV. Establishing a clean, stable area for your ladder is a critical part of your preventative maintenance routine.
Next, consult your owner’s manual for specific safety guidance. Some roofing materials support careful foot traffic, while others require significantly more caution. If you are ever unsure about your roof’s weight capacity, perform your first exterior inspection from a sturdy ladder and use your smartphone camera to take high-resolution photos for a closer look.
A few simple items will make your preventative maintenance tasks much easier:
- A stable ladder positioned on firm, level ground
- Non-slip shoes and durable work gloves
- A smartphone for capturing photos and zoomed-in checks
- A soft-bristled brush or microfiber mop
- A mild cleaning agent specifically approved for your roof material
- A padded kneeling mat if you plan to move across the roof surface
If you have concerns about your balance, do not force the situation. Many experienced campers maintain their rigs safely by performing the inspection from a ladder and hiring a qualified mobile technician for the rooftop work. This is a smart choice that ensures your safety while keeping your RV in top shape.
Approach the job with patience. Common damage often hides in plain sight, and issues like hairline cracks, lifted caulk, or loose trim are easy to miss when you rush. A slow five-minute inspection is far more effective than a hurried half-hour session.
A practical RV roof inspection checklist
Use this quick reference before you slow down and inspect each area up close.
| Area | What to look for | What to do |
|---|---|---|
| Roof surface | Tears, bubbles, worn spots, soft areas | Clean gently, photograph changes, get soft spots checked |
| Front and rear seams | Cracked sealant, gaps, loose trim | Re-seal with a compatible product or book service |
| Roof vents and skylights | Dry caulk, broken covers, loose screws | Replace damaged parts and re-seal as needed |
| AC unit and ac gaskets | Shifting, worn or compressed gaskets, debris buildup | Clean area and have loose units or worn gaskets inspected |
| Interior ceiling | Stains, dampness, musty odor | Trace source quickly before the next trip |
The pattern is simple. Look for cracks, gaps, loose hardware, and any clue that water might get past the outer layer.
Start with the roof surface and seams
Walk the roof only if the manufacturer says it is safe and you feel steady. Look across the surface, not only down at your feet. Changes in texture often show trouble first, such as bubbling, wrinkling, or dull worn patches. If you find soft spots, consider using a moisture meter to check for hidden water intrusion beneath the membrane.
Then perform a thorough sealant inspection on the seams at the front and rear caps, plus both side edges. These areas flex as you drive and bake in full sun while stored. If the sealant looks dry, split, or lifted at the edge, put that repair on your short list. Remember that delamination of your side walls is often a long-term result of failing rv roof seals at these critical roof edges.
If a spot feels soft underfoot, it often means the decking below has taken on water.
A soft spot underfoot is a stop sign. Get it checked before the next trip.
Check every opening and attachment
Most leaks start around something that sticks through the roof. That includes plumbing vents, refrigerator vents, bathroom fans, skylights, TV antennas, ladder mounts, solar brackets, and the air conditioner.
Look for sealant that has shrunk, cracked, or pulled away from the base. Good lap sealant looks bonded and flexible. Failing sealant often looks brittle, separated, or uneven where water can sit.
Also inspect plastic vent covers and AC shrouds. Sun makes them brittle over time. A small crack can let water in or break apart on the highway. While you are there, clear leaves and twigs away from the bases so water can drain.
Do not overlook the gutter rail or edge trim. Loose screws and gaps along the outer edge can let water travel farther than you expect, potentially damaging the structural framing.
Finish inside the RV
A roof check is not complete until you step inside. Water does not always drip straight down from the entry point. It can move along framing, wiring, or ceiling panels before it shows itself.
Look at ceiling corners, around upper cabinets, near the front cap, and around vent openings. Feel for dampness if you see any discoloration. A musty smell after storage is another clue, even if you do not see a stain yet.
It also helps to inspect after a hard rain, because fresh moisture is easier to trace with a moisture meter. Use your phone to take photos each time. Over a season, those images show whether a crack stayed the same or got worse.
A good checklist is only useful if you trust what you see. Photos make that much easier.
Know when to clean, reseal, or call a pro
Cleaning and repairing are distinct maintenance tasks. A dirty roof requires a thorough washing, whereas a failing seam demands the application of the correct sealant. Mixing these steps often leads to ineffective or sloppy repairs.
To clean the roof effectively, use a product approved for your specific material, such as rubber, TPO, fiberglass, or aluminum. Always protect the integrity of your roof membrane by using a soft brush and a gentle rinse. Avoid harsh solvents unless the manufacturer explicitly confirms they are safe. While some owners are tempted to use a pressure washer, it is best to avoid them entirely, as high pressure can force water into delicate seams.
When you notice sealant that is cracked or pulling away, you must use a product specifically formulated for that material and location. For instance, self-leveling lap sealant is the standard choice for horizontal surfaces, but remember that not every repair requires the same formula.
Do not cover failing roof seams with random household caulk. Always use a professional-grade sealant that matches your specific roof material and repair area.
You should contact a professional if you discover a soft spot, an active leak, sagging, hail damage, or indications that the roof structure is water-damaged. The same caution applies to damage around the AC unit, as the gasket integrity and mounting pressure are critical to preventing leaks. If you are uncomfortable with heights or feel that the repair is beyond your skill level, scheduling a professional RV inspection is a smart investment. For complex issues, hiring an NRVIA certified inspector ensures that your roof is evaluated by an expert who understands the nuances of RV construction.
Build a simple routine you’ll follow
The best roof routine is one that is short enough to repeat consistently. Treat these inspections with the same level of importance as the initial pre-delivery inspection performed when you first purchased your rig. By putting these tasks on your calendar and tying them to your existing camping habits, you ensure your roof stays in top shape.
A practical maintenance schedule looks like this:
- Check the roof before your first spring trip.
- Inspect the roof after any hail, windstorm, or low-branch scrape, and take a moment to clear away any clogged gutters.
- Perform a mid-season look if you camp frequently during the summer.
- Inspect the roof once more before winter storage to ensure no debris or clogged gutters are left behind to trap moisture during the off-season.
Keep a small notebook in the RV, or use a notes app on your phone. Write down the date, what you saw, and what you fixed. That habit turns guesswork into a clear record, which helps when you shop for supplies or talk with a service technician.
If you enjoy practical reminders, camping tips, and stories from other RV travelers, RV Life Insider is worth keeping close. You can View All Our Newsletters for regular updates, and View Our Website for blogs, planning tools, community conversations, travel guides, and more.
Frequently Asked Questions
How often should I inspect my RV roof?
You should inspect your roof at least four times a year: before your first spring trip, after significant weather events, mid-season if you camp frequently, and just before placing the rig into winter storage. This consistent schedule ensures that small cracks are caught before they turn into major water damage.
Can I walk on my RV roof to check it?
Whether you can walk on your roof depends entirely on your specific RV manufacturer’s guidelines. If you are unsure about the weight capacity or the safety of your roof material, it is safer to conduct your inspection from a sturdy ladder and use a camera to zoom in on potential trouble spots.
What should I do if I find a soft spot on the roof?
A soft spot indicates potential water intrusion and damage to the roof decking underneath the membrane. You should stop using the roof immediately and contact a qualified technician or professional inspector to assess the damage before you risk further structural failure.
Can I use regular household caulk for roof repairs?
No, you should never use standard household caulk on your RV. You must use a professional-grade sealant specifically designed for the roofing material of your RV, such as EPDM, TPO, or fiberglass, to ensure the seal remains flexible and weather-tight over time.
Keep the roof ready for the next trip
A roof leak rarely starts at the campground. Most issues begin while the RV is parked, exposed to the elements, and easy to forget.
That is why following a consistent RV roof inspection checklist is your best defense against potential RV roof leaks. By making this routine a habit before you place your rig into storage, after heavy storms, and shortly before your next camping trip, you ensure that small problems stay small. Consistent maintenance keeps your vehicle protected and ready for the road whenever adventure calls.
This post may contain affiliate links. If you make a purchase through these links, I may earn a small commission at no extra cost to you.