RV Leveling Basics Every First-Time Camper Should Know
Nothing feels longer than a first night in a crooked RV. The bed tilts, the fridge door swings, and every step makes the coach feel less steady than you expected.
If you’re new to camping, setup can feel like a lot at once. The good news is that RV leveling basics are easy to learn, and a simple routine prevents most campsite stress. Once you know the order, you can pull in, level up, and relax with a lot more confidence.
Why leveling matters before you unpack
A level rv is more than a comfort issue. It affects how you sleep, how your doors close, and how safe the floor feels when you get up at night.
That matters even more for seniors, because a tilted floor can make simple movements feel awkward. It also matters when kids, pets, or guests move around inside. A rig that leans too much never feels settled.
Leveling also protects equipment. Many RV refrigerators, especially older absorption-style models, work best when the coach sits close to level. A slight tilt for a short time usually isn’t a big deal, but a steep lean for hours can hurt cooling performance. Your shower drain and sink may also empty poorly when the unit is off balance.
Then there’s the human side of it. Even in smaller rigs used for van life, a little lean feels bigger at bedtime. Coffee slides on the counter. Cabinet doors drift open. The whole space feels less settled than it should.
New campers often mix up leveling and stabilizing. They are not the same job. You level first, then use stabilizers to reduce bounce and sway.
Stabilizer jacks are there to steady the RV, not to lift it into level.
You’ll also hear seasoned campers talk about side-to-side and front-to-back. Both matter, but side-to-side usually comes first. If that sounds fussy, don’t worry. After a couple of weekends, it becomes muscle memory. Many full time rv’ers can read a site at a glance because they’ve repeated the same small steps hundreds of times.
The gear that keeps the process simple
You don’t need a truckload of gadgets to level an RV well. A few basic tools handle most campsites, and they don’t cost much.
This quick reference makes the setup easier to picture.
| Tool | What it does | Good to know |
|---|---|---|
| Leveling blocks | Raise one side or one end | Stack only as directed by the maker |
| Bubble level | Shows when the RV is level | Small stick-on or handheld models both work |
| Wheel chocks | Keep the RV from rolling | Use them before you relax or unhitch |
| Gloves or kneeling pad | Make setup easier on your hands and knees | Helpful on gravel and wet ground |
| Jack pads | Spread weight under jacks | Handy on soft soil or hot asphalt |
For many beginners, leveling blocks and wheel chocks do most of the work. If you tow a trailer, add a tongue jack and a simple bubble level. If you drive a motorhome with auto-leveling jacks, you still need to understand the basics because not every site is a good fit for a push-button solution.
Keep your leveling gear in one easy-to-reach bin. That saves you from digging through compartments while other campers wait for the road to clear. A short setup checklist helps too, especially on the first few trips.
If you like practical camping tips, trip ideas, and beginner-friendly help, View All Our Newsletters for regular updates. You can also View Our Website for travel guides, planning tools, blogs, products, and community resources.
One more tip matters more than people expect: carry extra blocks. Campsites rarely match the brochure photo, and gravel pads can slope more than they look. That is why many full time rv’ers keep more blocking than they think they’ll need.
How to level your RV in the right order
The order matters because each step supports the next one. When you rush or skip ahead, you usually end up doing the job twice.

- Check the site before you commit.
Get out and walk the pad. Look for the flattest area, soft spots, tree roots, and deep ruts. A better parking spot can save ten minutes of block shuffling. - Use a level to read the lean.
Set a bubble level on the floor, counter, or a known flat surface. Some campers mount small levels outside the rig for a quick read. Either way, find out which side is low before you move anything. - Level side-to-side first.
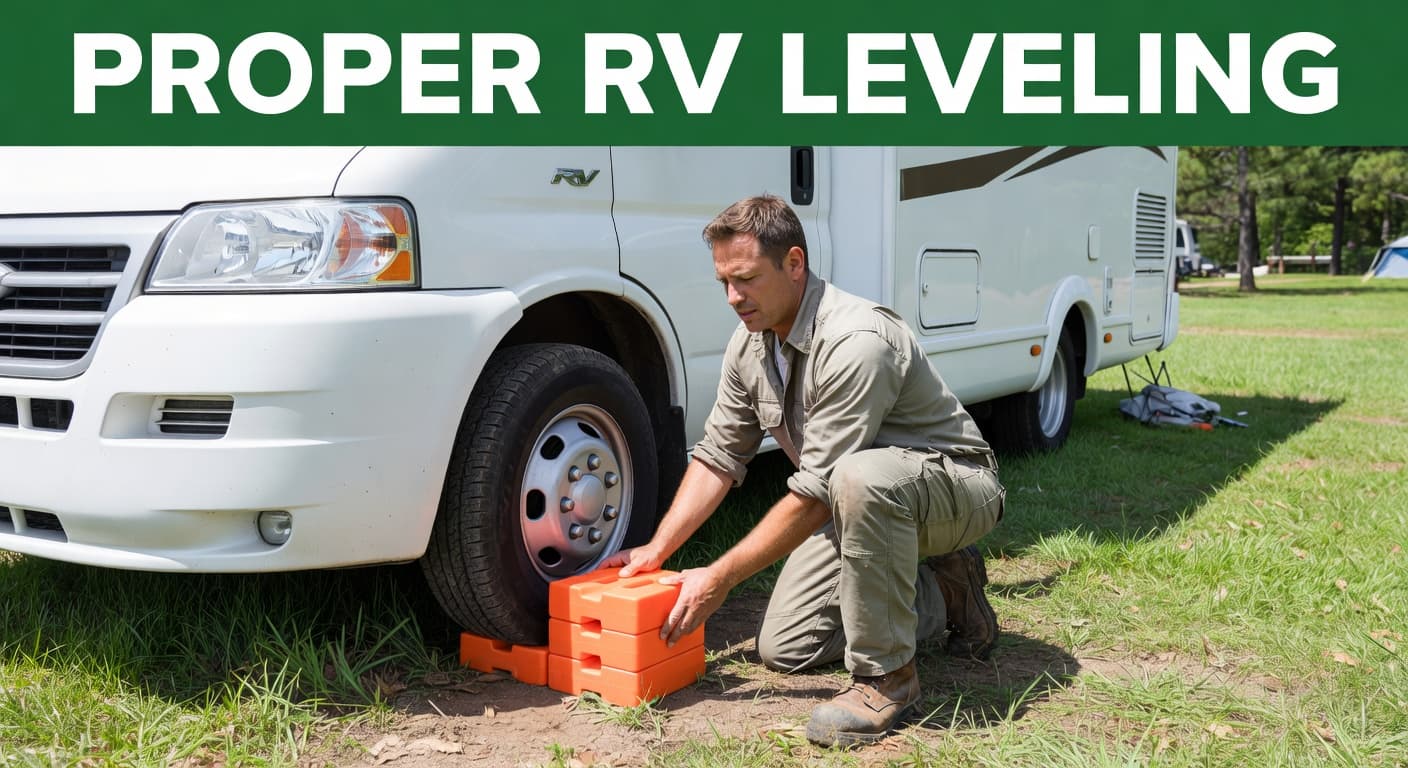
For towable trailers, this step usually happens before you unhitch. If one side is low, place leveling blocks in front of or behind the low-side tire, then slowly pull or back onto them. Recheck after each move because one extra block can make a big difference. - Chock the wheels before the next step.
Once the trailer is where you want it, place wheel chocks firmly against the tires. This is one of the most important camping tips for new owners because a rolling trailer can turn a calm setup into a dangerous one fast. - Level front-to-back next.
On a travel trailer, use the tongue jack to raise or lower the front until the bubble centers. On a motorhome, use the built-in jacks or blocks according to the owner’s manual. If the site is too uneven for safe leveling, pick another spot if you can. - Drop stabilizers last.
Once the RV is level, bring down the stabilizer jacks until they contact the ground and firm up. Stop when the bounce decreases. Cranking harder won’t make the coach more level, and it can twist components.
For motorhomes with auto-level, read the ground first anyway. Check for low branches, soft dirt, and spots where a jack foot might sink. Auto-level systems are helpful, but they still need good footing.
If you’re unsure, practice at home. A driveway session takes the pressure off your first campground arrival. After that, the routine feels far less intimidating.
Common leveling mistakes that make the setup harder
The biggest mistake is trying to fix a bad site with force. If a pad has a severe slope, no clever trick will turn it into a good overnight stop. Too many blocks under one tire or too much jack extension can leave the rig unstable.
Another common error is using stabilizer jacks to lift a corner. People do this because the coach still feels low on one side. That extra crank may seem harmless, but it can strain parts that were never meant to carry that load.
New campers also forget to recheck the level after people move inside. A small shift in weight, especially in a lighter trailer, can change the reading enough to notice. Water tanks can do the same thing.
If the RV still feels wrong after leveling, step back and check the site again before adding more blocks.
It also helps to think about your body. Bending, kneeling, and checking bubble levels near the ground can wear you out faster than expected. For seniors, a kneeling pad, work gloves, and a bright flashlight for late arrivals make the job easier and safer. If you travel solo, place gear in the same storage bay every time so you aren’t hunting for chocks in the dark.
Don’t trust your eyes alone, either. A campsite can look level and still be off enough to bother you all night. That is true for a big fifth wheel, a compact trailer, or a van life rig with a shorter wheelbase. Use the level, trust the reading, and make small changes until the coach feels right.
A level start makes every campsite better
A smooth arrival rarely happens by luck. It comes from picking the best spot, leveling in the right order, and knowing when to stop.
Once you practice a few times, the process feels routine instead of stressful. That steady, settled feeling is the reward for getting the basics right.
Before your next trip, try the full setup at home. A level RV makes camping more comfortable, safer on your feet, and a lot more enjoyable after the drive.
This post may contain affiliate links. If you make a purchase through these links, I may earn a small commission at no extra cost to you.