RV Hookups Explained for First-Time Campers
Are you feeling overwhelmed by the utility setup at your next RV park? Understanding your RV hookups is the single most important skill for a stress-free camping trip. Whether you are aiming for full hookups or partial service, knowing how to safely manage electricity, water, and waste connections turns a confusing, high-pressure arrival into a simple, routine setup. This guide covers exactly what you need to know to get connected quickly and safely, so you can spend less time at the pedestal and more time enjoying your destination.
Pulling into your first campsite can feel easy right up until you spot the pedestal, the spigot, and the sewer cap. This is especially true if you are navigating into tricky pull-thru sites where you need to align your rig perfectly with the utility station. Suddenly, these connections look like a test you did not study for.
They are not. Most campgrounds use the same basic setup, and you do not need to be handy or technical to handle it well. Once you know what each connection does, the whole process feels much more normal.
Key Takeaways
- Standardize Your Setup: Always park and level your RV before handling utilities, and follow a consistent connection sequence to make the process more manageable.
- Prioritize Safety: Use a surge protector for electrical connections and a water pressure regulator for your hose to protect your RV’s sensitive systems from fluctuations.
- Manage Waste Correctly: Keep your black and gray water tank valves closed while camping, and empty them only when partly full to ensure efficient drainage and prevent buildup.
- Ask for Assistance: If a pedestal looks damaged or a connection does not fit, consult campground staff immediately rather than forcing the equipment.
Understanding RV Hookups and What You Will See at Your Site
At most campgrounds, hookups refer to the essential utilities your RV can use while parked: electricity, water, and sewer. A full hookup site provides all three utility connections at your location. In contrast, a partial hookup site may only provide power and water, or sometimes only electrical service.
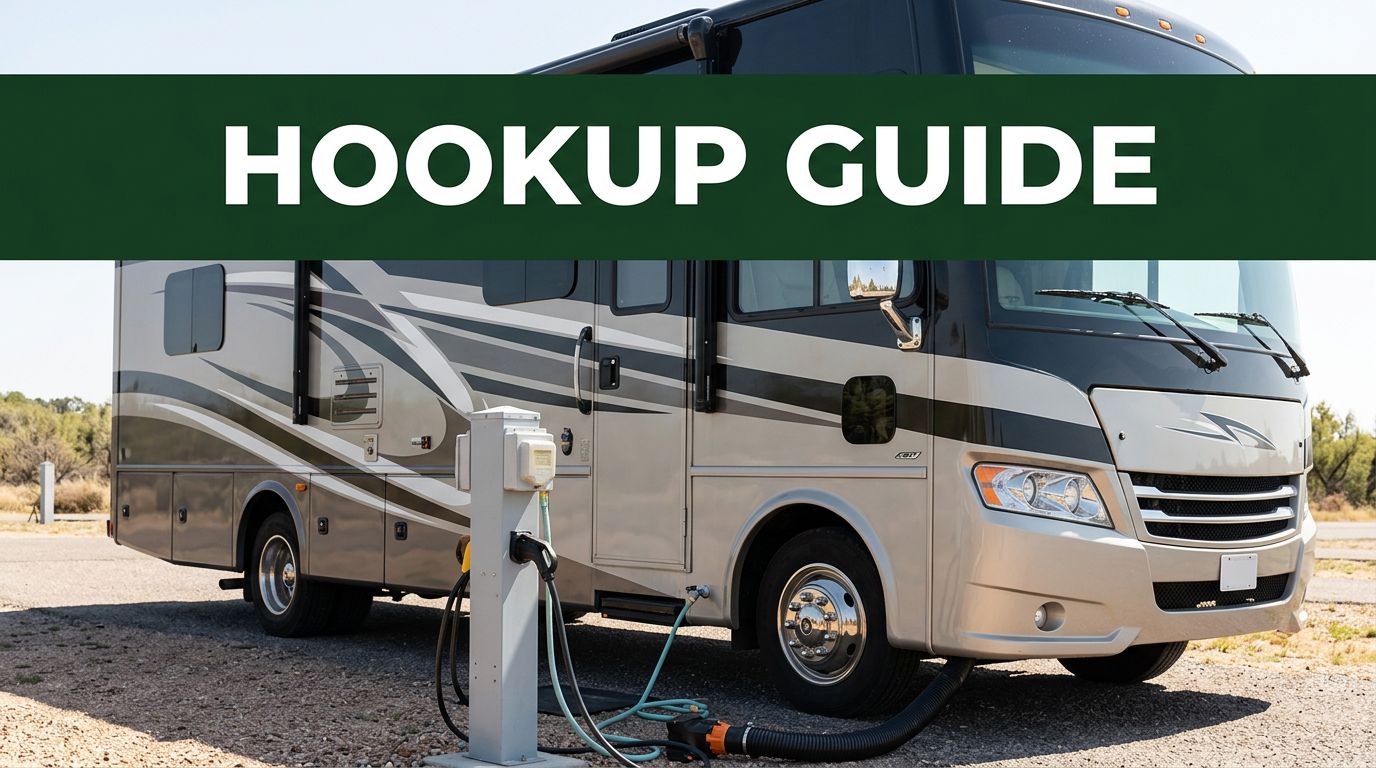
When you arrive, you will usually see a power pedestal located near your parking pad. This utility center often holds the electrical outlets, while the water spigot may be attached to the same post or located a few feet away. The sewer inlet is typically a capped pipe situated near ground level.
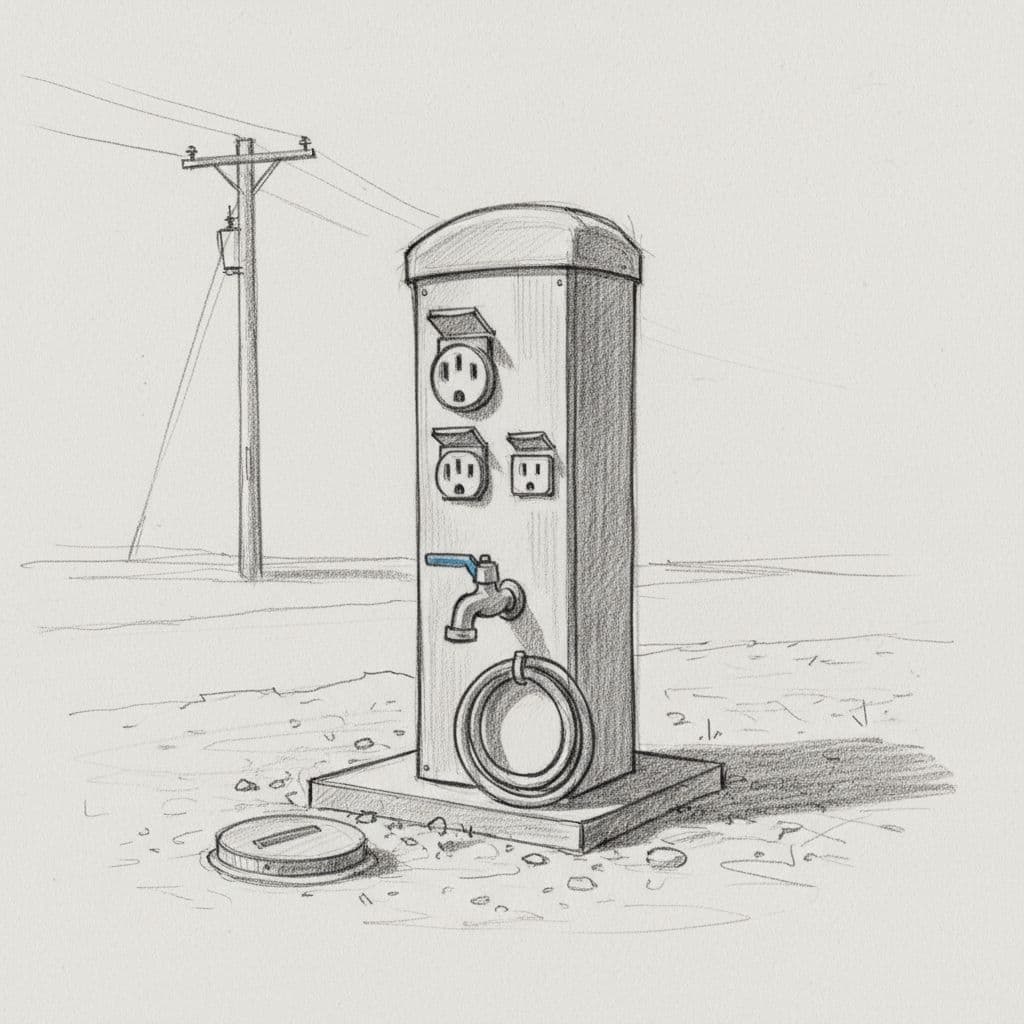
This quick guide helps you identify the basics at a glance.
| Part of the site | What it does | What a beginner should know |
|---|---|---|
| Electrical hookups | Powers the RV | Match it to your RV cord or use the right adapter |
| Water hookup | Supplies water | Use a drinking-water-safe hose and a pressure regulator |
| Sewer inlet | Takes waste water from tanks | Keep tank valves closed until dump time |
Some RV parks add TV hookups, which require a coaxial cable to receive signals, or they might place the sewer opening farther from the RV pad. The layout may change from site to site, but the purpose remains the same. Because of that, your first job is simply to identify what you are looking at before you connect anything.
If your site looks different from the reservation description, stop and ask the campground office for clarification. Staff members deal with these setups every day. A quick question can save you from forcing the wrong plug, using the wrong hose, or parking too far away to reach the sewer connection.
Connecting to Shore Power and Electrical Hookups Safely
Managing power is a common concern for first-time campers, but following a safe, consistent routine makes the process simple. Your RV will usually require either 30 amp or 50 amp service. You do not need to master electrical engineering to handle this; you only need to confirm which service your rig requires.
That specification is usually printed near the power cord, in the owner’s manual, or on the plug itself. A 30 amp plug features a different shape than a 50 amp plug, so do not force the connection. If the campground outlet and your power cord do not match, use a proper RV dogbone adapter rather than a stack of household adapters.
Always start with the pedestal circuit breaker in the off position. Connect an essential surge protector to the power source, then plug in your RV power cord. After the plug is seated firmly, turn the breaker on. This specific order significantly lowers the chance of arcing at the plug.
If the outlet looks burned, loose, wet, or damaged, do not use it. Call the office and request another site or assistance from maintenance. The same goes for sparks, a hot plug, or a breaker that trips immediately.
On 30 amp service, be mindful of which appliances run at the same time. The air conditioner, microwave, and electric water heater can easily overload the line if used simultaneously. While 50 amp service offers more capacity for high-draw appliances, staying aware of your total electricity usage is always a smart habit.
If the plug does not fit easily or the pedestal looks damaged, stop there and ask for help.
A calm two-minute safety check beats a ruined first night.
Connecting your RV water hookup without leaks
Connecting your fresh water supply is usually the simplest part of your site setup. You generally have two choices for your water source. You can connect to city water, which sends a steady supply of potable water directly into your plumbing system, or you can fill your onboard fresh water tank and use your internal water pump. Unlike boondocking, where you are limited by what you carry, a direct city water connection means you don’t necessarily need to rely on your fresh water tank during your stay.
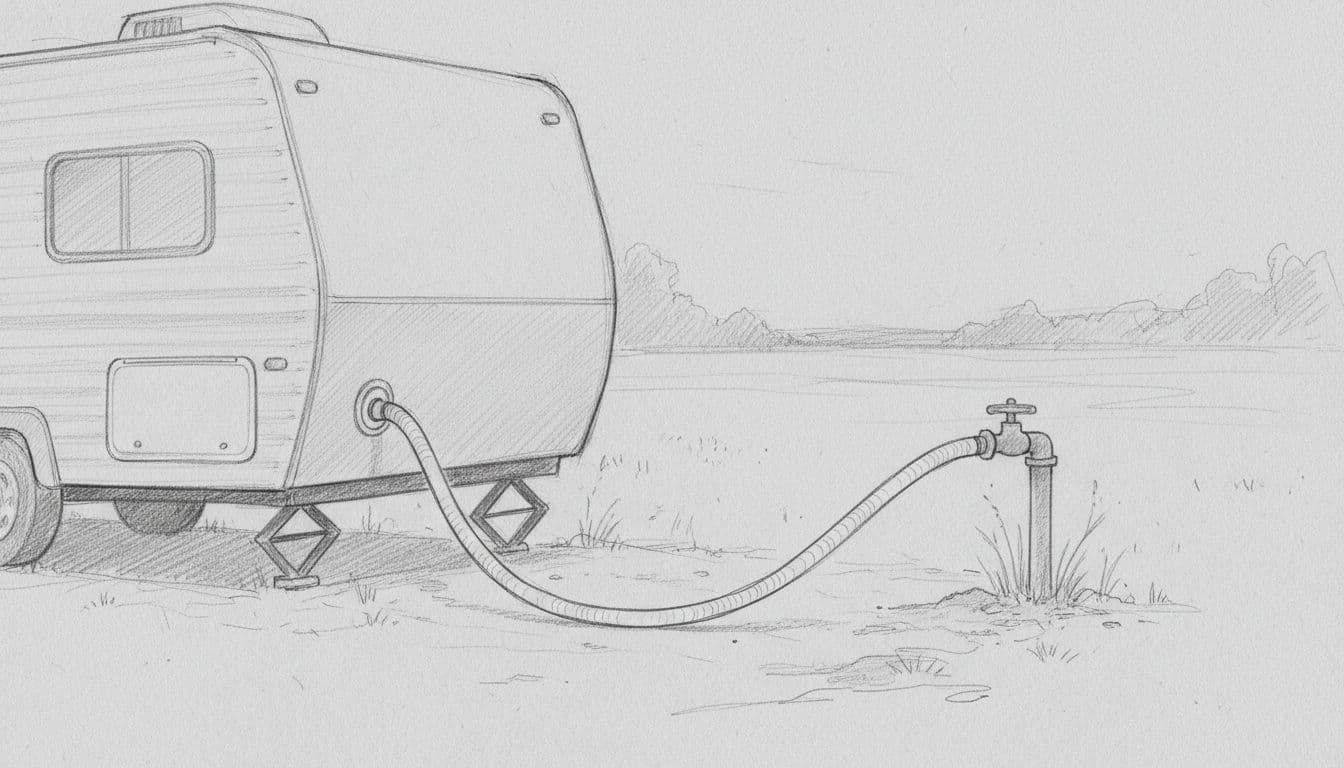
For a direct connection, always use a dedicated, potable water hose rather than a standard garden hose. Most experienced campers also attach a water pressure regulator to the spigot first, as campground water pressure is often higher than your RV plumbing is designed to handle. Adding a basic water filter is also highly recommended to improve taste and catch any sediment from the supply lines.
Keep the spigot off while you make your connections. Attach the water pressure regulator to the spigot, then connect the hose, and finally attach the other end to your RV city water inlet. Open the spigot slowly and check for drips at both ends. A small rubber washer inside the hose fitting often fixes minor leaks.
If you don’t have a full-service site, you may need to fill your fresh water tank instead. Simply connect the hose to your gravity fill port, fill the tank, and disconnect once full. Keep your water equipment clean and store it in a dedicated bin, well away from your sewer gear. A clean hose, a reliable pressure regulator, and a few spare washers will handle almost all of your water needs. If you find your spigot is leaking, won’t shut off, or has inconsistent pressure, reach out to the campground office for help.
Connecting Your RV Fresh Water Hookup Without Leaks
Water is usually the easiest part of an RV setup. You generally have two options. You can connect to city water, which means the campground sends a steady supply of potable water straight into the RV, or you can fill your water tank and use the onboard water pump. Unlike boondocking, where you rely entirely on what you carry, having a city water connection means you do not strictly need to use your water tank during your stay.
For a direct connection, always use a potable water hose, not a standard garden hose. Most campers also use a water pressure regulator, as campground pressure can often be higher than your RV plumbing is designed to handle. Adding a basic water filter is also recommended for improved taste and to catch any sediment from the supply lines.
Keep the spigot off while you make your connections. Attach the water pressure regulator to the spigot first, then connect the hose, and finally attach the other end to the RV city water inlet. Open the spigot slowly and check for drips at both ends. A small rubber washer inside the hose fitting often fixes minor leaks.
If you do not have a full-hookup site, you may need to fill the fresh water tank instead. In that case, connect the hose to the gravity fill port, fill the tank slowly, and stop before it overflows. Once full, disconnect the hose and use the internal pump to pressurize your RV plumbing.
Keep your water equipment clean, and store it well away from your sewer gear. That matters more than buying expensive accessories. A clean hose, a reliable regulator, and a few spare washers will handle most first-trip water issues.
Ask campground staff for help if the spigot will not shut off, leaks excessively, or has inconsistent pressure. Water problems are common, and campgrounds usually have an easy fix.
Connecting Your RV Fresh Water Hookup Without Leaks
Water is usually the easiest part of an RV setup. You generally have two options. You can connect to city water, which means the campground sends a steady supply of potable water straight into the RV, or you can fill your water tank and use the onboard water pump. Unlike boondocking, where you rely entirely on what you carry, having a city water connection means you do not strictly need to use your fresh water tank during your stay.
For a direct connection, always use a potable water hose, not a standard garden hose. Most campers also use a water pressure regulator, as campground pressure can often be higher than your RV plumbing is designed to handle. Adding a basic water filter is also recommended for improved taste and to catch any sediment from the supply lines.
Keep the spigot off while you make your connections. Attach the water pressure regulator to the spigot first, then connect the hose, and finally attach the other end to the RV city water inlet. Open the spigot slowly and check for drips at both ends. A small rubber washer inside the hose fitting often fixes minor leaks.
If you do not have a full-hookup site, you may need to fill the fresh water tank instead. In that case, connect the hose to the gravity fill port, fill the tank slowly, and stop before it overflows. Once full, disconnect the hose and use the internal pump to pressurize your RV plumbing.
Keep your water equipment clean, and store it well away from your sewer gear. That matters more than buying expensive accessories. A clean hose, a reliable regulator, and a few spare washers will handle most first-trip water issues.
Ask campground staff for help if the spigot will not shut off, leaks excessively, or has inconsistent pressure. Water problems are common, and campgrounds usually have an easy fix.
Connecting Your RV Fresh Water Hookup Without Leaks
Water is usually the easiest part of an RV setup. You generally have two options. You can connect to city water, which means the campground sends a steady supply of potable water straight into the RV, or you can fill your fresh water tank and use the onboard water pump. Unlike boondocking, where you rely entirely on what you carry, having a city water connection means you do not strictly need to use your fresh water tank during your stay.
For a direct connection, always use a potable water hose, not a standard garden hose. Most campers also use a water pressure regulator, as campground pressure can often be higher than your RV plumbing is designed to handle. Adding a basic water filter is also recommended for improved taste and to catch any sediment from the supply lines.
Keep the spigot off while you make your connections. Attach the water pressure regulator to the spigot first, then connect the hose, and finally attach the other end to the RV city water inlet. Open the spigot slowly and check for drips at both ends. A small rubber washer inside the hose fitting often fixes minor leaks.
If you do not have a full-hookup site, you may need to fill the fresh water tank instead. In that case, connect the hose to the gravity fill port, fill the tank slowly, and stop before it overflows. Once full, disconnect the hose and use the internal pump to pressurize your RV plumbing.
Keep your water equipment clean, and store it well away from your sewer gear. That matters more than buying expensive accessories. A clean hose, a reliable regulator, and a few spare washers will handle most first-trip water issues.
Ask campground staff for help if the spigot will not shut off, leaks excessively, or has inconsistent pressure. Water problems are common, and campgrounds usually have an easy fix.
Connecting Your RV Fresh Water Hookup Without Leaks
Water is usually the easiest part of an RV setup. You generally have two options. You can connect to city water, which means the campground sends a steady supply of potable water straight into the RV, or you can fill your water tank and use the onboard water pump. Unlike boondocking, where you rely entirely on what you carry, having a city water connection means you do not strictly need to use your fresh water tank during your stay.
For a direct connection, always use a potable water hose, not a standard garden hose. Most campers also use a water pressure regulator, as campground pressure can often be higher than your RV plumbing is designed to handle. Adding a basic water filter is also recommended for improved taste and to catch any sediment from the supply lines.
Keep the spigot off while you make your connections. Attach the water pressure regulator to the spigot first, then connect the hose, and finally attach the other end to the RV city water inlet. Open the spigot slowly and check for drips at both ends. A small rubber washer inside the hose fitting often fixes minor leaks.
If you do not have a full-hookup site, you may need to fill the fresh water tank instead. In that case, connect the hose to the gravity fill port, fill the tank slowly, and stop before it overflows. Once full, disconnect the hose and use the internal pump to pressurize your RV plumbing.
Keep your water equipment clean, and store it well away from your sewer gear. That matters more than buying expensive accessories. A clean hose, a reliable regulator, and a few spare washers will handle most first-trip water issues.
Ask campground staff for help if the spigot will not shut off, leaks excessively, or has inconsistent pressure. Water problems are common, and campgrounds usually have an easy fix.
Connecting Your RV Fresh Water Hookup Without Leaks
Water is usually the easiest part of an RV setup. You generally have two options. You can connect to city water, which means the campground sends a steady supply of potable water straight into the RV, or you can fill your fresh water tank and use the onboard water pump. Unlike boondocking, where you rely entirely on what you carry, having a city water connection means you do not strictly need to use your fresh water tank during your stay.
For a direct connection, always use a potable water hose, not a standard garden hose. Most campers also use a water pressure regulator, as campground pressure can often be higher than your RV plumbing is designed to handle. Adding a basic water filter is also recommended for improved taste and to catch any sediment from the supply lines.
Keep the spigot off while you make your connections. Attach the water pressure regulator to the spigot first, then connect the hose, and finally attach the other end to the RV city water inlet. Open the spigot slowly and check for drips at both ends. A small rubber washer inside the hose fitting often fixes minor leaks.
If you do not have a full-hookup site, you may need to fill the fresh water tank instead. In that case, connect the hose to the gravity fill port, fill the tank slowly, and stop before it overflows. Once full, disconnect the hose and use the internal pump to pressurize your RV plumbing.
Keep your water equipment clean, and store it well away from your sewer gear. That matters more than buying expensive accessories. A clean hose, a reliable regulator, and a few spare washers will handle most first-trip water issues.
Ask campground staff for help if the spigot will not shut off, leaks excessively, or has inconsistent pressure. Water problems are common, and campgrounds usually have an easy fix.
Connecting Your RV Fresh Water Hookup Without Leaks
Water is usually the easiest part of an RV setup. You generally have two options. You can connect to city water, which means the campground sends a steady supply of potable water straight into the RV, or you can fill your fresh water tank and use the onboard water pump. Unlike boondocking, where you rely entirely on what you carry, having a city water connection means you do not strictly need to use your fresh water tank during your stay.
For a direct connection, always use a potable water hose, not a standard garden hose. Most campers also use a water pressure regulator, as campground pressure can often be higher than your RV plumbing is designed to handle. Adding a basic water filter is also recommended for improved taste and to catch any sediment from the supply lines.
Keep the spigot off while you make your connections. Attach the water pressure regulator to the spigot first, then connect the hose, and finally attach the other end to the RV city water inlet. Open the spigot slowly and check for drips at both ends. A small rubber washer inside the hose fitting often fixes minor leaks.
If you do not have a full-hookup site, you may need to fill the fresh water tank instead. In that case, connect the hose to the gravity fill port, fill the tank slowly, and stop before it overflows. Once full, disconnect the hose and use the internal pump to pressurize your RV plumbing.
Keep your water equipment clean, and store it well away from your sewer gear. That matters more than buying expensive accessories. A clean hose, a reliable regulator, and a few spare washers will handle most first-trip water issues.
Ask campground staff for help if the spigot will not shut off, leaks excessively, or has inconsistent pressure. Water problems are common, and campgrounds usually have an easy fix.
Managing Your Sewer Hookup and Waste Tanks
Sewer hookups sound like the hardest part of RV camping, but the routine is quick and simple once you know the basics. Your RV typically features two waste storage areas. The black water tank holds toilet waste, while the gray water tank collects water from your sinks and shower.
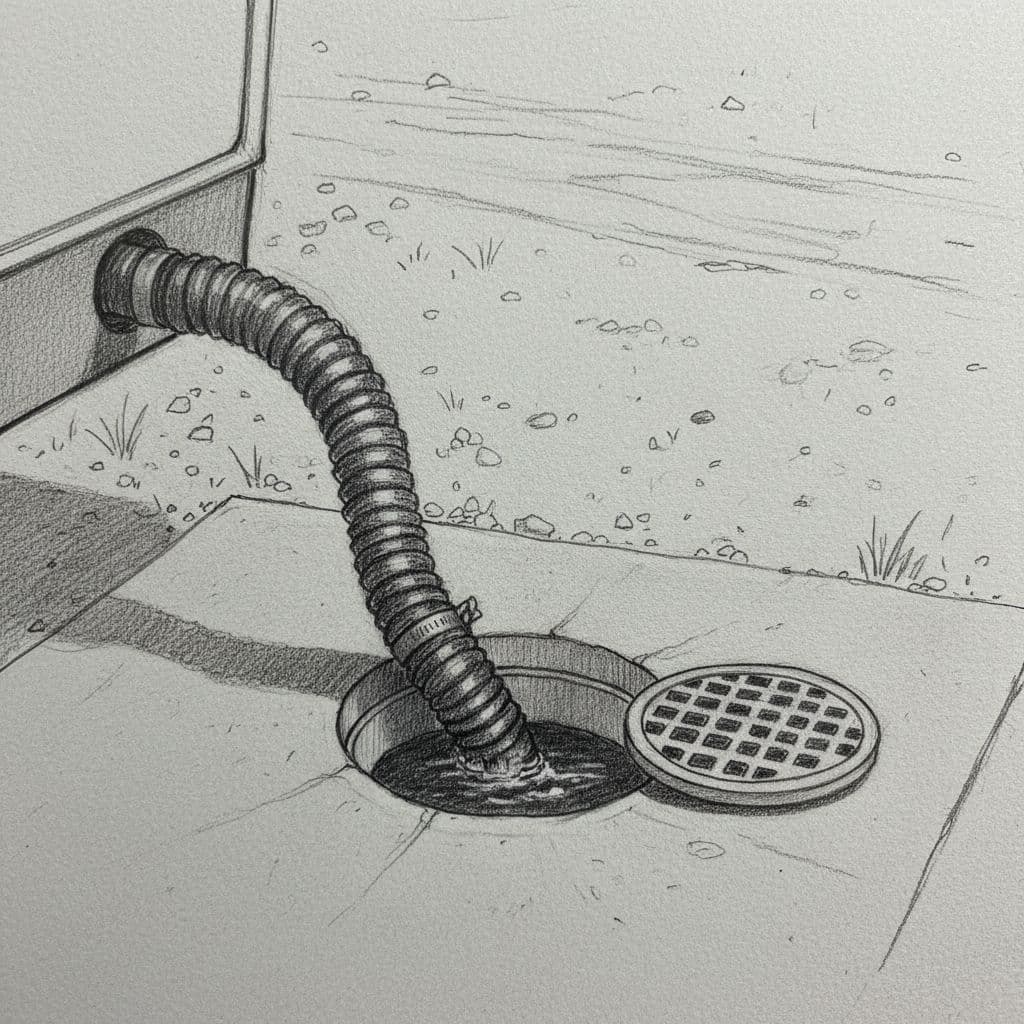
At the campsite, connect your sewer hose from the RV outlet to the campground inlet. Some sites require a threaded elbow or adapter for a secure fit, while others accept the connection directly. Always wear gloves, and consider using a dedicated rinse hose to keep things sanitary. Just remember to keep that rinse hose separate from any gear used for fresh water. If your site does not have a direct sewer hookup, you will need to locate the campground dump station before you head home.
The biggest beginner mistake is leaving the tank valves open constantly. Keep both valves closed while you are camping. Waste needs a healthy amount of liquid in the tanks to break down properly, and adding a quality tank treatment helps maintain cleanliness and prevents odors.
When it is time to empty the system, pull the black tank valve first. After that has drained, open the gray water valve. The gray water helps flush out any residual debris remaining in the sewer hose. Once both tanks are empty, close the valves, disconnect the hose, and replace the outlet cap.
Many beginners find the best results by waiting until the tanks are at least partly full before dumping. This pressure ensures that solids move out effectively. If you dump too early or too often, you may face issues with buildup. If the sewer inlet is uphill, lacks a cap, or seems too far from your RV, call the campground office. They often have site-specific solutions or can provide the necessary adapters to help you get the job done right.
Setup order, basic gear, and when to ask for help
A steady routine makes first-time campsite hookups much less stressful. Get the RV parked and stable before you deal with utilities, and connect in the same order each trip to ensure a consistent experience. While many campers enjoy the simplicity of boondocking, mastering your hookup procedures makes site life much easier.
- Park the RV and inspect where the hookups sit.
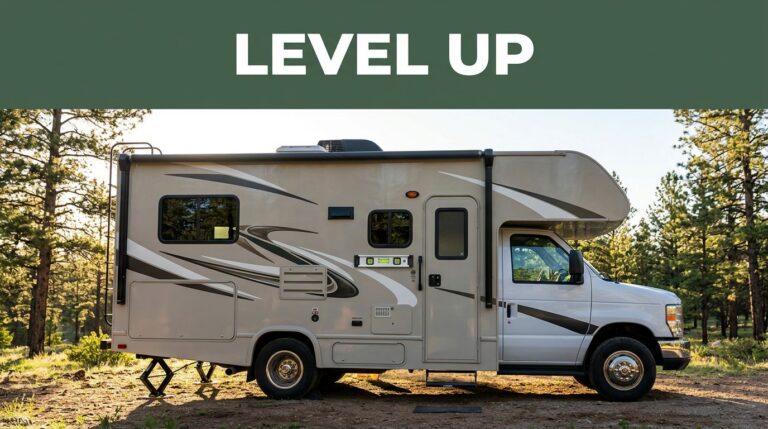
- Level the RV and place wheel chocks.
- Connect your electrical hookups with the breaker off, then turn it on.
- Connect fresh water and check for leaks.
- Connect the sewer hose if you have a full-hookup site, but keep the tank valves closed.
For a first trip, pack a surge protector, the correct power adapter, a drinking-water hose, a water pressure regulator, a few spare hose washers, a sewer hose kit, gloves, wheel chocks, leveling blocks, and a flashlight. Store water items in one bin and sewer items in another. That simple habit keeps things cleaner and easier to find. Having a high-quality surge protector and a reliable water pressure regulator on hand is the best way to protect your vehicle from common campsite hookup issues.
It is also smart to practice in your driveway once before travel day. Even a dry run without the complexities of full site utilities helps you learn where your RV ports sit and how the hoses attach. If you want more beginner-friendly camping tips before the next trip, you can View All Our Newsletters.
Ask campground staff for help when something looks off, not after you force it. A tripped breaker, a leaking spigot, a missing sewer cap, or a connection you cannot identify are all good reasons to call. Following this routine ensures you can enjoy your RV hookups with confidence and ease.
Frequently Asked Questions
Can I use a regular garden hose for my RV water hookup?
No, you should always use a white, drinking-water-safe hose. Standard garden hoses can leach chemicals into your water supply, which are not safe for drinking or cooking.
Why should I keep my sewer valves closed while camping?
Keeping the valves closed allows waste to accumulate with enough liquid to flush properly through the system. If you leave the valves open, liquids drain away too quickly, which can lead to solid waste buildup in your tanks.
What should I do if my RV plug doesn’t fit the campground outlet?
You should use a high-quality RV “dogbone” adapter that matches your amperage. Never use a stack of cheap household adapters, as these can create fire hazards or damage your RV’s electrical components.
Is a surge protector really necessary?
Yes, a surge protector is a vital piece of equipment for any camper. It shields your RV’s onboard electronics from power spikes and faulty wiring at the campground pedestal that could otherwise cause costly damage.
Final thoughts
Your first campsite setup feels like a major hurdle, but it is much simpler than it seems. Once you learn to spot the power, water, and sewer connections, the process quickly transforms into a repeatable, stress-free routine.
Go slowly, follow the same setup order every time, and do not hesitate to ask a neighbor for help if something does not look right. A little extra care goes a long way, and before you know it, managing your RV hookups will feel like a normal part of arriving at your destination rather than the most challenging part of the trip.
This post may contain affiliate links. If you make a purchase through these links, I may earn a small commission at no extra cost to you.