How to Winterize an RV Without Missing a Step
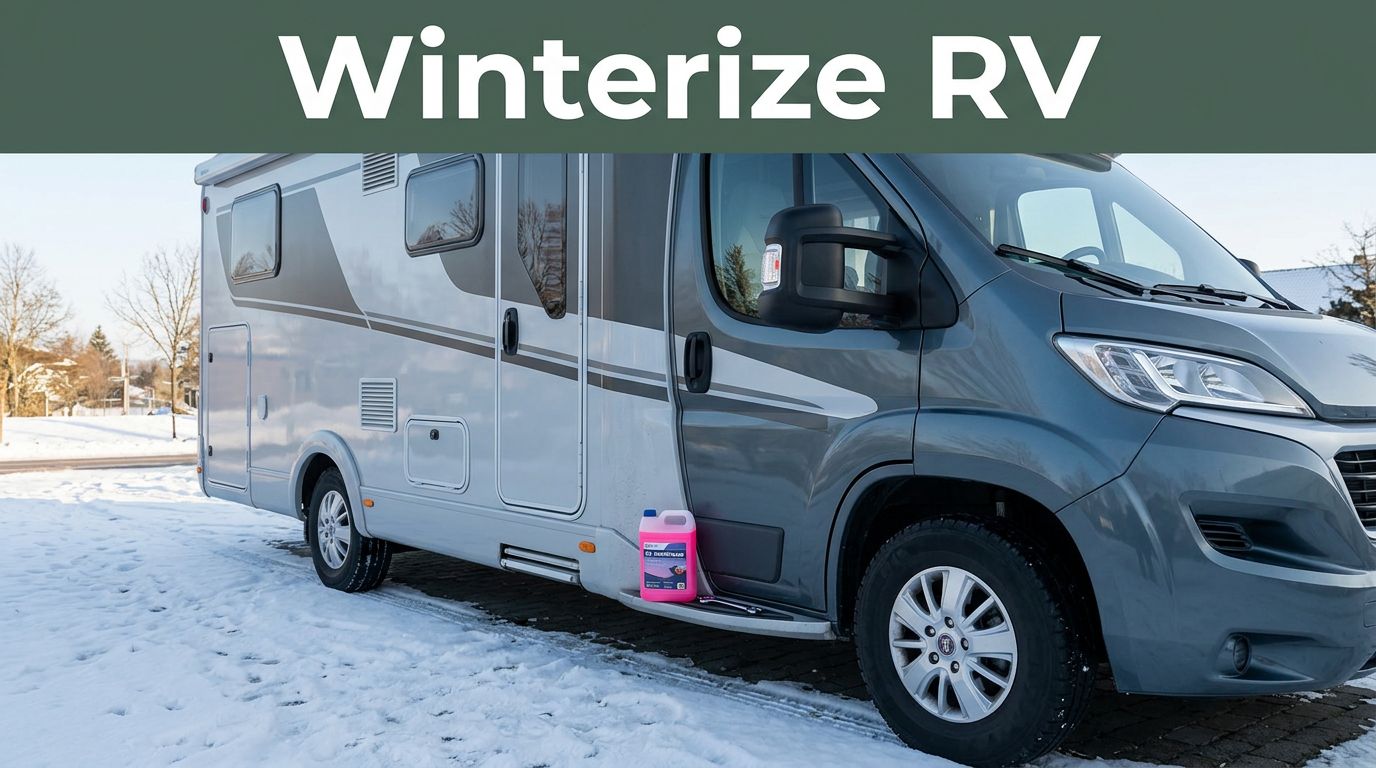
Frozen pipes can crack a fitting long before you see the damage. If you want to winterize RV systems the right way, the job depends on order, not luck.
A rushed afternoon can leave water hiding in one low spot, one outside shower line, or one forgotten filter canister. When freezing temperatures arrive, they can cause hidden leaks, soft flooring, and costly repair bills. The steps below help you put your RV away with confidence and bring it back out ready for camping.
Key Takeaways
- Follow a Precise Order: Winterizing is about process, not speed; start by draining all tanks and low-point lines before clearing the plumbing to ensure no water remains trapped.
- Protect the Water Heater: Always bypass the water heater before adding antifreeze to prevent wasting fluid and damaging the tank unit.
- Use the Right Materials: Only use non-toxic, pink RV antifreeze designed for plumbing systems, and keep air pressure low (30-40 psi) when using a compressor to avoid cracking fittings.
- Address Hidden Areas: Do not overlook secondary water sources like outside showers, washer hookups, black-tank flush ports, and ice maker lines, as these are common spots for freeze damage.
- Complete Seasonal Storage: Beyond plumbing, protect your RV by cleaning out food, maintaining batteries, checking exterior seals, and securing the cabin against rodents.
Start with the right plan and supplies
Before you touch a drain valve, confirm what kind of RV plumbing your vehicle has. Whether you own a travel trailer, motorhome, camper van, or small Class B used for van life, they all follow the same general rules, though the fixtures can differ. Check the owner’s manual to locate your water heater bypass, low-point drains, water pump winterizing port, washer hookups, ice maker line, and outside shower.
This guide is designed for RV storage during the off-season or long cold spells. If you are still camping in freezing weather, you need a cold-weather use plan rather than a full system shutdown. Full-time RVers often perform a lighter version of this process between moves, while many seniors prefer a complete winter prep if the vehicle will sit idle for weeks at a time.
A short supply check saves time once you start.
| Item | Why you need it |
|---|---|
| RV antifreeze | Protects traps, valves, and plumbing fixtures |
| Air compressor with regulator | Blows water out of supply lines |
| Blowout plug | Connects compressor to city water inlet |
| Water heater bypass | Keeps antifreeze out of the heater tank |
| Basic hand tools | Removes drain plugs, anode rods, and panels |
| Battery maintainer | Helps protect battery health in storage |
The biggest mistake is starting without knowing where every water path runs. Some rigs have a bathroom sink, kitchen sink, shower, toilet sprayer, outside shower, washer prep, black-tank flush, and fridge line. Each one matters, so ensure your water pump is ready for the transition.
If you like seasonal reminders and practical camping tips, RV Life Insider has both a newsletter and a broader resource hub. You can browse View All Our Newsletters for updates, and View Our Website for travel guides, blogs, planning tools, and community resources.
If you have sore knees, balance issues, or limited reach, set yourself up for success first. Use a kneeling pad, a bright work light, disposable gloves, and a printed checklist. That small prep step helps seniors move slower, stay organized, and ensure they do not miss any vital steps.
Drain every part of the water system first
Start with the water heater switched off and fully cooled. Then disconnect city water, turn off the pump, and open a faucet to release pressure. After that, empty the holding tanks at an approved dump station if they still contain waste water.
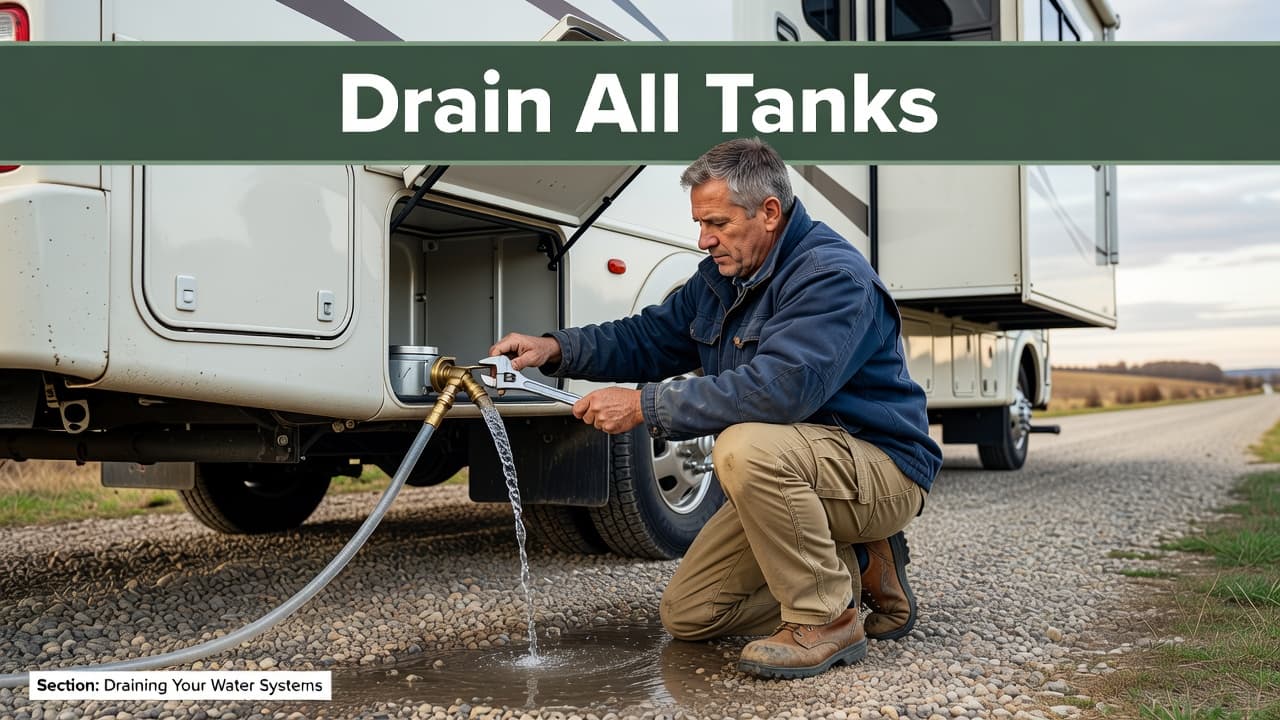
Follow a simple order so water has a clear path out:
- Dump and rinse the black and gray tanks.
- Drain the fresh water tank.
- Open the low-point drains.
- Remove the drain plug or anode rod to drain water heater units completely.
- Open all hot and cold faucets, one fixture at a time.
- Flush the toilet and open any outside shower or sprayer.
Leave faucets open while the system drains. Hot and cold lines can trap water in different places, so open both sides at each sink and shower. Don’t forget the bathroom sink if it sits on its own branch line. This is also an ideal time to sanitize the tanks to ensure a clean start for your next season of camping.
Your water heater needs special attention. Once it is cool, remove the drain plug or anode rod and let it empty fully. If your RV has a bypass valve, set it now. If it does not, add a bypass valve kit before winter. Otherwise, you will send gallons of antifreeze into a tank that does not need it.
Bypass the water heater before you pump antifreeze, or you will waste fluid and still risk trapped water elsewhere.
Look for the small stuff while you are draining. Filter housings, hand sprayers, washer hookups, a black-tank flush port, and ice maker lines are easy to miss. So are exterior kitchens and utility showers. Many spring leaks start in those forgotten extras, not the main sink.
Give the system time. A few extra minutes at this stage can save hours of repair work later.
Clear the lines, then protect them with RV antifreeze
Use compressed air with a light touch
Once the tanks and heater are drained, blow out the water lines. Set your air compressor regulator low, usually around 30 to 40 psi unless your manufacturer says otherwise. High pressure can damage fittings, check valves, and plastic plumbing parts.
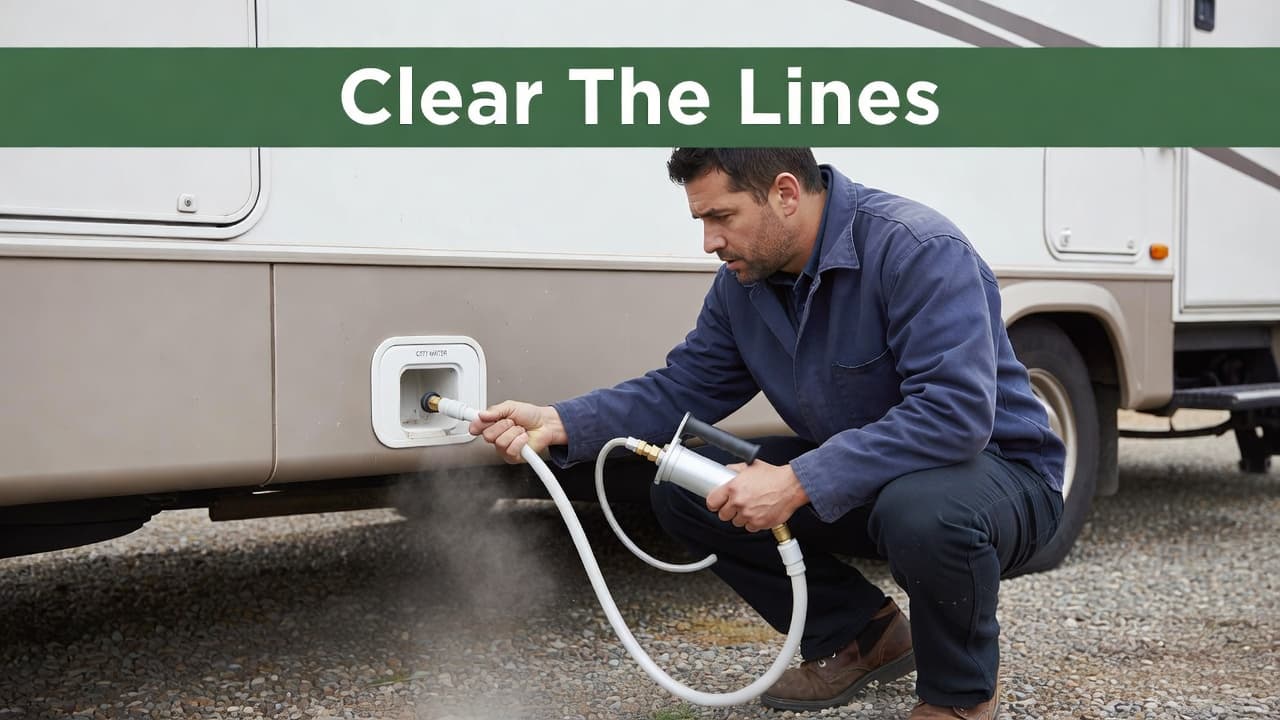
Attach the blowout plug adaptor to the city water connection. Then open one fixture at a time until only air comes out. Work through the kitchen sink, bathroom sink, shower, toilet, outside shower, and any add-ons. Using an RV winterizing checklist can help you track these fixtures so you do not miss any branch water lines. Repeat on both hot and cold sides. Meanwhile, cycle the toilet valve a few times because a small amount of water can stay behind the seal.
If your RV has washer hookups, run each valve briefly. If it has a black-tank flush, clear that line too. A missed flush line is a common weak spot because people do not see it inside the coach.
Run non-toxic RV antifreeze where water still hides
Air helps, but it does not protect every valve and trap. That is why most people who winterize an RV also use RV antifreeze, the pink, non-toxic kind made for plumbing systems. Do not use automotive antifreeze in any fresh water or waste water component.
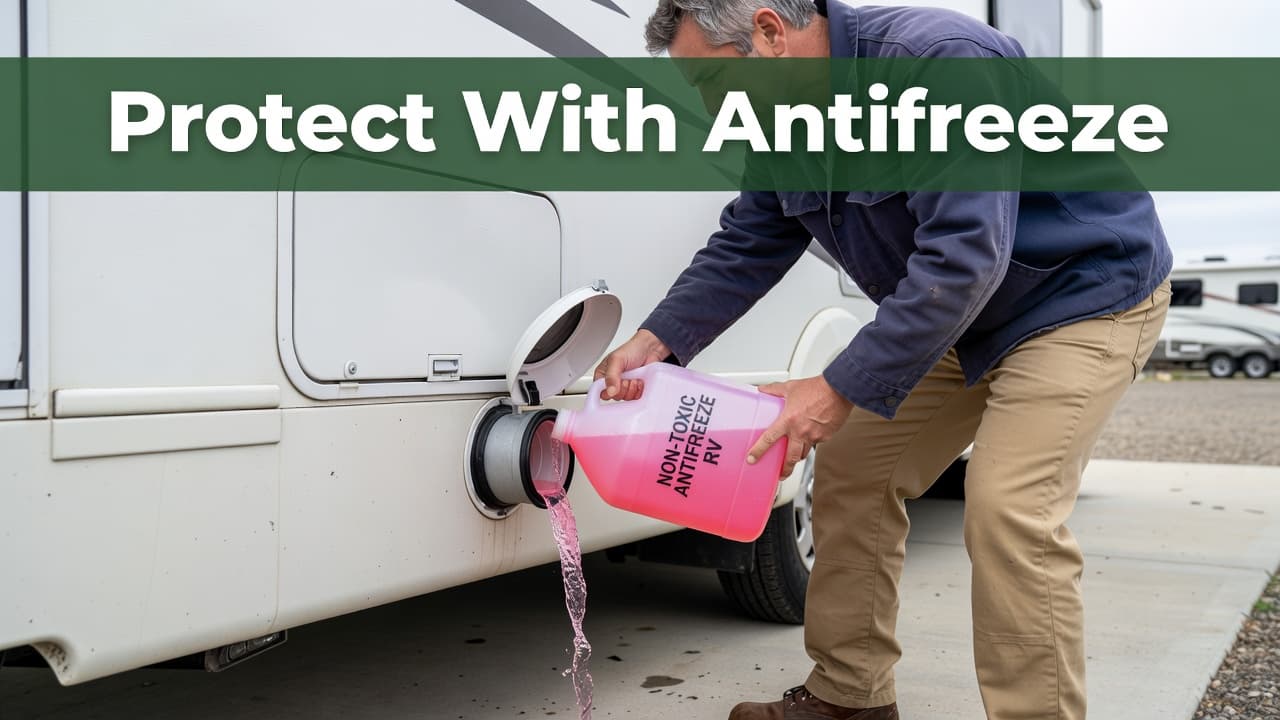
If your rig has a winterizing siphon tube, place it in the jug of non-toxic antifreeze and use the pump to draw fluid into the lines. If it does not, you may need a hand pump at the city water connection, depending on your setup. Keep the water heater tank bypassed before you begin.
Run each faucet until pink antifreeze appears. Do the cold side first, then the hot side. Move through every fixture in the same order you used for air. Flush the toilet until the fluid shows there too. Finally, pour some of the product into every drain, including the shower, so the P-traps stay protected.
A common point of confusion is the fresh tank. In many RVs, you do not fill the fresh tank with antifreeze. You pull it through the pump and plumbing instead. The owner manual settles that question fast.
Pink fluid at one faucet does not mean you are done. Check every branch line before you close up.
Finish the job with storage checks most people skip
Plumbing gets most of the attention, but winter can hurt the rest of the RV too. Start inside. Remove food, wipe down cabinets, empty the fridge, and leave the fridge and freezer doors cracked open. Moisture and stale air can create odors fast during RV storage.
Next, prioritize proper battery maintenance to ensure your power source survives the cold. A neglected battery can be dead long before spring, so turn off parasitic loads, disconnect the battery if needed, and use a maintainer if your storage setup allows it. If you have flooded lead-acid batteries, check fluid levels according to the manufacturer’s directions before storing the vehicle for the season.
Outside, inspect roof seams, window seals, and compartment doors to check for leaks. Small gaps invite water and pests. Replace brittle caulk where needed, and treat rubber seals with a product approved for your rig. Also, check tire pressure before storage and cover the tires if the unit will sit in direct sun.
Rodents love a parked RV because it is dark, dry, and full of nesting material. Remove paper goods, vacuum crumbs, and close entry points around plumbing and wiring. Some owners add traps in storage bays, while others rely on regular checks. Either way, do not leave pet food or snacks inside.
For seniors, safety matters as much as the RV. Skip roof work if the ladder feels risky. A mobile RV tech can handle high seal checks, battery service, or hard-to-reach fittings for less than a major spring repair. That is often money well spent.
If you camp late into fall, keep one last winterizing session on the calendar after your final trip. The weather does not care that you only took the RV out for one weekend.
Frequently Asked Questions
Do I need to fill my fresh water tank with antifreeze?
No, in most RVs you should not fill the fresh water tank with antifreeze. Instead, you use the RV’s water pump or an external hand pump to siphon the antifreeze directly through the plumbing lines.
What should I do if I don’t have a water heater bypass valve?
You should install a bypass valve kit before attempting to winterize your RV. Without one, you would have to fill the entire water heater tank with expensive, non-toxic antifreeze, which is inefficient and unnecessary.
Is it okay to use automotive antifreeze in my RV pipes?
Absolutely not. Automotive antifreeze is toxic and can cause serious health risks or permanent damage to your RV’s freshwater system; always use specialized, non-toxic pink RV antifreeze.
How do I prevent pests from entering my RV during winter storage?
You should remove all food, crumbs, and paper goods from the interior to eliminate incentives for rodents. Additionally, inspect and seal gaps around plumbing and wiring entry points to block potential nesting sites.
Final thoughts
When you take the time to winterize RV systems in the correct order, the entire process becomes far more manageable. By draining the plumbing system, clearing the lines, and adding high quality RV antifreeze where it belongs, you protect your coach from costly freeze damage. Finishing with those essential storage details ensures the rest of your vehicle remains in top shape.
The hidden damage almost always comes from one missed step rather than the entire process. Slow down, follow a reliable checklist, and you can ensure your spring camping season starts with a fully functional water system instead of a frustrating repair appointment.
This post may contain affiliate links. If you make a purchase through these links, I may earn a small commission at no extra cost to you.