RV Site Checklist: First Steps at Your Campsite
The first 10 minutes after arriving at a campsite can dictate the tone for your entire stay. Mastering your site management ensures you avoid common frustrations, such as a crooked park job, a low-hanging branch, or a rushed hookup that forces you to fix problems later. Taking the time to assess current site conditions prevents unnecessary work, allowing you to settle in comfortably before dinner.
A simple site checklist helps you slow down and establish a routine, which leads to a smoother experience. This approach is beneficial for weekend campers, those living the van life, and full time RVers alike. A systematic process is especially important for seniors, as eliminating do-overs means fewer trips around the rig, less bending, and a safer overall setup.
Key Takeaways
- Prioritize the Site Walkthrough: Always conduct a physical site inspection before parking to identify hazards like low branches, tree roots, or utility placement, which prevents costly re-parking.
- Follow a Strict Setup Order: Establish a consistent routine by leveling the RV first, then extending slides, and finally connecting utilities to minimize stress and prevent mechanical or safety issues.
- Use a Standardized Checklist: Keep a physical or digital checklist in your rig to maintain a consistent workflow, which is particularly beneficial for reducing fatigue and physical strain during arrivals.
- Emphasize Site Safety: Keep walkways clear of hoses, cords, and gear to prevent tripping hazards, especially after dark, while ensuring entry steps are stable and properly illuminated.
Pause Before You Start Setting Up
When you first pull into your destination, avoid the urge to immediately grab your leveling blocks or power cord. Instead, stop short of the pad if you can, take a breath, and conduct a thorough site inspection.
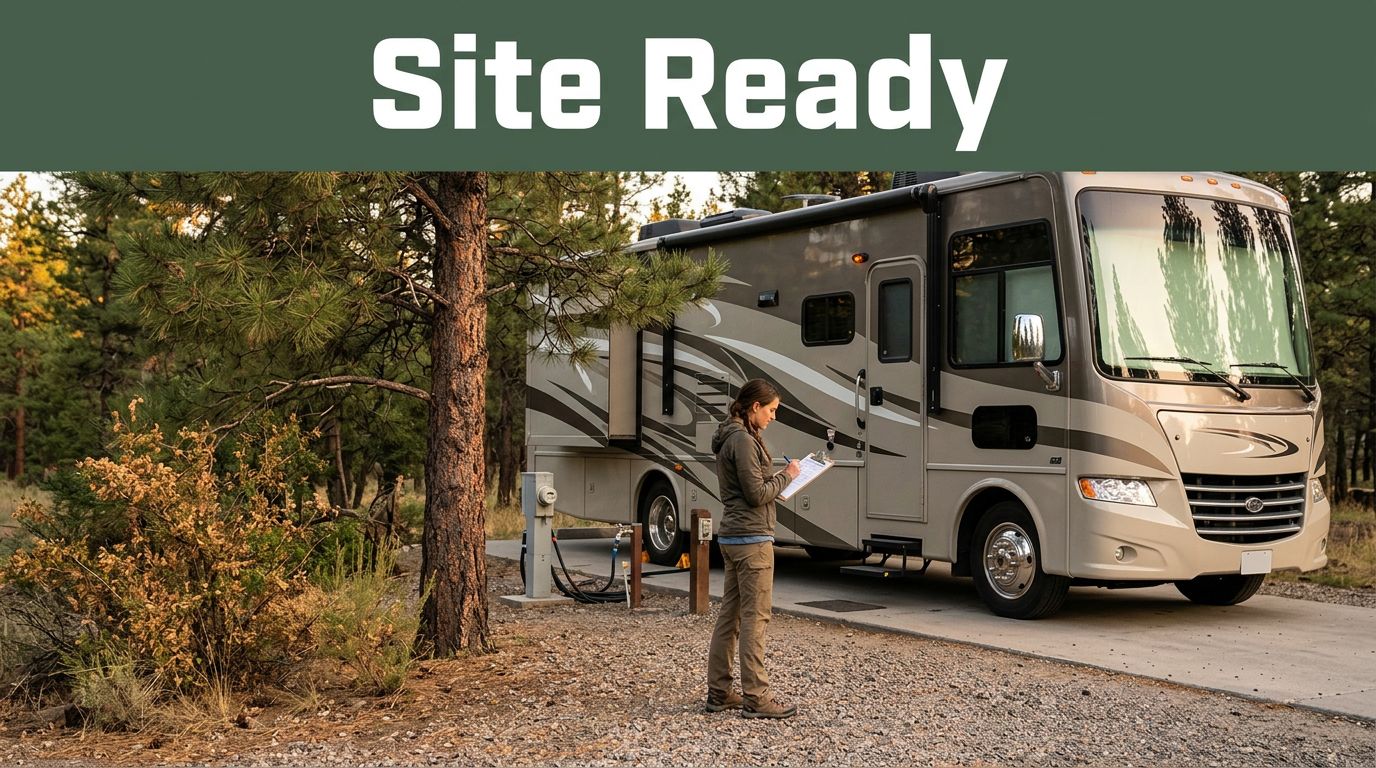
This short pause allows you to evaluate the physical environment and identify any potential hazards before you commit to a parking position. Look for low branches, tree roots, muddy spots, sharp slopes, or loose gravel that could complicate your stay. You should also note the location of the power pedestal, water spigot, and sewer connection, as well as the placement of the picnic table and fire ring, which might affect your slide clearance and overall parking angle.
Among the best camping tips, this one pays off every trip. A quick walk around the site can save you 20 minutes of having to move the RV again. To keep things organized, follow this site inspection checklist:
- Stop where you still have enough site access to pull forward or back up comfortably.
- Walk the perimeter and look up, down, and around for obstacles.
- Locate the utility hookups to ensure your cables and hoses will reach.
- Finalize the exact spot where your wheels need to land.
If you travel with a partner, always assign one person as the dedicated spotter. Following established safety guidelines, such as keeping the windows down and turning off the radio, will help prevent confusion. Use clear, slow hand signals that both of you understand to avoid common backing mistakes.
Slides deserve special attention during this process. Before you extend them, check both sides of the rig for trees, utility posts, or other structures that could block their path.
Late arrivals call for even more care. Shadows hide ruts and stumps, and tired drivers often miss small details. When light is low, use flashlights to illuminate the area and keep your initial setup basic. You can always fine-tune the position of your chairs and rugs in the morning.
A calm arrival starts with a walk, not a hookup.
Get the RV Level and Stable First
Once you have picked the right spot, level the rig before you do anything else. That means before the awning, before the chairs, and before the coffee.
When your RV sits level, doors swing correctly, counters feel normal, and sleep is much more comfortable. Maintaining the structural integrity of your rig is vital, as a level frame prevents unnecessary stress on doors, cabinets, and chassis components. Some refrigerators also require a level surface to function properly, so this step is about more than just your personal comfort.
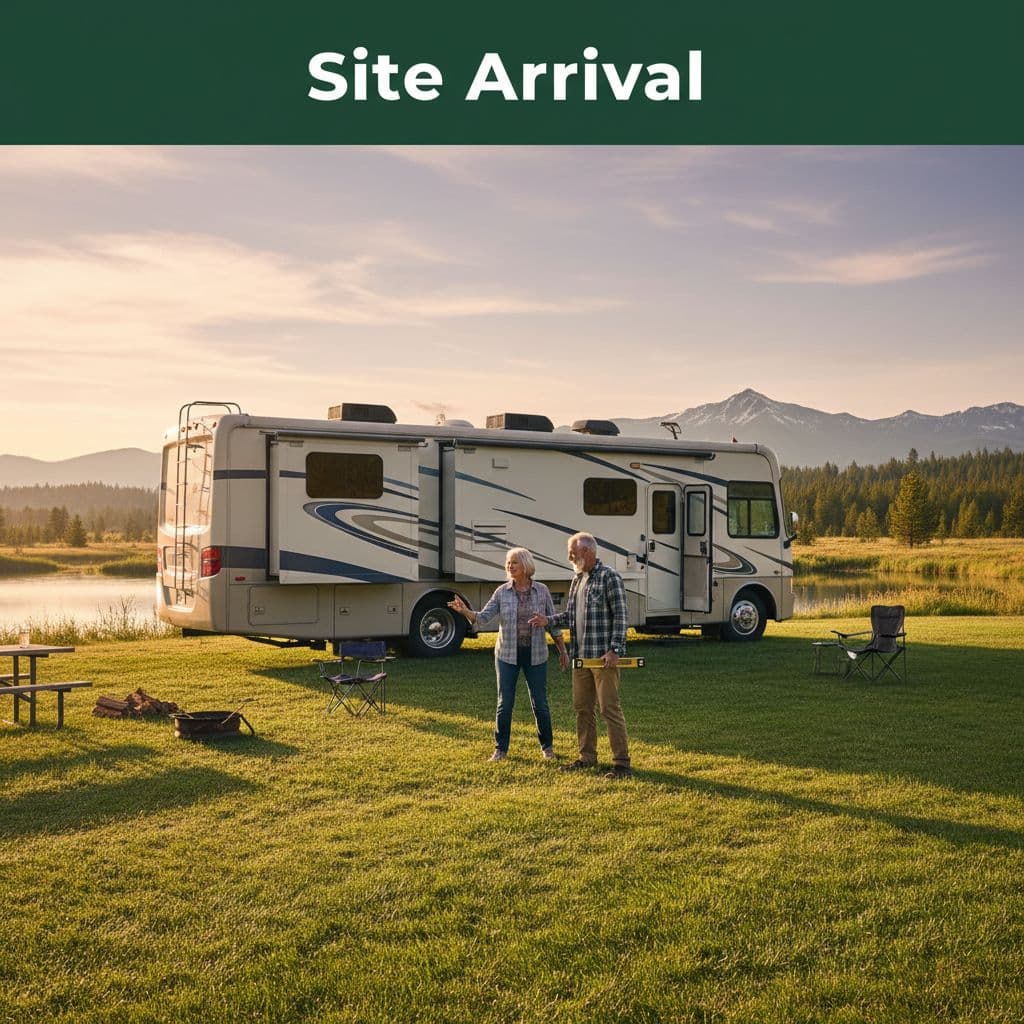
Start by engaging the parking brake, then chock the wheels if your rig requires it. After that, utilize your leveling blocks or your auto-level system. When managing this equipment and machinery, always place pads under the jacks or stabilizers if the ground is soft to prevent them from sinking.
Many RVers rush this step because they want power and air conditioning immediately. However, failing to get level can make the whole site feel off. You will notice it when the shower does not drain well or when the bed feels like a hill.
Slides come next, not first. Once the rig is level and secure, perform a final quality control check by walking around the exterior to confirm you have enough room to extend each slide. Do not rely on memory from your first walk, as the clearance needs to align with the specific design specifications of your unit. Angles change once the RV is parked, so verify the path of travel for every slide.
For seniors, this part is worth doing slowly. Uneven ground raises the risk of slips, and repeated climbing in and out of the rig wears you down quickly. A solid step, a stable handhold, and a level floor make the rest of the setup easier on your knees and back.
Keep the routine simple and repeat it every time. That way, you do not have to think hard when you are tired, hot, or arriving in the rain.
Level first, then slides, then hookups. That order prevents a lot of trouble.
Connect Hookups in an Order That Makes Sense
After the rig is parked and stable, move to utilities. A steady order matters here because cords and hoses can turn a campsite into a tripping hazard in minutes.
Power usually comes first. Turn the pedestal breaker off before plugging in. To maintain proper safety compliance, always connect your surge protector before attaching the main power cord. Once the cord is secure, switch the breaker on and confirm power inside the coach. If you notice any damage or flickering at the power pedestal, note it in your mental inspection reports so you can inform park management if necessary.
Next comes water. Use a pressure regulator if you carry one, then attach your fresh-water hose. If you also use a filter, place it where it belongs before turning the spigot on. As part of your initial inspection process, open the water slowly and check for leaks at both connection points.
Sewer comes last, even on full-hookup sites. Hook up the hose if you want the connection ready, but keep the black tank valve closed until it is time to dump. Leaving it open can create a messy buildup. The gray tank can stay closed too, as it helps rinse the hose later. Always ensure you are following campground compliance rules regarding sewer venting to keep your site sanitary.
This slower hookup order works well because it keeps the site organized. First, you confirm power. Then, you confirm clean water. After that, you handle the least pleasant task when your head is still clear.
Pay attention to hose and cord routing as you go. Do not stretch anything across your main walking path if you can help it. A neat site is safer at night and easier to live with during a longer stay.
If you are in a smaller rig or doing van life, the same rule still applies. You may have fewer connections, but the goal stays the same: set up what you need without blocking your own steps.
Good camping often looks boring at the start. That is fine. The quiet setups are usually the ones with fewer problems later.
Make the Outside Area Easy to Use
Once the basics are done, set up the space outside your door with comfort in mind, but keep safety first. This is where many campers start to relax, and that can lead to small mistakes. When you take the time to organize your outdoor living space, the quality of work you put into your site setup reflects how much you value a stress-free trip.
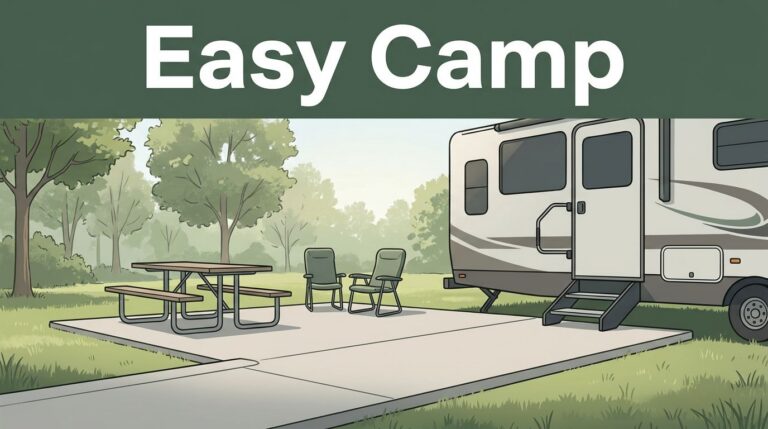
Begin with the entry area. Make sure your step is stable and the ground under it is firm. If you use a portable step, check that it does not rock. Then, clear away blocks, tools, and wheel chocks that no longer need to sit in the walkway. Clearing these items is essential because loose gear creates unnecessary safety risks for everyone moving in and out of the rig.
Lighting helps more than most people expect. A porch light, small path light, or even one lantern near the door can prevent a bad misstep after dark. While you might feel prepared, having a flashlight or your personal protective equipment nearby is a smart habit for all RVers, especially when dealing with hookups or navigating the site at night.
Now you can think about comfort. Put out chairs where you can get in and out easily. Open the awning only if the weather looks calm and you are staying nearby. Wind can turn an easy setup into a repair bill in seconds.
Outdoor mats need the same common sense. If the campground allows them, keep them flat and close to the door. A curled edge can catch a shoe, just like stray pet gear, folding tables, or coolers can. Keep the path clean to ensure your campsite remains a hazard-free zone.
This is also a good time for one last glance around the site to gather actionable feedback on your own setup. Check that storage bays are closed, steps are locked in place, and nothing blocks your exit if you need to leave quickly. Small habits like these matter more on longer stays.
The outside setup does not need to be fancy. It needs to work well for your body, your rig, and the ground under your feet.
Keep a Repeatable Site Checklist in the Cab
The best site checklist is one you can follow without much thought. That is why many full-time RVers keep a short printed card in the cab or near the entry door as a form of project documentation.
Your list does not need to be long. In fact, shorter is better because you will actually use it. A basic card might include:
- Walk the site and check clearances
- Park, brake, and chock
- Level the rig
- Extend slides if clear
- Connect power
- Connect water
- Connect sewer last
- Clear the walkway and set lights
A written routine helps when you are tired, distracted, or talking with a neighbor during setup. It also helps couples develop project plans to divide jobs without missing a step. One person can handle leveling while the other checks clearance and hookups, ensuring all stakeholders are clear on their responsibilities for a smooth setup.
For seniors, a checklist does one more thing. It cuts down on repeated motion. That means fewer extra trips outside because a cord got forgotten or a slide cannot open. You might even use these notes to record documentation findings about the site, such as specific hookup placement or shade availability, to make future visits easier.
If you enjoy practical camping tips, route ideas, and regular help for life on the road, RV Life Insider is worth keeping close. You can View All Our Newsletters for fresh updates, and View Our Website when you want travel guides, planning tools, blogs, products, and community resources.
A good checklist will not remove every surprise. Campgrounds still have odd layouts, short pads, and mystery slopes. Still, a steady routine keeps those surprises small.
Frequently Asked Questions
Why is it important to level the RV before extending the slides?
Leveling the rig first ensures that the chassis is properly supported and the doors and cabinets function as intended. Extending slides before leveling can put unnecessary stress on the slide mechanism or cause them to bind, potentially leading to costly mechanical repairs.
Should I connect my sewer hose as soon as I park?
It is generally recommended to keep the sewer hose stored until you are ready to dump your tanks. Keeping the valves closed and the hose disconnected helps maintain better site sanitation and prevents accidental spills or odor buildup at your campsite.
How can I make my arrival smoother if I am traveling with a partner?
Designate one person as the primary spotter to guide the driver using clear, pre-agreed hand signals. This division of labor reduces confusion and prevents accidents, allowing the team to complete the setup process more efficiently and safely.
Why should I turn off the pedestal breaker before plugging in my power cord?
Turning off the breaker prevents electrical arcing, which can damage the prongs on your power cord and the internal components of the campground’s electrical pedestal. Always ensure the breaker is in the ‘off’ position when making the initial connection to protect your RV’s electrical system.
Final Thoughts
The first few minutes at a campsite shape your entire stay. When you pause to walk the site, level your rig first, and connect your hookups in a steady order, the rest of your evening is guaranteed to go more smoothly. Effective site management is the secret to a stress-free experience, turning a chaotic arrival into an organized routine.
The strongest takeaway is simple: keep a site checklist you can follow every time. By treating your arrival like a structured project timeline, you avoid common mistakes and maximize your time for relaxation. Furthermore, maintaining a clean and orderly setup ensures that your emergency protocols remain accessible, allowing you to depart quickly if the situation requires. Adopting these habits leads to safer arrivals and helps you spend more time enjoying the real reason you came camping in the first place.
This post may contain affiliate links. If you make a purchase through these links, I may earn a small commission at no extra cost to you.