RV Water System Basics Every New Owner Should Know
One loose fitting can turn a calm weekend into a wet mess. For many first-time owners, the RV water system feels harder to learn than the awning or the stove because it handles clean water and waste water at the same time.
The good news is that it gets simple fast once you know where water comes from, where it goes, and what each tank does. A few solid habits can save you from leaks, bad smells, weak pressure, and messy dump-station mistakes during camping season.
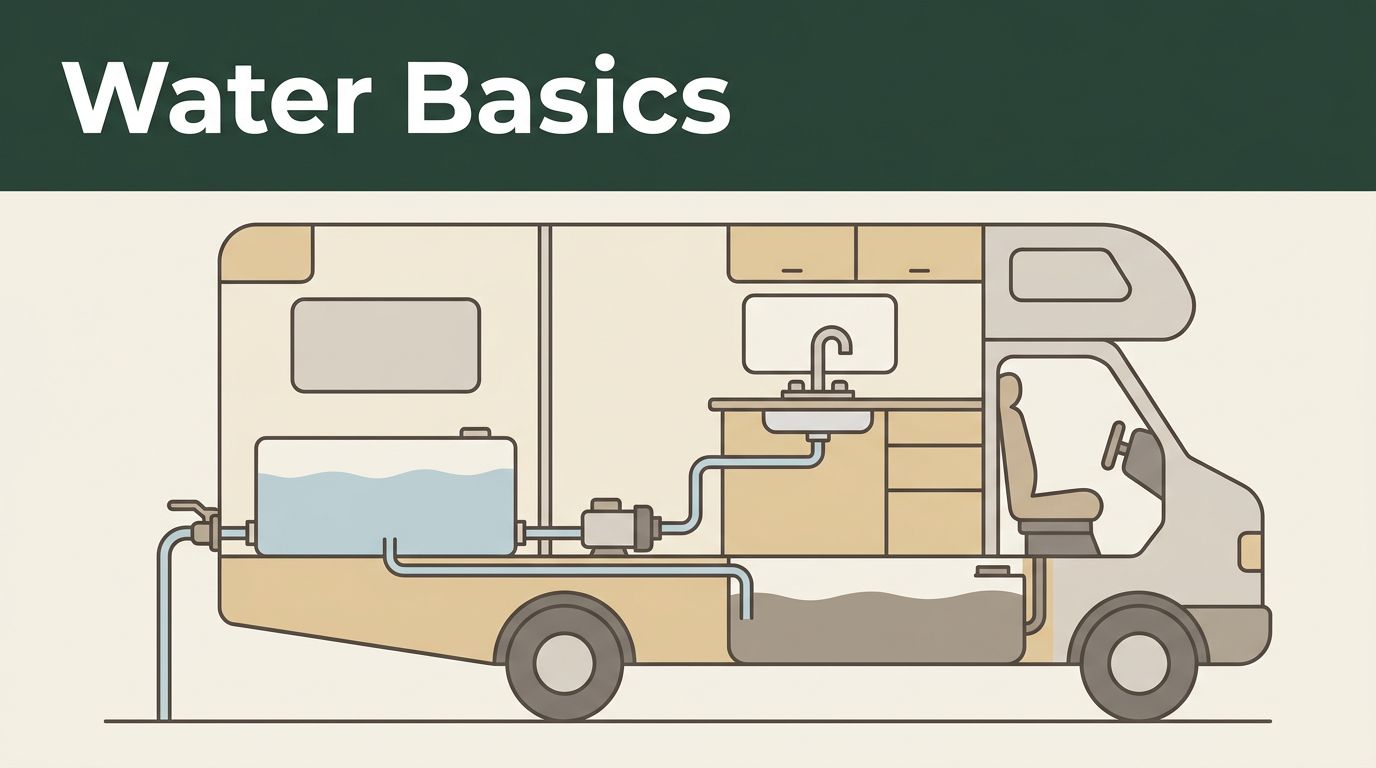
Learn the path water takes through your RV water system
When people talk about an RV’s plumbing, they often lump every hose, tank, and valve together. It helps to split the system into two jobs: bringing clean water in, and moving used water out.
This quick table gives you the basic map:
| Part | What it does |
|---|---|
| Fresh water tank | Stores clean water when you are not hooked up |
| City water inlet | Brings pressurized campground water into the RV |
| Water pump | Pulls water from the fresh tank to faucets and toilet |
| Water heater | Heats water for dishes and showers |
| Gray tank | Holds water from sinks and the shower |
| Black tank | Holds toilet waste |
That is the whole loop in plain terms. Clean water enters through the city connection or the fresh tank. Then it moves through the pump and water lines. After use, it lands in the gray or black tank.
Most RVs also have a monitor panel. It shows tank levels, battery charge, and sometimes the water pump switch. Those readings help, but they are not perfect. Tank sensors often read “full” when residue sticks to them, especially in the black tank.
You will also see a few small but important parts around the rig. Low-point drains let you empty water lines. A water heater bypass helps with winterizing. Some rigs have one main fill valve, while others have separate settings for city water, tank fill, and sanitize.
The main thing to remember is this: your RV either gets water from a pressurized campground spigot or from its own fresh tank and pump. Once that clicks, the rest feels far less mysterious.
Hooking up fresh water at the campground
When you pull into a site with hookups, city water is the easiest option. It gives you steady pressure without running the pump, and you do not have to watch the fresh tank as closely.
Still, campground pressure can be too high. That is why one of the best camping tips for new owners is to use a pressure regulator every time. High pressure can stress fittings, loosen old connections, and damage weak plastic parts inside the RV.
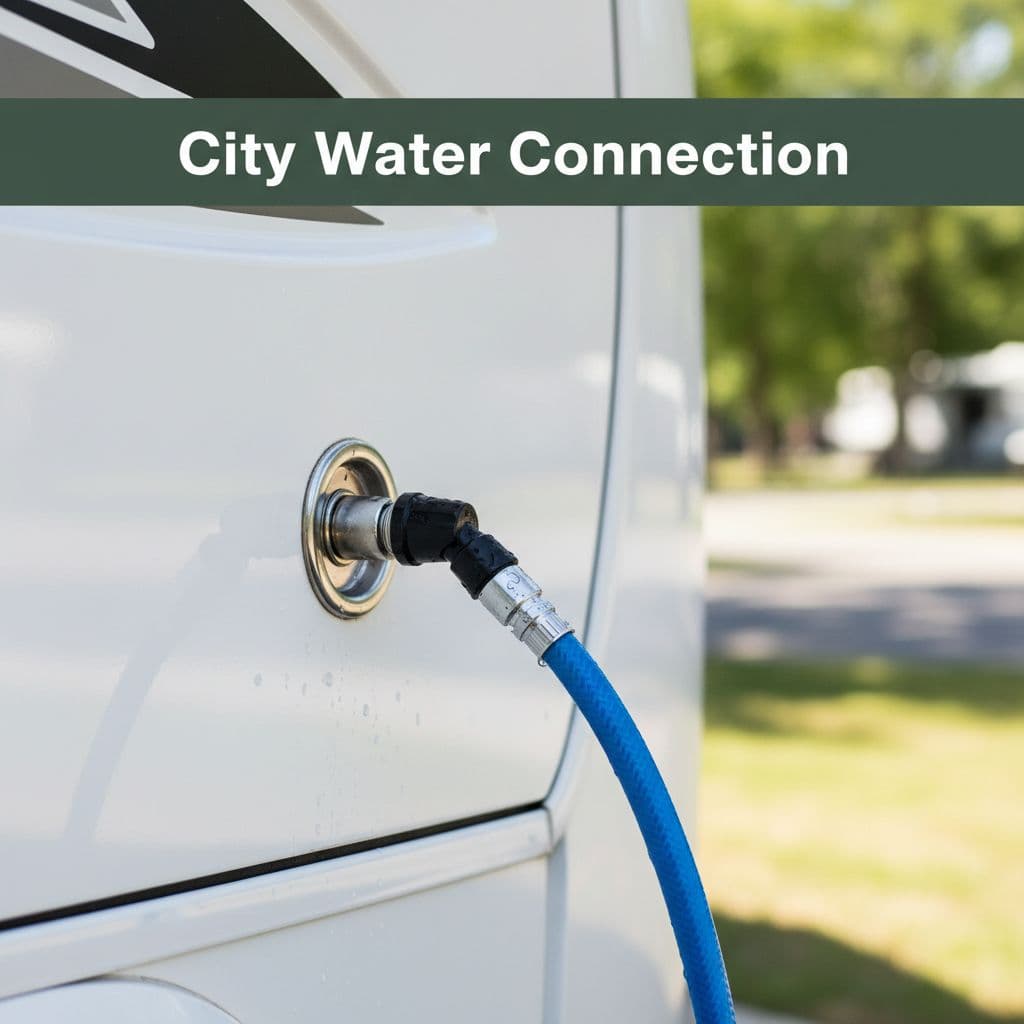
A clean hookup routine keeps things easy:
- Attach the pressure regulator to the campground spigot.
- Add a water filter if you use one.
- Connect a drinking-water-safe hose to the RV city water inlet.
- Turn the spigot on slowly, then check for drips.
Use a hose meant for fresh water, not a garden hose that sat in the garage for years. Many owners keep a white or blue hose only for clean water. Store it apart from sewer gear. That small habit matters.
Once connected, open a faucet inside for a few seconds. Air will sputter out, then the flow should smooth out. If you want hot water, fill the water heater before turning it on. The heater fills on its own when the system has pressure, but you should run the hot side of a faucet until the air is gone.
Many seniors like a short setup routine they can repeat at every stop. That is smart. A slow, steady hookup catches problems before they turn into puddles under the sink.
If the fresh tank starts filling while you are on city water, a valve may be in the wrong position. Check the water control panel and the label near the inlet. On some rigs, the setting names are easy to mix up the first few trips.
Using your pump and tank when hookups are gone
Dry camping changes the way your water system works. Instead of using campground pressure, your RV pulls water from the fresh tank with the pump.
You will hear the pump when you open a faucet or flush the toilet. That is normal. A short burst of sound means the pump is doing its job. However, if it keeps cycling when nobody is using water, you may have a leak, a loose fitting, or a check valve issue.
If the pump runs in the middle of the night with all faucets off, start looking for a drip.
Tank camping calls for a different rhythm. Showers get shorter. Dish washing gets simpler. You also learn to keep an eye on tank levels before they turn into a problem.
This matters for weekend trips, long boondocking stays, van life travel, and full time rv’ers alike. Smaller rigs often have smaller tanks, so water habits become part of daily life.
Turn the pump off when you leave the RV for a while. That lowers the chance of a hidden leak pumping gallons onto the floor. Also, never let the pump run dry for long. If your fresh tank is nearly empty, refill before the pressure starts to sputter.
Your water heater also changes how fast you use water. A hot shower feels great after a long day of camping, but it uses both water and propane or shore power. Many owners take “navy showers” when off-grid, water on to get wet, off while soaping, then on again to rinse.
With a little practice, you stop guessing. You start reading the sounds, flow, and tank levels like a dashboard.
Gray and black tanks, without the mystery
Fresh water feels easy compared with waste tanks, but this part of RV life is not hard once you follow a routine. The gray tank holds water from the shower and sinks. The black tank holds toilet waste.
That split matters because the tanks are dumped in a certain order. Black goes first. Gray goes second. The gray water helps rinse the sewer hose after the black tank empties.
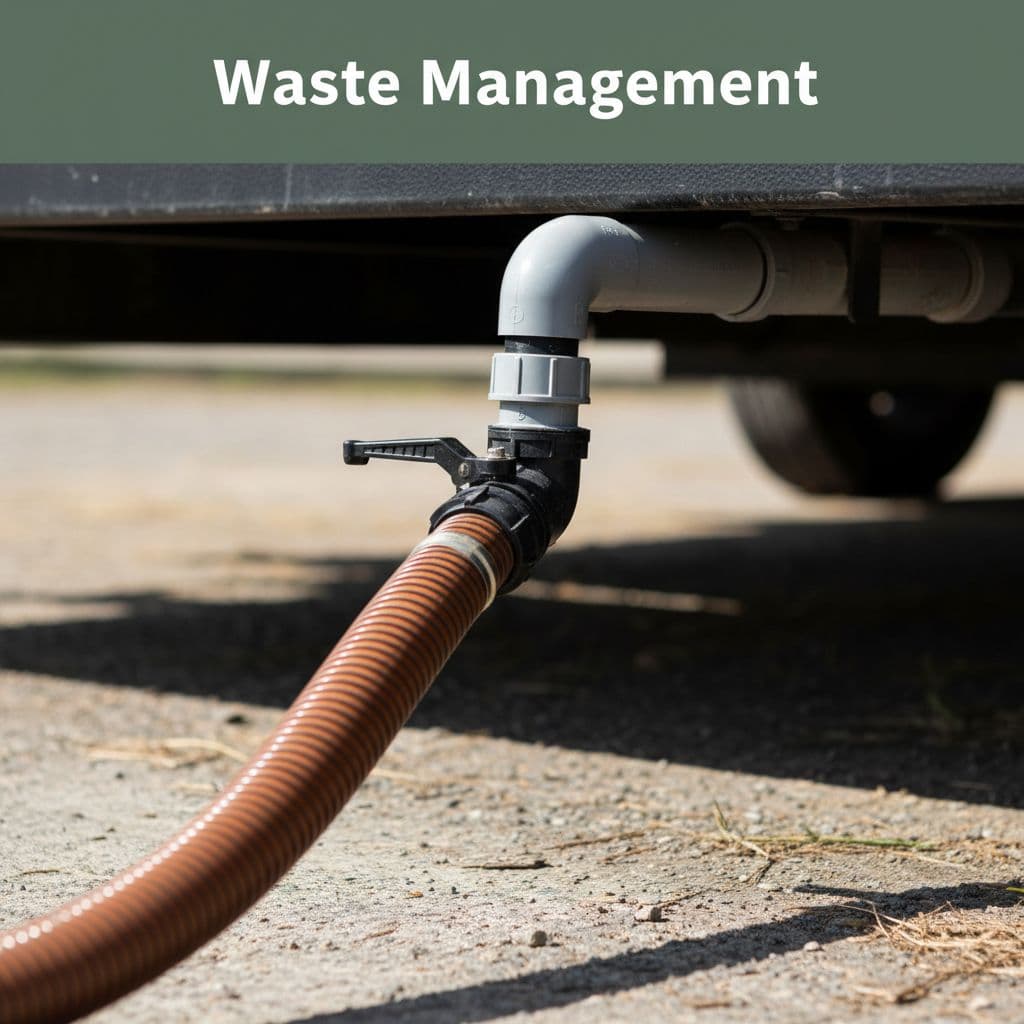
A basic dump routine looks like this:
- Connect the sewer hose to the RV outlet and the dump inlet.
- Open the black tank valve and let it drain fully.
- Close the black valve, then open the gray valve.
- Close the gray valve, disconnect, and rinse the hose if water is available.
Wear gloves, take your time, and check that the hose is seated well before opening any valve. Most problems happen because people rush.
Keep the black tank valve closed between dumps, even on full-hookup sites.
That point catches many beginners. If you leave the black valve open all the time, liquids drain out but solids can stay behind. That buildup causes odors and sensor problems, and it can create a nasty blockage.
Use plenty of water when flushing the toilet. After dumping, add some water back into the black tank before using it again. A dry black tank is trouble waiting to happen.
Gray tanks need attention too. Long showers can fill them faster than you think, especially in smaller trailers. If water backs up into the shower pan, the gray tank is often full.
Many seniors find that a set dumping day makes life easier. Instead of watching the monitor every few hours, they dump when the tank reaches a reasonable level or before travel day. That habit keeps the trip relaxed and the campsite cleaner.
Simple habits that keep plumbing trouble away
Good maintenance is mostly small work done on time. Start with a quick leak check every trip. Look under sinks, around the toilet base, near the water heater, and inside outside storage bays where lines run through the coach.
Sanitize the fresh tank and water lines on a regular schedule, especially if the RV sat for months. If the water smells stale, looks cloudy, or tastes off, clean the system before your next trip. Your owner’s manual usually gives the tank size and the cleaning steps for that model.
Cold weather needs a plan too. If freezing temps are possible, winterize the plumbing before the temperature drops. That usually means draining the system, bypassing the water heater, and pumping RV-safe antifreeze through the lines. One missed section of pipe can split and leak later.
Hose washers also deserve a look. A fifty-cent rubber washer can stop a slow drip at the spigot or city inlet. Keep a few extras in your hookup bin along with gloves, a pressure regulator, and a spare hose washer screen.
If you like plain-English help, RV Life Insider is a good place to keep learning. You can View All Our Newsletters for regular camping tips, or View Our Website for guides, planning tools, blogs, products, and community resources.
Final thoughts
A good RV water routine starts with one simple idea: know where the water is coming from, and know where it is going. Once you understand that path, the whole system feels smaller and easier to manage.
The best part is that confidence grows fast. After a few trips, your water system stops feeling like a puzzle and starts feeling like one more normal part of camping life.
This post may contain affiliate links. If you make a purchase through these links, I may earn a small commission at no extra cost to you.