RV Slide-Out Basics for First-Time Owners
A slide-out can make your RV feel twice as roomy by significantly expanding your interior floor space, but that comfort is only great until it sticks, groans, or drags across a bad campsite setup. For a first-time owner, that extra living area is a major benefit, but the moving parts require a little respect and attention.
Most slide problems start with simple mistakes rather than major mechanical failures. If you learn a few RV slide-out basics early, you will avoid a lot of stress, repair bills, and soggy seals. Start with the habits below, and your setup routine will feel a lot easier.
Key Takeaways
- Level Before You Move: Always level your RV before extending your slide-out to prevent the frame from flexing, which can cause the mechanism to bind or misalign.
- Clear the Path: Inspect both the interior and exterior for debris, rugs, furniture, or outdoor obstacles that could obstruct the slide or cause damage to the seals.
- Use Steady Power: Operate your slide in one continuous motion until fully extended or retracted; avoid tapping the switch or stopping midway to prevent mechanical stress.
- Practice Preventative Maintenance: Keep your seals clean and conditioned, and inspect your tracks for grit or debris to ensure smooth operation and prevent costly motor failures.
What a slide-out does, and why the basics matter
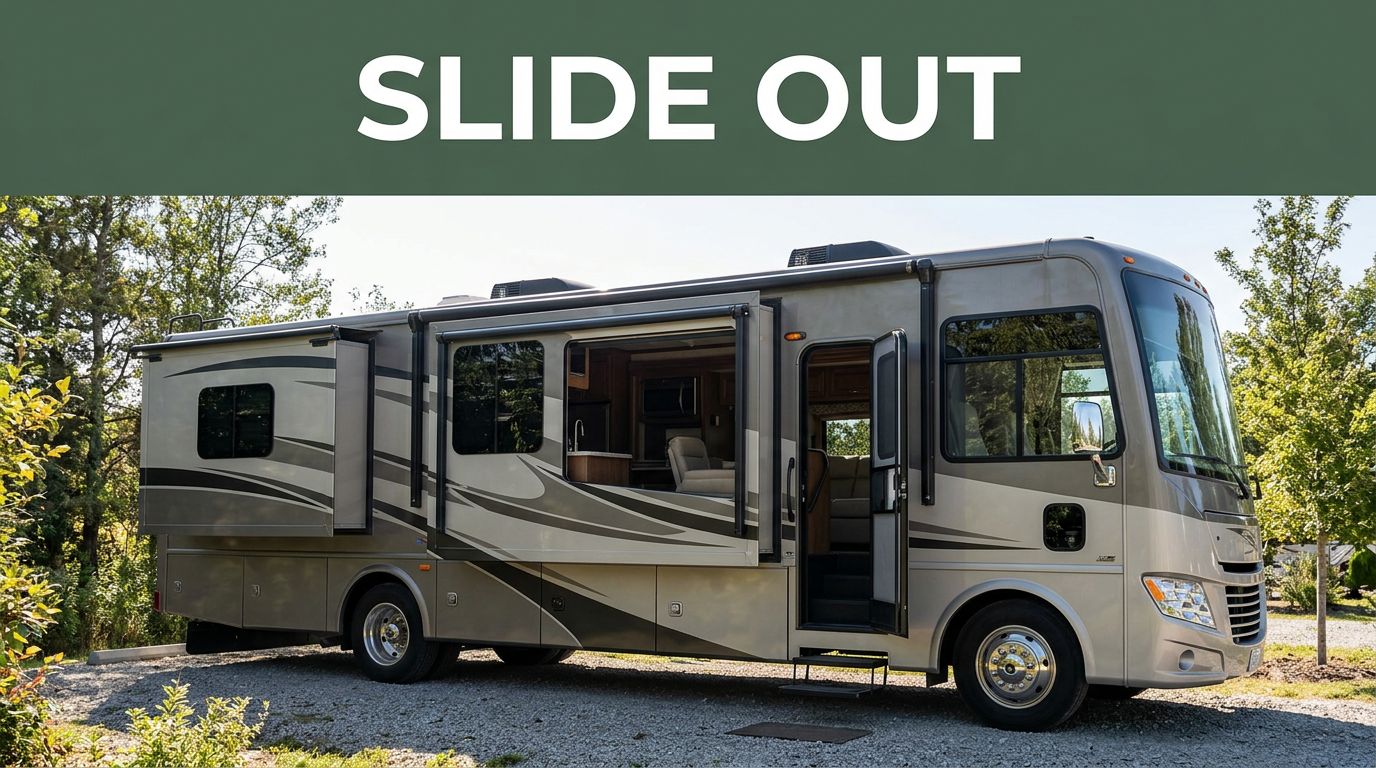
A slide-out is a movable section of the RV wall that extends outward to create more living space. It may hold a sofa, dinette, bed, kitchen, or even part of the bathroom. When it is in, the coach is compact for travel. When it is out, you get the elbow room that makes longer trips more comfortable.
That comfort comes with trade-offs. A slide relies on motors, gears, rails, seals, wiring, and strong framing. If one part is strained, the whole system can complain. Because of that, good habits matter more than force.
If you moved up from van life, slides may feel like a luxury feature. They are, but they are also one of the biggest mechanical differences between a van and a larger RV. While a van has fixed walls, a larger rig features a complex slide-out mechanism that requires consistent attention. A motorhome or trailer with slides asks more from you at every stop.
There are several slide systems on the market. Some use a rack and pinion design, while others utilize hydraulic slide-outs, the Schwintek system, or cable-driven setups. Whether your rig uses a hydraulic pump or an electric motor to power the movement, you do not need to know every part name on day one. You do need to know what your RV owner’s manual says about leveling, battery charge, travel locks, and manual override. If you own a model with massive full-wall slide-outs, keep in mind that these require even more care due to their sheer size and weight.
For many first-timers, the biggest mistake is treating the slide switch like a power window. It is not. A slide moves more weight, over a longer path, and depends on the coach being set up correctly first.
For seniors, a slower setup routine is often the safest one. Good light, steady footing, and a simple sequence beat rushing every time. Among all camping tips for beginners, this one saves the most trouble: make the RV stable before anything moves.
Set up the campsite before you touch the switch
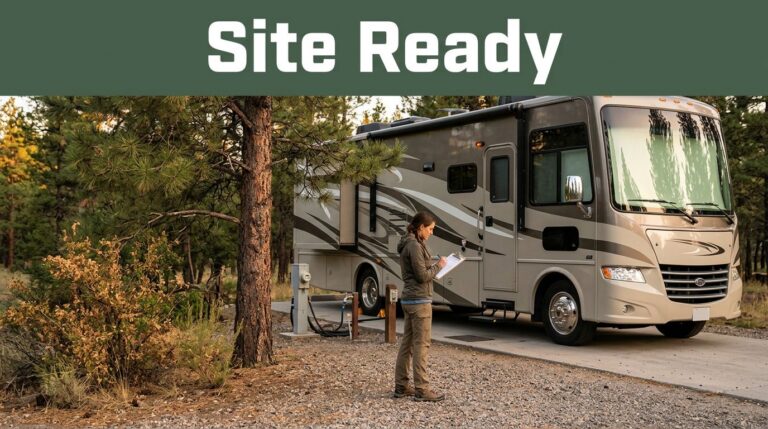
Your slide should never be the first thing you extend after parking. First, check where the RV sits and what surrounds it. Look for trees, power pedestals, picnic tables, fire rings, and slope. A slide needs room on the outside, but it also needs a coach that isn’t twisted.
Unless your manual says otherwise, perform leveling the RV before you run the slide.
That one step protects alignment. If the coach leans or flexes, the slide can bind as it moves. By leveling the RV, you ensure that doors do not rub, cabinets do not shift, and seals sit flush against the frame when the room stops.
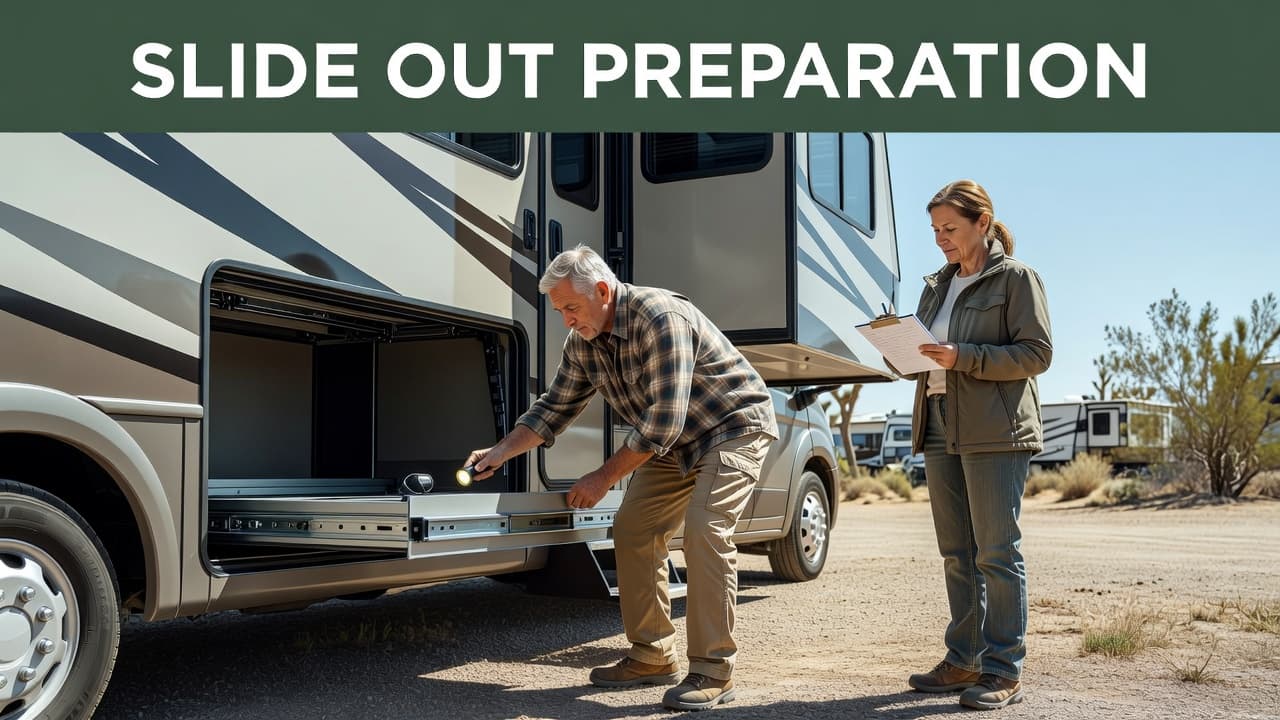
Use this arrival routine before every extension:
- Park with enough side clearance for the slide and awning.
- Chock the wheels if you are in a trailer or fifth wheel.
- Perform leveling the RV according to your owner’s manual.
- Check your 12-volt battery charge levels, because weak voltage can slow the motor and lead to incomplete extension.
- Walk outside and clear sticks, mud, or debris from the slide path and slide-out toppers.
- Look inside for chairs, rugs, cabinet doors, or loose items that could catch.
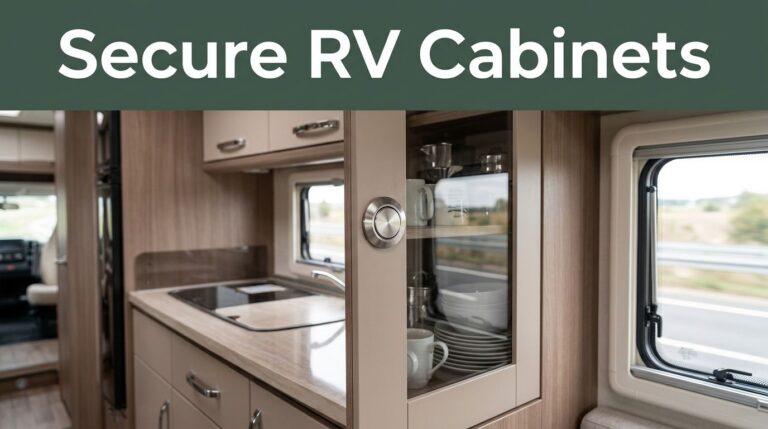
Inside checks matter more than many people expect. A slightly open drawer can jam a slide. So can a recliner footrest, a dog bed, or a floor mat bunching near the base. When moving heavy gear or furniture near the slide, always respect the manufacturer weight limit to avoid unnecessary strain on the mechanism. If the RV has a bed slide, confirm the bedding is not hanging over the edge.
This is also a good time to watch the weather. If a hard rain is coming in an hour, you may choose a different setup plan. Wet slide-out toppers and pooled water are not the end of the world, but they do add cleanup before you retract later.
Many full-time RVers keep a printed setup list near the entry door. That habit sounds basic, yet it works. After a long driving day, even experienced campers forget small steps.
How to run a slide smoothly every time
Once the RV is level and clear, use steady power and one clean motion. Press and hold the switch until the slide finishes moving. Don’t tap it in short bursts unless your manual tells you to. Stop-start operation can confuse the timing on some systems and add extra strain to your slide-out mechanism.
Listen while it moves. A normal slide-out mechanism has a consistent sound. It may hum, click lightly, or whir, depending on the design. What you don’t want is loud popping, grinding, jerking, or one side moving ahead of the other. Also, avoid using external slide-out supports unless specifically recommended by your manufacturer, as these can easily cause misalignment or mechanical damage.
Keep people clear while the room travels. That includes kids, pets, and helpful adults who want to guide it by hand. Nobody should push on the wall from outside or pull furniture from inside during movement.
Retraction matters as much as extension. Before you bring the room in, step outside again. Check the roof edge if you can do it safely. Debris and dirt can ride inside and damage seals. For seniors, a long-handled soft brush is often easier than climbing.
A simple before-and-after habit keeps slides healthy:
- Before extending, clear the path and confirm the coach is level.
- Before retracting, clear debris and check that the interior is travel-ready.
If your slide has a topper awning, don’t assume it cleaned itself. Those toppers help, but they still collect debris. In addition, wind can roll material into awkward spots.
Try not to stop the slide halfway for storage or airflow unless the manual allows it. Many systems are happiest fully extended or in the fully retracted position. Partial positions can leave seals folded the wrong way and place odd weight on the mechanism.
Maintenance that prevents leaks, drag, and costly repairs
Consistent slide-out maintenance is the most effective form of preventative maintenance for your RV. If you neglect these systems for a full season, minor issues can quickly escalate into expensive repairs. To keep your rig in top shape, prioritize cleaning your slide-out seals, inspecting the edges for wear, and examining the moving hardware every time you wash your vehicle.
Rubber slide-out seals are essential because they keep moisture, pests, and road debris out of your cabin. Wipe them clean periodically with a soft cloth to remove grit. Check for cracks, tears, or areas where the seal has lost its shape or pulled away from the wall. If the rubber feels dry or stiff, apply a high-quality rubber seal conditioner to keep the material supple and provide long-term protection.
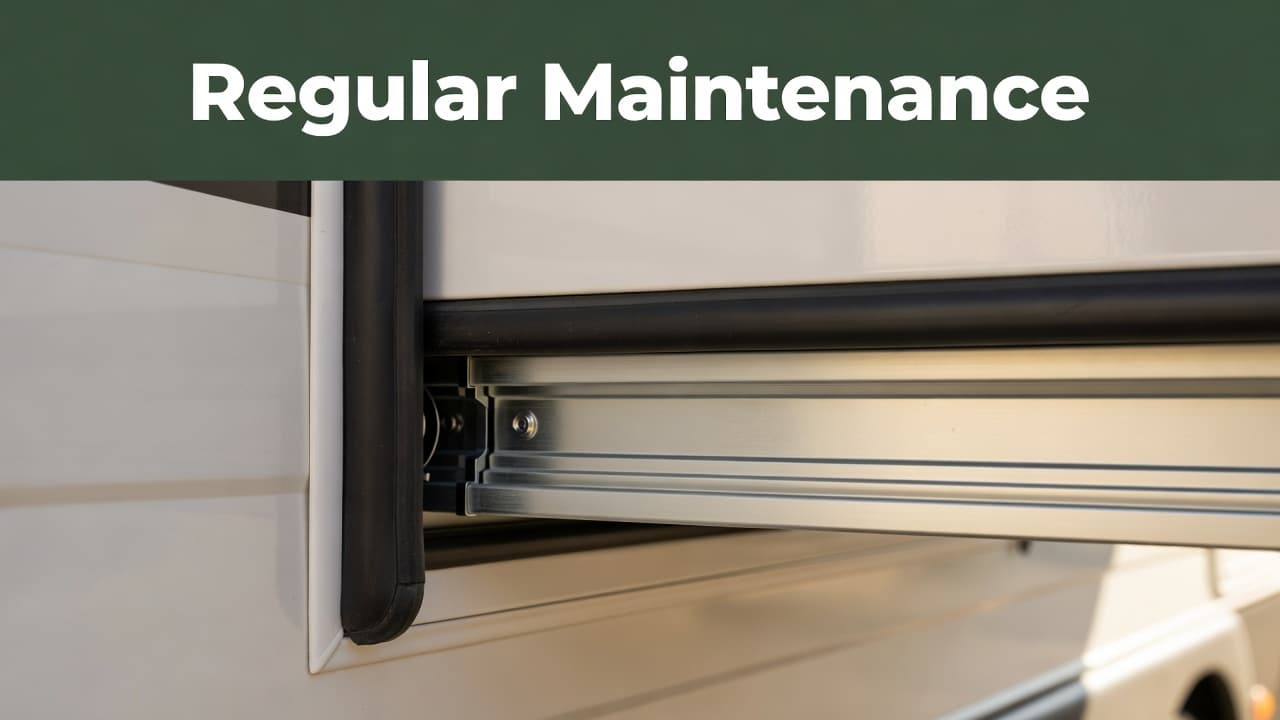
The slide-out tracks and gear assemblies also require attention. Dirt, old grease, and road grime create unwanted drag that puts stress on your motor. When performing lubrication, check your owner manual to see which components require maintenance. Most systems perform best with a dedicated dry lube, as heavy oils tend to attract grit and dust. Always ensure your slide-out tracks remain clean and free of debris to prevent unnecessary friction.
Watch for these early warning signs that indicate trouble:
- The slide moves slower than it used to.
- One side reaches the stop before the other, indicating potential alignment issues.
- The floor scrapes or leaves visible marks on the interior.
- You notice daylight, damp spots, or dust accumulation near the slide-out seals.
- The motor strains, makes loud clicking noises, or stops before completing its travel.
If you spot one of these signs, avoid repeatedly cycling the slide in an attempt to fix it. Continued use can turn a minor alignment issue into a bent track or a burned-out motor.
Seasonal checks are vital, especially if your RV sits idle between trips. Operate the slide once or twice before heading out on a major camping run, then carefully inspect all seals, corners, and exterior trim. Weekend travelers can easily fold these checks into a regular wash day, while full-time RVers should perform a quick inspection of the seals and hardware before every travel day.
What to do when a slide-out won’t move
If your slide-out stops moving, immediately take your finger off the switch. A stuck slide is usually caused by a power issue, a physical obstruction, or an alignment problem. Repeatedly pushing the button will not fix the issue and often leads to motor burnout, which is a much more expensive repair.
Start by checking the basics. Is your battery fully charged, or is shore power disconnected? Ensure that any travel locks have been removed and that no interior furniture or debris is blocking the path. It is also important to verify that your RV has not shifted off-level. These simple oversights account for many unnecessary service calls.
If the power supply seems fine, consult your manual override instructions before you actually need them on the road. Most owners wait until they are stuck in the rain at dusk to look for these steps, which adds stress to an already difficult situation. Keep your owner manual, the necessary override tool, and a bright flashlight in an accessible location at all times. If you have a hydraulic system, check your hydraulic fluid levels as part of your troubleshooting process.
If your slide begins to move unevenly, stop immediately. The same rule applies if you hear grinding metal-on-metal noises or notice torn seals and visible frame distortion. In these cases, inspect the gear assembly for broken teeth or debris. If the damage appears significant, contacting a mobile RV technician or a certified service center is the smartest move to prevent further harm.
Good support helps new owners build confidence. RV Life Insider is a useful resource for learning how to handle these situations, especially if you appreciate practical advice for real camping life. You can View All Our Newsletters for fresh camping tips, or View Our Website for blogs, travel guides, planning tools, community conversations, and product picks.
Consistent learning matters because every rig has its own quirks. The more familiar you become with your specific setup, the faster you will notice when something feels off, allowing you to address small issues before they turn into major equipment failures.
Frequently Asked Questions
Is it safe to use support jacks under my slide-out?
It is generally recommended to avoid using external slide-out supports unless your specific manufacturer manual advises otherwise. These jacks can cause significant damage or misalignment if the RV settles or if the ground shifts, as they interfere with the natural movement of the slide mechanism.
Why does my slide-out make a popping or grinding noise?
A loud popping, grinding, or jerky movement is often a sign of debris in the tracks, a gear issue, or an alignment problem. If you hear these noises, stop immediately and inspect the tracks for obstructions or broken parts before attempting to move the unit again.
What should I do if my slide-out loses power while moving?
If your slide stops suddenly, take your finger off the switch immediately to prevent motor burnout. Check your battery charge, shore power connection, and ensure no obstructions are blocking the path before consulting your owner’s manual for the manual override procedure.
A calm routine protects your RV
A slide-out is not difficult to manage once you build the right rhythm. You should level your coach first, clear the path, use steady power, and keep the seals and hardware clean. These small steps protect the components that cost the most to fix.
You may hear other owners suggest using slide-out supports to stabilize the room, but these are generally unnecessary if your coach is level and the mechanical system is properly maintained. By mastering these RV slide-out basics, you ensure your equipment stays in top condition for years.
The best habit is also the simplest: slow down. When you treat slide operation as a deliberate part of your setup, rather than an afterthought, your RV stays drier, quieter, and much easier to enjoy at every campsite.
This post may contain affiliate links. If you make a purchase through these links, I may earn a small commission at no extra cost to you.