RV Toilet Basics That Prevent Common Problems
One bad toilet problem can sour a great campsite morning. If you are new to RV ownership, the bathroom is often the one system you really do not want to learn about the hard way.
The good news is simple: most trouble comes from a few fixable habits. Once you understand the RV toilet basics, you can avoid clogs, odors, and messy dump days, especially if you are one of the many seniors who want camping to stay easy and enjoyable. Mastering these fundamentals is the best way to keep your black water tank functioning properly throughout your travels.
Key Takeaways
- Water is your best friend: Always use plenty of water with every flush to ensure waste moves easily into the tank and prevents the formation of “pyramid plugs.”
- Stick to the basics: Only flush human waste and RV-approved toilet paper; never use wipes, paper towels, or feminine products, as these can cause severe clogs.
- Master the dump routine: Keep your black tank valve closed until the tank is at least half full to allow for a powerful, gravity-fed discharge, and always dump the black tank before the gray tank to flush out your hose.
- Perform proactive maintenance: Regularly inspect your toilet seal, keep the foot pedal linkage clean, and address minor odors or leaks immediately to avoid costly or messy repairs down the line.
How an RV toilet system works
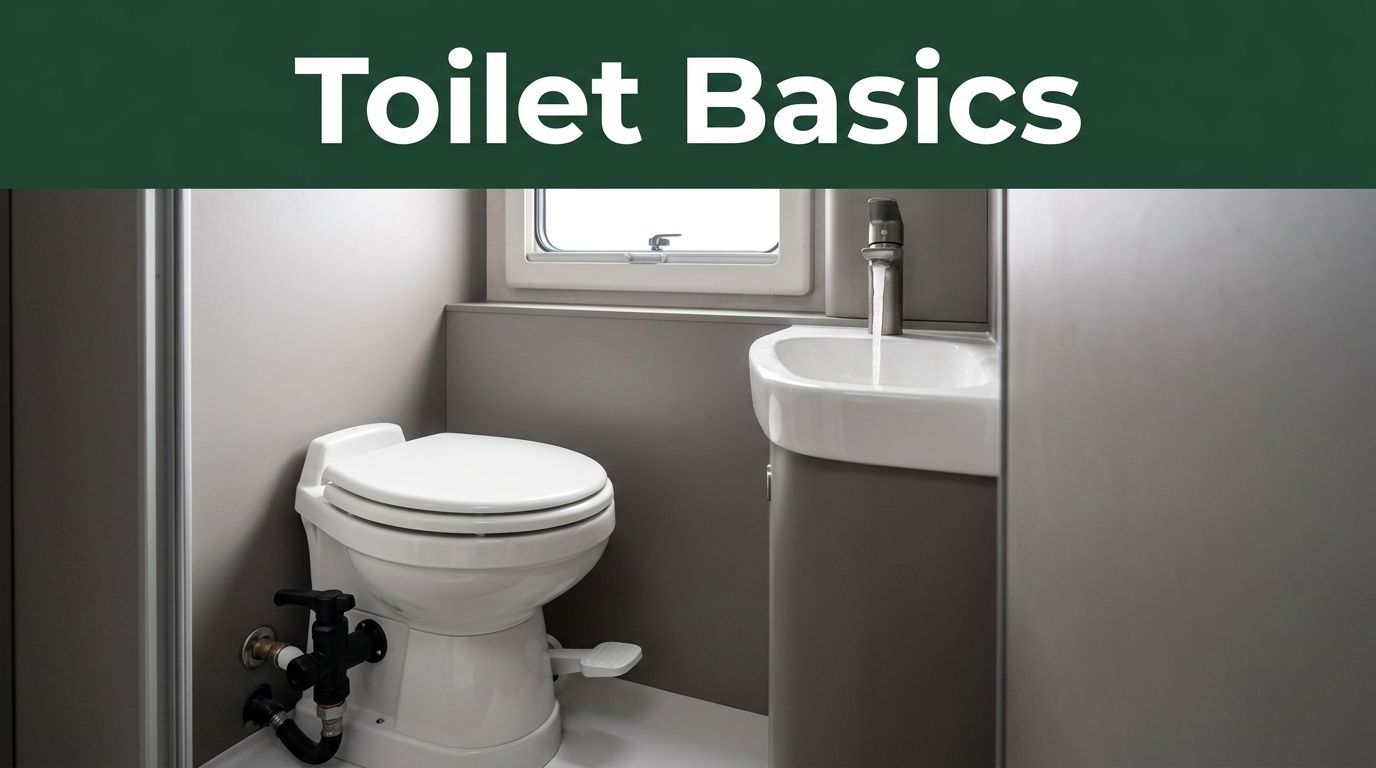
In most rigs, your gravity flush toilet drops waste straight into the black tank. This black tank is exclusively for toilet waste, while your sinks and shower typically drain into a separate gray tank. When you press the foot pedal, water from your freshwater tank enters the bowl and a blade opens. Waste falls into the tank, then the blade closes to maintain a seal. A small amount of water stays in the bowl to help block odors from rising.
A gravity flush toilet relies on this water seal, so if the bowl dries out or the seal gets dirty, smells can slip past. Because a gravity flush toilet is common, many owners look to brands like Dometic or Thetford for replacement parts. While the classic gravity flush toilet is the industry standard, some compact campers use a cassette toilet instead. A cassette toilet features a removable waste container, whereas a composting toilet separates liquids and solids to avoid using holding tanks entirely. Alternatively, a macerating toilet grinds waste into a slurry to allow for smaller plumbing lines.
Whether you have a cassette toilet, a composting toilet, or a macerating toilet, the rules remain similar. Use enough water from your freshwater tank, flush only the right items, and empty your holding tanks before they reach capacity.
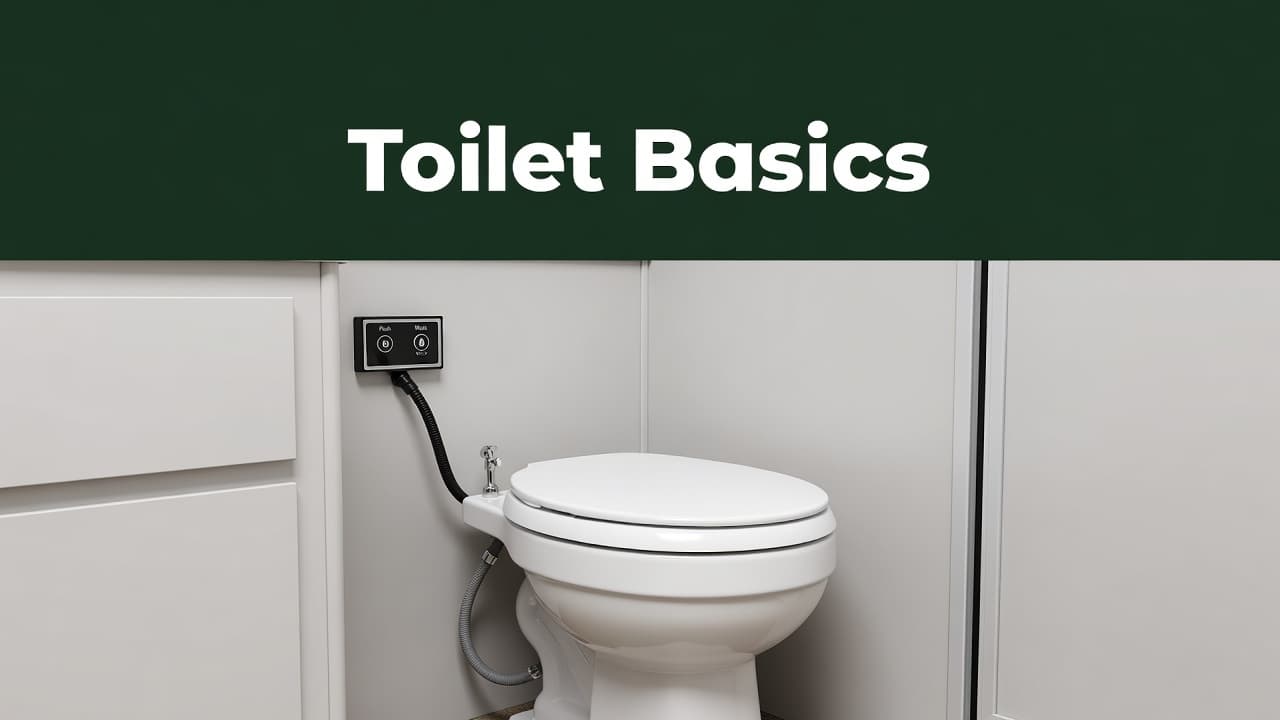
New owners often expect their RV unit to act like a residential fixture, which is where problems begin. A house toilet sends waste through pipes with steady pressure, but your RV setup drops waste into a tank where it sits until you visit a dump station. Because of this, a gravity flush toilet requires careful management. Too little water, the wrong paper, or an open waste valve can create a clog that takes hours to fix.
Before your first trip, locate the waste valve, the sewer outlet, and any built-in flush ports. Ten calm minutes in the driveway beats learning how to use a dump station under pressure. If you are using a cassette toilet, a composting toilet, or a macerating toilet, understand that the maintenance differs from a standard gravity flush toilet setup. Regardless of whether you have a cassette toilet or a macerating toilet, practice reaching all access points before you actually need them.
What should go down the toilet, and what should stay out
The shortest rule is also the best one: human waste, RV-safe toilet paper that breaks down fast, and enough water. Almost everything else creates trouble for your black water tank.
This quick guide keeps the rules straight:
| Okay to flush | Keep out | Why it matters |
|---|---|---|
| Human waste | Wipes, even “flushable” ones | Wipes do not break down fast enough |
| RV-safe toilet paper | Paper towels and tissues | They clump and stick in the black tank |
| Plenty of water with each flush | Feminine products, cotton items, cat litter | They add bulk and will not dissolve |
| Holding tank treatments | Harsh bleach and drain cleaners | They can dry seals and interfere with treatments |
The word “flushable” on a package means little in an RV. If you are not sure about your RV-safe toilet paper, do a simple jar test. Put a few sheets in water, shake the jar, and see how fast the RV-safe toilet paper falls apart.
Among all the camping tips people swap at the campground, this one matters most: use more water than you think you need. Dry waste does not move well through the flush valve. Instead, it stacks under the toilet drop and can form the dreaded pyramid plug inside your black water tank.
Start each trip with a few gallons of water in the black tank. Then use a longer pedal press for solid waste. New owners often try to save space in the black water tank by using less water. That choice usually creates the mess they were trying to avoid.
Effective odor control is a major concern for many campers. While an enzyme treatment can help break down solids, no chemical can fix poor habits. Using plenty of water and reliable RV-safe toilet paper will keep your system running smoothly. Consistent use of holding tank treatments helps manage smell, but proper maintenance is key. If you struggle with persistent odors, consider using an enzyme treatment specifically designed for your system. When combined with high-quality RV-safe toilet paper, these holding tank treatments provide the best odor control possible. Always remember that good water use and smart flushing beat fancy bottles every time.
The dumping routine that prevents most messes
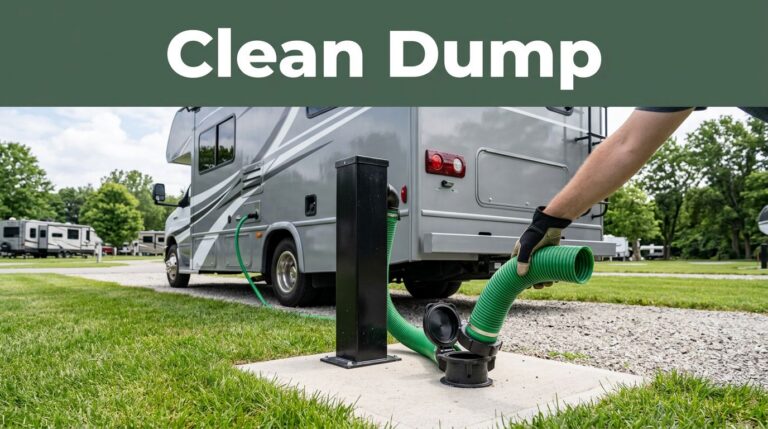
Dump day at the local dump station does not have to feel tense. A calm routine for your holding tanks cuts down on spills, odors, and second-guessing.
- Wait until the black tank is at least half full, or closer to two-thirds if you can.
- Put on gloves, connect the sewer hose to the dump station, and check that both ends are secure.
- Open the black tank waste valve first, and let the black water tank drain fully.
- Perform a thorough tank rinse if your rig has a flush port, or use your preferred tank rinse method to clear out the black tank.
- Close the black water tank valve, then dump the gray tank so sink and shower water rinse the sewer hose.
That order matters because the gray tank helps wash leftover waste from the sewer hose. It is a small step, but it makes cleaning your holding tanks much easier.
Never leave the black tank valve open at a full-hookup site. Liquids drain away, but solids stay behind.
That habit causes some of the worst clogs in RV life. Instead, keep the valve closed until the black tank has enough liquid to carry solids out in one strong dump at the dump station.
After you finish, add water back into the black tank before you use the toilet again. A few gallons gives the next load a wet base. Then add your tank treatment if you use one. If you are boondocking, you must be more mindful of your levels because you cannot empty your holding tanks as easily. Whether you are boondocking or at a campground, remember that tank sensors often give false readings once buildup starts. If the tank sensors are inaccurate, do not rely on the monitor alone. If the toilet burps air, flushes slowly, or smells stronger than usual, the black tank may be fuller than the panel says, even if the tank sensors report otherwise.
After cleaning, perform a final tank rinse to ensure the sewer hose is clear. If you find debris lingering, a pressurized tank rinse is your best friend.
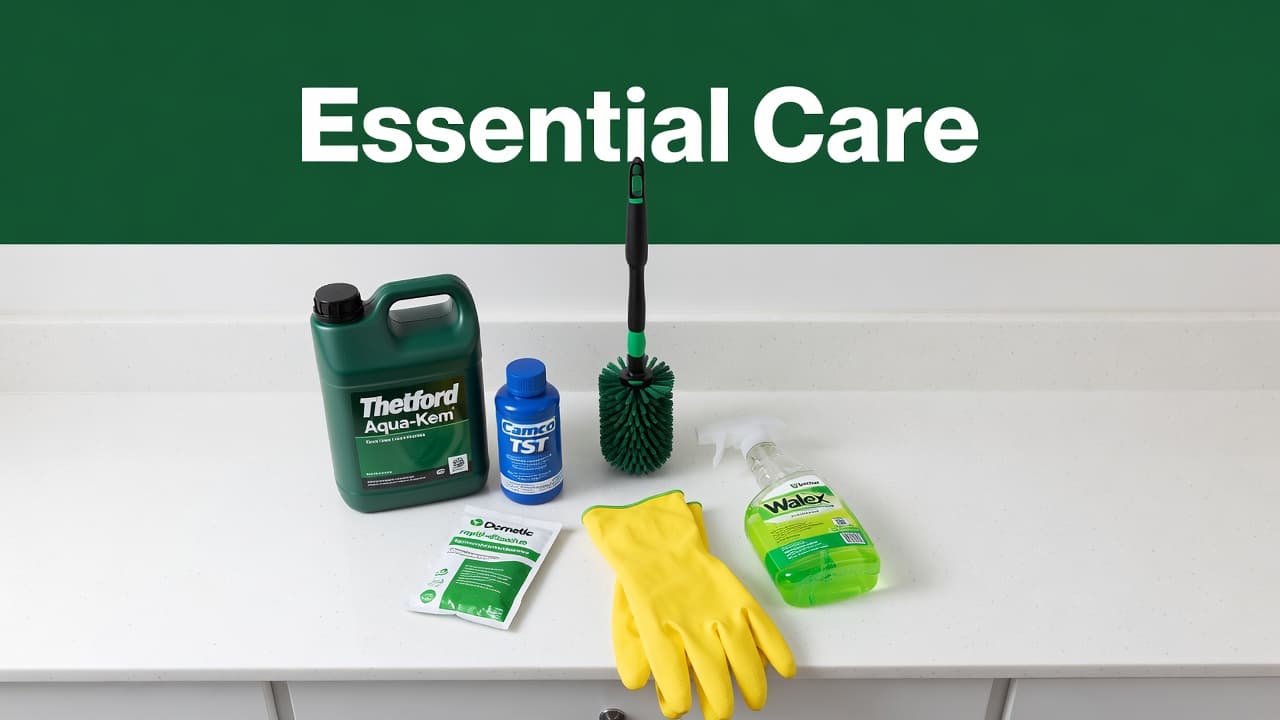
Keep your sewer gear simple and separate. Store gloves, a dedicated sewer hose, a non-potable rinse hose, and an RV-safe bowl cleaner together in one tote. That setup helps seniors avoid extra bending and repeated trips to the storage bay. Always double-check that your waste valve is fully seated after the dumping process.
RV Life Insider shares practical camping tips like these for people who love life on the road. You can View All Our Newsletters for fresh advice in your inbox, and View Our Website for blogs, travel guides, planning tools, community posts, and more.
Small toilet issues to fix before they get ugly
Most toilet trouble starts small. If you catch it early, the repair is often quick and cheap. Whether you use a standard gravity flush toilet or a model equipped with a macerator pump, you should watch for these warning signs:
- Water will not stay in the bowl, which often points to a dirty or dry toilet seal.
- The foot pedal feels stiff, which can mean the linkage needs cleaning or the flush valve mechanism needs lubrication.
- A sewer smell hangs around even after dumping, which often means too little water, a dry toilet seal, or a vent problem.
- Moisture appears around the toilet base or supply line, which can signal a loose fitting or a small leak.
A bowl that won’t hold water deserves fast attention. That water barrier helps block odors, so when it disappears, the bathroom smell usually gets worse. Often, a careful cleaning and a silicone-based lubricant applied to the toilet seal will help. If the toilet seal remains brittle, it may need replacement. If you are servicing a Dometic or Thetford unit, always ensure you have the correct replacement toilet seal for your specific model.
Odor can also come from airflow inside the rig. If you run the roof fan and smell the tank, crack a nearby window first. That reduces negative pressure, which can pull odors past the flush valve. If you notice the foot pedal sticking, check if the flush valve assembly is obstructed by debris. Keeping the foot pedal clean ensures a smooth travel and prevents unnecessary wear on the internal springs.
Leaks need even more caution. Tighten fittings gently, not aggressively. Plastic parts can crack if you force them. If the floor around the toilet feels soft, stop using it until you find the source. A hidden leak under the base can damage the subfloor over time. Furthermore, properly winterizing an RV includes inspecting the flush valve and water lines to prevent freezing damage that could lead to persistent leaks.
For seniors, less strain matters. Keep a flashlight, gloves, and the right cleaner within easy reach. A one-minute check of your gravity flush toilet before each trip beats scrubbing, hauling, and repairing later. By monitoring the foot pedal tension and the integrity of the flush valve regularly, you can avoid most major plumbing headaches.
Frequently Asked Questions
Can I leave my black tank valve open while I am at a full-hookup campsite?
No, you should always keep the black tank valve closed while connected to a campsite sewer hookup. If you leave the valve open, the liquids will drain away while the solids remain in the tank, eventually hardening into a difficult-to-remove clog.
How can I tell if my RV toilet paper is safe to use?
You can perform a simple jar test to see if your toilet paper will break down properly. Place a few sheets in a jar of water, shake it vigorously for 30 seconds, and observe how quickly the paper dissolves; if it remains intact, it is not safe for your RV system.
What should I do if my RV toilet bowl won’t hold water?
A dry bowl usually indicates that the toilet seal is dirty, dry, or worn out, which allows odors to escape. Try cleaning the seal thoroughly and applying a silicone-based lubricant to restore its flexibility; if the seal remains brittle or damaged, it will need to be replaced.
Why does my bathroom smell like sewer even though I just dumped the tanks?
Persistent odors are often caused by having too little water in the tank, a compromised toilet seal, or negative air pressure inside the rig. Try adding more water to the tank, ensuring the flush valve is closing tightly, or cracking a window when running the roof vent fan to equalize pressure.
A little routine saves big trouble
A home toilet forgives bad habits, but an RV toilet usually does not. That is why mastering these RV toilet basics matters so much for your peace of mind.
Consistent maintenance is the secret to a worry-free system. Always use enough water, keep the black valve closed until it is time to dump, and only flush what is meant for the system. If you notice a lingering smell, a small leak, or a weak seal on your gravity flush toilet, address the issue immediately before it escalates into a major repair.
By sticking to this routine, you will keep your black tank in great shape and ensure your holding tanks remain clean and odor-free. These simple habits lead to better camping experiences, fewer surprises on the road, and a bathroom system you can trust every time you arrive at your destination.
This post may contain affiliate links. If you make a purchase through these links, I may earn a small commission at no extra cost to you.