
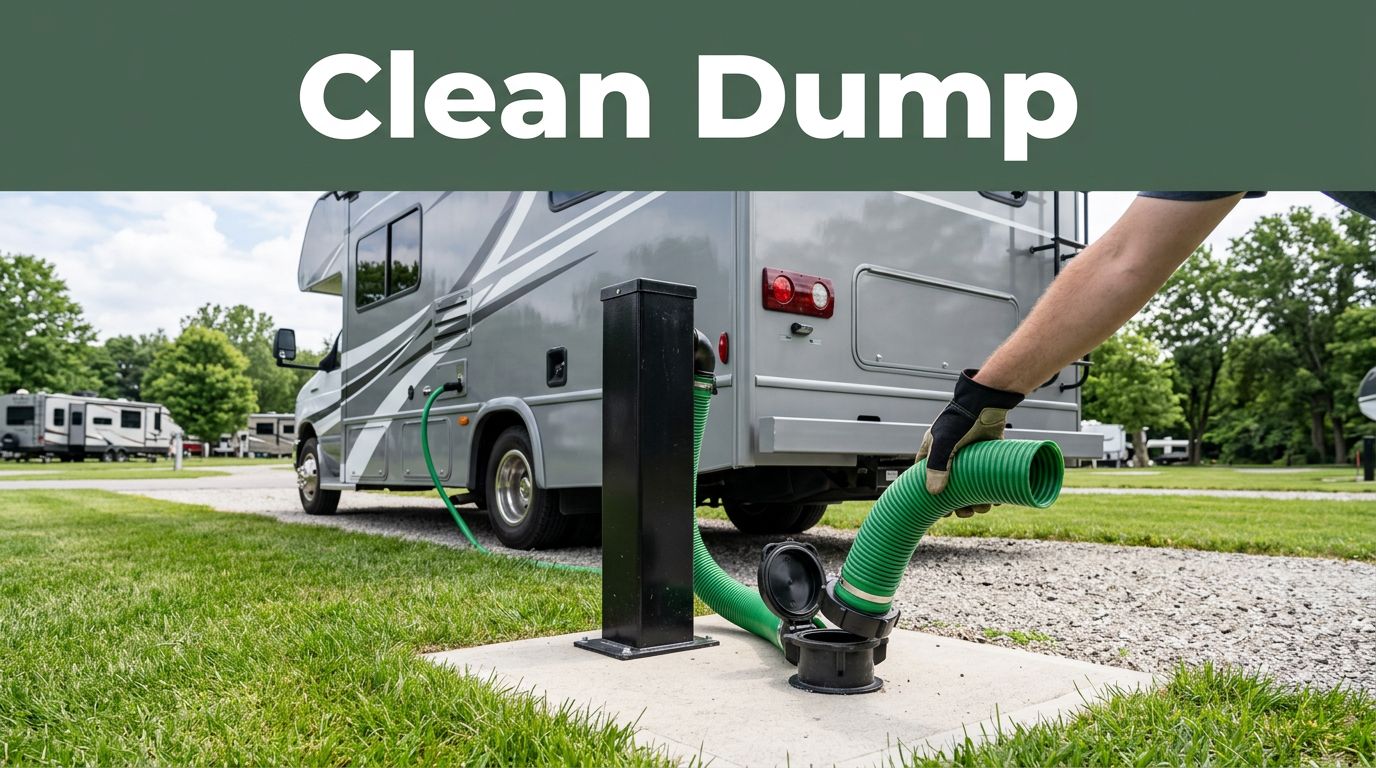
How to Dump RV Tanks Without Making a Mess at the Campsite
Few RV chores ruin a good camping day faster than a sloppy tank dump. One loose fitting, one rushed step, and the whole job turns into a cleanup project.
The good news is that dumping your RV tanks isn’t hard when you use the same order every time. A calm setup, a few simple tools, and a clean routine will save your shoes, your hands, and your mood.
If tank duty makes you tense, this guide will help you handle it with less stress and a lot less mess.
Why tank dumping goes wrong in the first place
Most messy dump station stories start the same way: somebody gets in a hurry. They skip gloves, trust an old hose, or open a valve before checking every connection. A tank dump only takes a few minutes, but rushing those minutes is what causes trouble.
Another common problem is poor prep. If the sewer hose isn’t fully seated, waste can leak at the RV outlet or the ground connection. If the black tank is dumped too often, solids may not move well. That leaves buildup behind, which can lead to clogs, bad sensor readings, and stronger odors later.
Order matters too. The black tank should go first, then the gray tank. That second step rinses the hose with soapy sink and shower water. Reverse that order, and the dirtiest water stays in the hose longer than it should.
For seniors, the challenge is often comfort, not know-how. Bending low, lifting a heavy hose, or working in dim light can make the task harder than it needs to be. A slower pace helps. So does keeping your gear in one easy-to-reach bin.
Even longtime campers can get sloppy when they feel overconfident. If you came to RV travel from van life, the lesson is the same. A small waste system still needs a clean routine. Many full time rv’ers stick to one process every single time because habits beat memory.
A clean dump starts before the valve opens.
Set up the right gear before you touch the valves
The easiest way to dump RV tanks cleanly is to keep a dedicated tank kit. When every item lives in one place, you don’t waste time hunting for gloves or adapters while standing at the dump station.
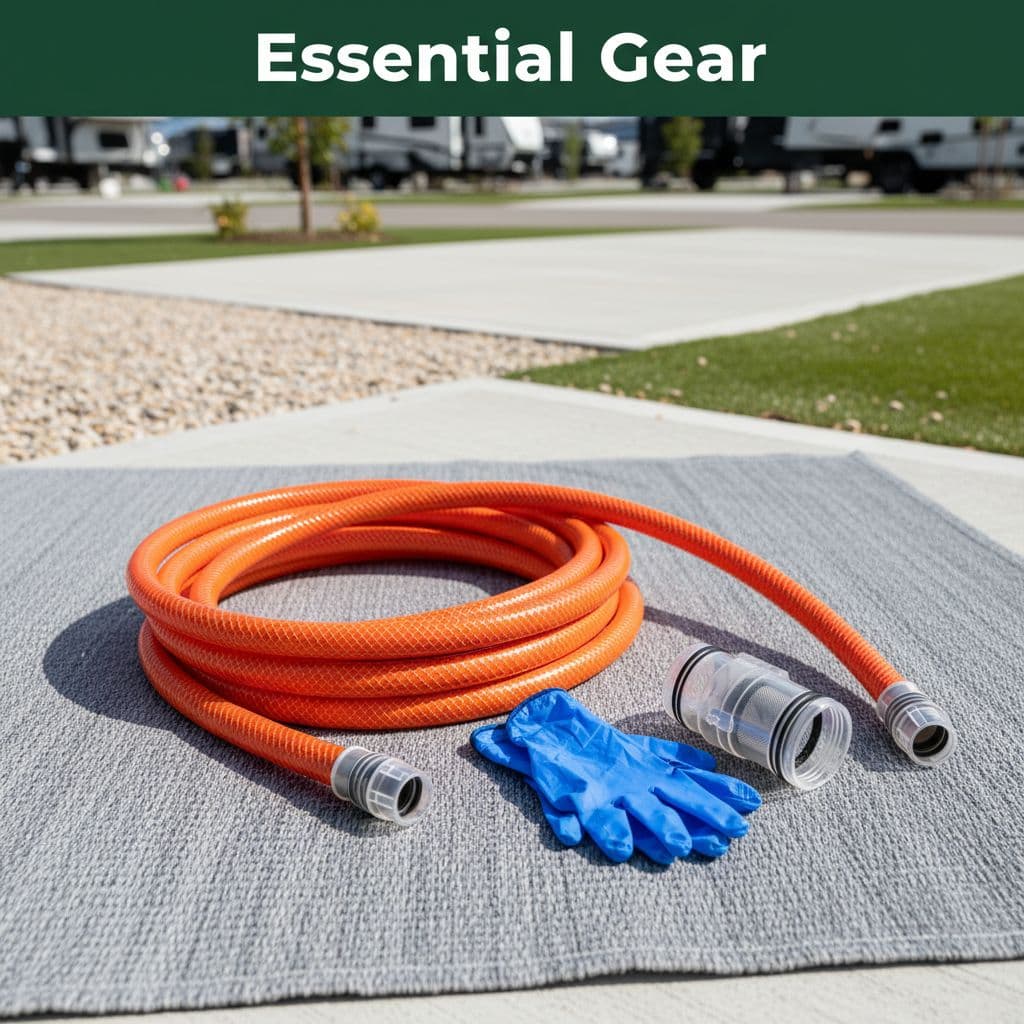
Start with a good-quality sewer hose. Cheap hoses crack, sag, and twist at the worst time. Add a clear elbow fitting so you can see when flow stops. Disposable or reusable rubber gloves are worth keeping on hand, and a separate rinse hose matters too. Never use your fresh-water drinking hose for cleanup.
A few extras make the job easier. Hose supports help waste flow downhill. A small spray bottle with cleaner helps with the outside of fittings. Paper towels or shop towels are handy for drips. Hand sanitizer belongs in the bin as well.
Before you connect anything, park on stable ground and set the brake. Then check that the sewer inlet cap is off and the site connection is clear. Some campgrounds want a threaded connector or rubber donut at the sewer opening, so keep one with your gear.
One of the best camping tips is also the simplest: don’t wait until you’re tired, hungry, or ready to pull out of the site in five minutes. Dump when you have enough time to do it right.
If you like practical RV how-to articles, the RV Life Insider newsletter is a useful place to keep learning. You can View All Our Newsletters for more camping tips, maintenance reminders, and road-ready ideas.
The clean way to dump RV tanks, step by step
Once your gear is out, stick to the same sequence every time. That removes guesswork, which is often what makes a mess.
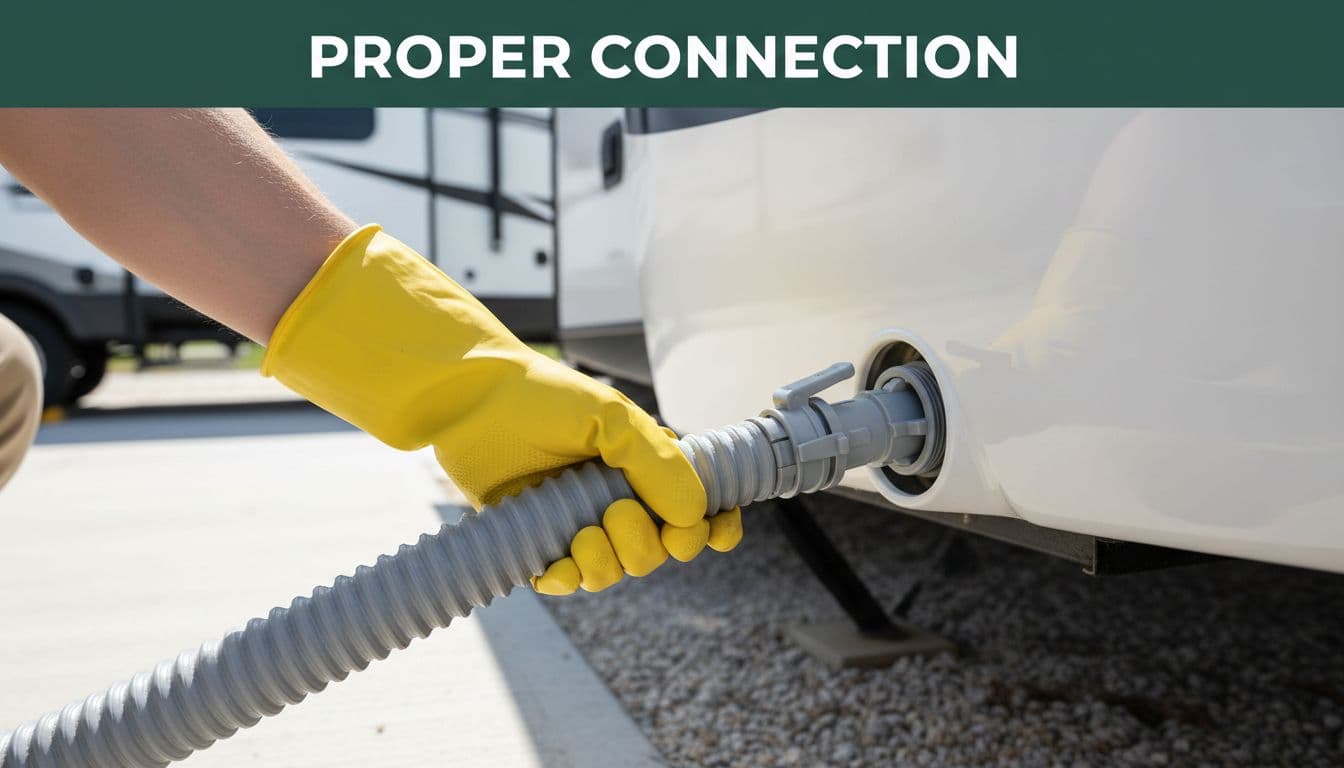
- Put on gloves and check that both tank valves are closed.
- Connect the sewer hose to the RV outlet first, then secure the other end to the dump station inlet.
- Make sure the hose runs downhill without sharp kinks.
- Open the black tank valve slowly and let it drain fully.
- If your RV has a built-in black tank flush, use it after the main flow stops. Keep watching the hose while it runs.
- Close the black valve completely.
- Open the gray tank valve and let that water rinse the hose.
- Close the gray valve when the flow ends.
Black tank first, gray tank last.
That order is the key step many new owners miss. The gray tank carries soapy water from sinks and showers, so it helps wash out the hose before disconnecting. That means less residue and less odor.
Timing matters too. Don’t dump the black tank when it’s barely full unless you have a real reason. Waste moves better with more liquid behind it. Many RV owners wait until the tank is at least two-thirds full. That extra volume helps carry solids out.
After the dump, add some water back into the black tank. A dry tank is a bad start for the next round of use. Many owners add a few gallons of water and their preferred tank treatment before they move on.
If you’re using a portable tote, the same rules apply. Secure the fittings, move slowly, and keep the rinse hose separate. For seniors, a headlamp, kneeling pad, or folding stool can make the process easier on the back and knees. Those small adjustments help more than most people expect.
Mistakes that cause splashes, clogs, and odors
The worst tank problems often come from habits, not hardware. A lot of RV owners leave the black valve open at a full-hookup site because it seems easier. It isn’t. Liquids drain away, while solids stay behind. That can create a hard mound in the tank, often called a “poop pyramid,” and it’s a headache to clear.
Another mistake is trusting the tank gauges too much. Sensors get dirty, so a reading may say one thing while the tank says another. Pay attention to how often you use the toilet, shower, and sinks. Over time, you’ll know your RV better than the panel does.
Poor hose care also causes trouble. A cracked seal, loose bayonet fitting, or worn cap can leak even if you did everything else right. Check those parts often. Replace them before they fail, not after.
Some people also skip the final rinse because they want to get back to camping. That shortcut comes back later when the hose smells worse, drips more, or feels grimy in storage. A few extra seconds now save a lot of aggravation later.
Bad dump station manners create messes too. Don’t let your hose sprawl across the lane. Don’t leave paper towels on the ground. And don’t pull away until you’ve checked for drips around the sewer opening.
Many full time rv’ers keep a simple rule: if something looks worn, replace it before the next trip. That’s smart for everyone, whether you camp on weekends or live on the road year-round.
Clean up well so the next dump is easier
After both valves are closed, lift the hose gently from the RV end toward the sewer inlet. That pushes any leftover liquid into the drain. Then disconnect the RV side, cap it, and remove the dump station end last.
Rinse the outside of the hose and fittings if the station has non-potable water for that purpose. Wipe down the handles, the storage bin, and anything your gloves touched. Then remove the gloves carefully and wash your hands well.
Storage matters more than people think. Keep sewer gear in its own compartment or sealed tote, far from fresh-water hoses and campsite cooking items. A clean separation keeps the whole RV more pleasant.
This is also a good time to reset for the next use. Add water to the black tank. Restock gloves if you’re low. If your routine lives on a small printed card inside the bin, follow it every time. That’s helpful for couples, guests, and seniors who want fewer memory slips on travel days.
For more RV articles, travel planning tools, blogs, and community resources, you can View Our Website. A good routine gets even better when you keep picking up small, useful ideas.
Final thoughts
A clean tank dump comes down to order, patience, and prep. Good gear helps, but the real difference is doing the same steps every time.
Slow down, check every connection, dump black first, and let gray water rinse the hose. Once that routine becomes automatic, this part of RV life stops feeling messy and starts feeling manageable.
This post may contain affiliate links. If you make a purchase through these links, I may earn a small commission at no extra cost to you.