RV Awning Basics Every First-Time Owner Should Know
Your awning can turn a hot patch of gravel into the best seat at the campsite. It can also be the first thing that rattles your nerves when wind picks up or the fabric won’t roll straight. A few rv awning basics can save you money, stress, and a lot of second-guessing.
If you are new to RV travel, the good news is simple: awnings are not hard to manage once you learn the parts and the routine. The setup always begins right where the fabric meets the awning rail on the side of your vehicle. Whether you camp on weekends, travel as a couple, or spend months on the road, the same steady habits work for every adventure.
Key Takeaways
- Prioritize weather awareness: Always retract your awning when you leave the campsite, go to sleep, or if the wind picks up, as unexpected gusts are the leading cause of awning damage.
- Master the setup routine: Before extending, check for overhead obstructions like tree branches and ground obstacles, and always tilt one side of the awning slightly to allow for effective water runoff.
- Perform routine maintenance: Regularly clean the fabric to prevent mold and mildew, and inspect all mounting hardware and arm joints for loose screws or signs of wear to ensure long-term reliability.
- Practice for confidence: Conduct practice runs at home to become comfortable with your specific model’s manual or power mechanism, ensuring you know how to operate the manual override if a power failure occurs.
What an RV awning does, and what it doesn’t
An RV awning gives you shade, light rain cover, and more living space outside. That is why so many owners treat it like an extra room. Still, it is not a porch roof, and it will not forgive bad weather.
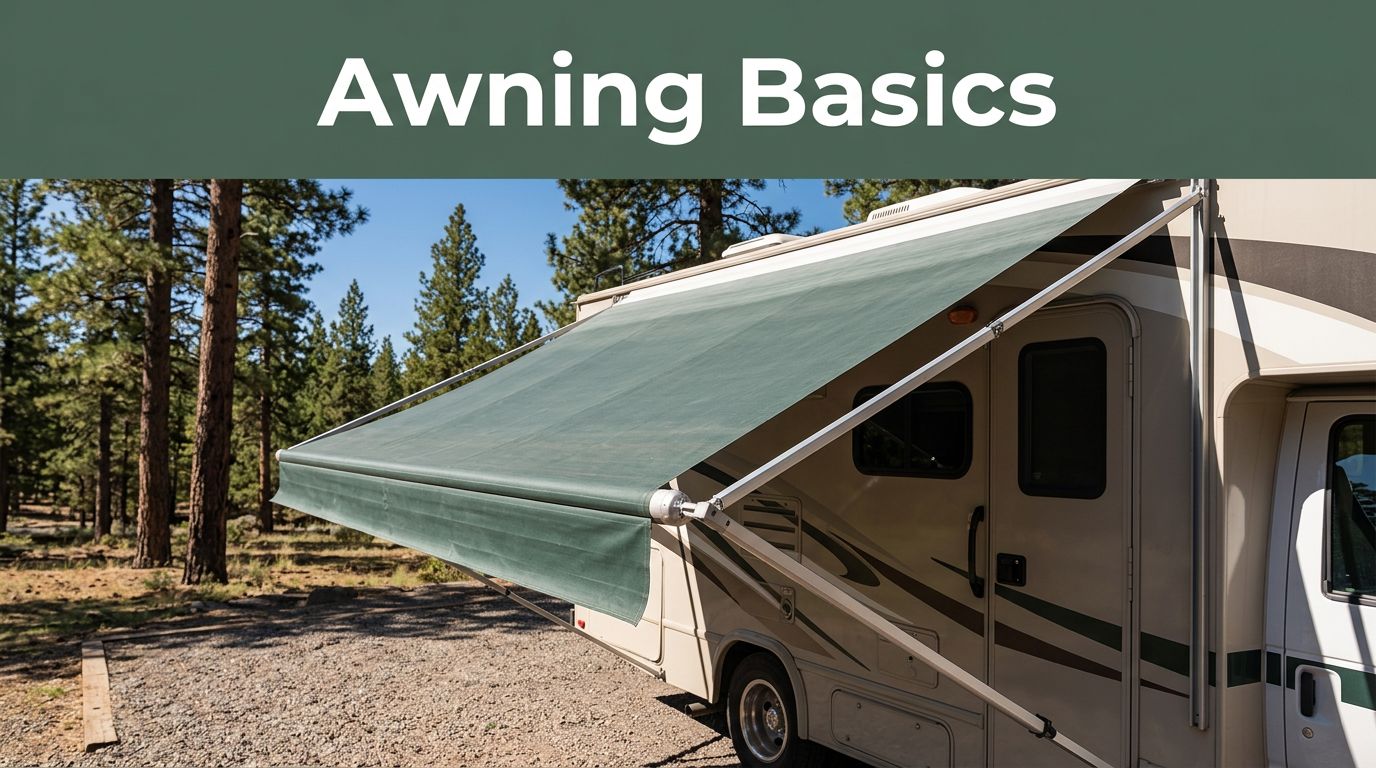
Most awnings share the same basic components. The awning fabric, typically made from durable vinyl material or breathable acrylic fabric, is wrapped around a heavy-duty awning roller. This setup is supported by arms on the side and a mounting rail attached to the RV. When looking at common hardware, many owners rely on established brands like Dometic, Carefree of Colorado, or Lippert to provide these components. On a manual awning, you unlock the mechanism, pull it out, and set the arms by hand. On a power awning, a switch or remote extends the cover for you.
For many seniors, that power option is a real help. It cuts down on reaching, lifting, and working around shoulder height. At the same time, power awnings can make people too casual because pressing one button feels easier than the job really is.
This quick comparison helps most first-time owners sort out what they have.
| Type | How it opens | Best for | Main watch-out |
|---|---|---|---|
| Manual awning | Pull strap or rod | Owners who want simple hardware | Needs more reach and setup time |
| Power awning | Wall switch or remote | People who want quick shade | Easy to leave out in bad weather |
| Window awning | Small, fixed or hinged unit | Extra shade over windows | Does not create patio space |
| Slide-out awning | Automatic tensioned topper | Protecting slide-out roof seals | Can flap in high winds |
| Patio awning | Full side awning | Most camping setups | Needs close weather attention |
For most people, the big choice is manual versus power. After that, it comes down to learning how far it should extend, how the arms lock, and how to set the pitch so rain runs off one side.
Many first-timers also miss one important point. The awning should help your campsite feel comfortable, not stay open all day no matter what. Weekend campers, van life travelers, and big motorhome owners all run into the same rule: if weather changes, your plans change too.
Setting up your awning without the usual beginner mistakes
A good setup starts before you touch the switch or pull strap. First, look at the site. Check for low branches, a slope that could twist the arms, and room for your entry door to open without hitting furniture.
Next, glance at the forecast and feel the wind. A calm morning can turn gusty by lunch, especially near open water or wide desert sites. One of the best camping tips is also one of the least exciting: never trust a clear sky by itself.
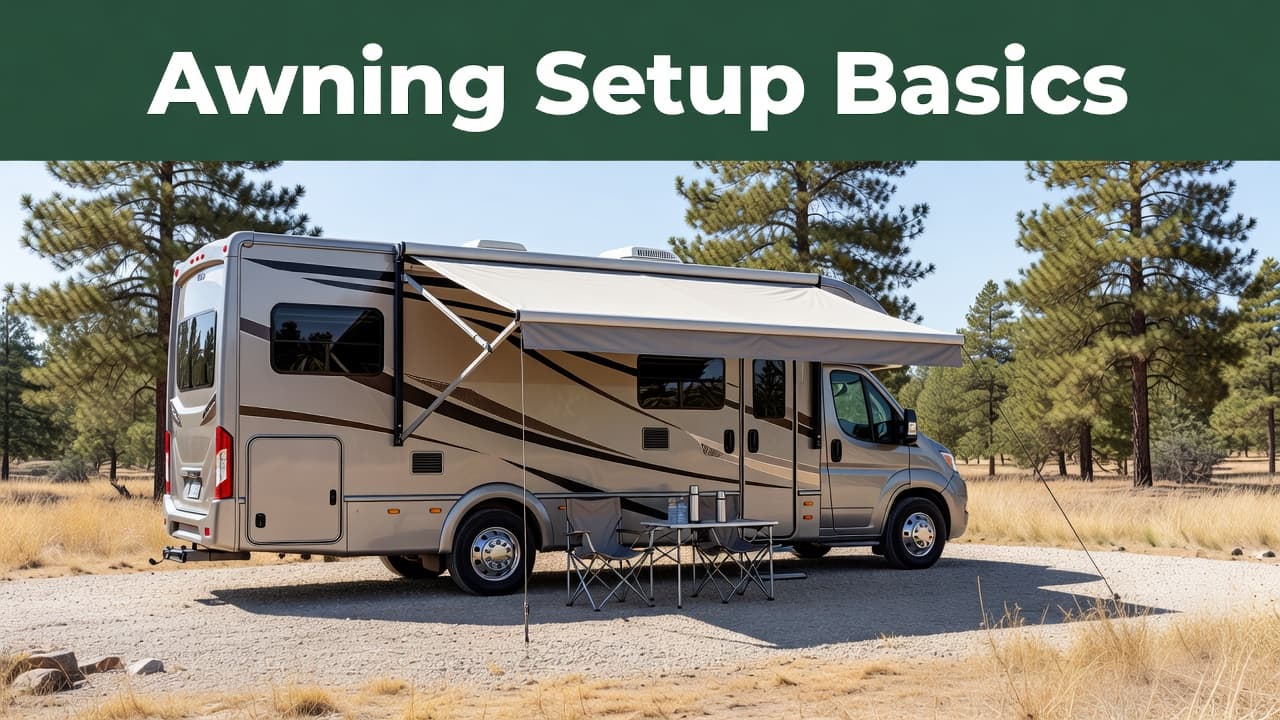
When you are ready to extend the awning, move slowly. For manual models, use your awning rod to carefully manage the pull strap, ensuring you watch both arms as they extend. Confirm that all travel locks are fully released before proceeding. Once the fabric is out, slide the rafter arms into their locked position and tighten the friction lock to maintain proper tension. With electric models, simply keep your finger on the switch until the unit stops cleanly.
After it is open, you should angle the awning by setting one side slightly lower if your model allows it. That small drop encourages effective water runoff instead of allowing rain to pool in the middle. Water is heavier than many new owners expect, and a sagging awning can bend hardware fast.
A few habits prevent most beginner trouble:
- Open the awning only after you have checked wind, branches, and ground space.
- Keep chairs and tables back until you know the arms are locked.
- Lower one side for water runoff when rain is possible.
- Retract it before you leave the site, go to bed, or head out for dinner.
If you are not at the campsite, the awning should not be out.
That rule matters for every travel style. It helps families on summer trips, retirees on long stays, and full time RVers who can get too comfortable after a few calm days. An awning handles shade well. It handles surprise gusts badly.
Maintenance and safety checks that save money
Routine awning maintenance is light work, but it must happen on a regular schedule to protect your investment. Dirt, tree sap, and trapped moisture can significantly shorten fabric life. Additionally, loose bolts and sticky joints can turn a smooth setup into a crooked, frustrating mess.
Start with the fabric. Brush off leaves and debris before you roll it up. When it gets dirty, wash it with a gentle cleaning solution approved by the manufacturer. Rinse the surface well, then allow it to air dry completely before storing it. While rolling up damp fabric once typically won’t cause immediate damage, storing it wet consistently leads to mold and mildew. Keep in mind that high-quality fabrics often feature specialized coatings for improved UV resistance, which helps protect your vinyl material from sun-bleached degradation over many seasons of use.
The hardware needs a quick look as well. Check the arm joints, wall mounts, screws, and locking points. If something looks bent, cracked, or loose, repair it before your next trip. Do not wait for a windy day to discover that a bracket was backing out.
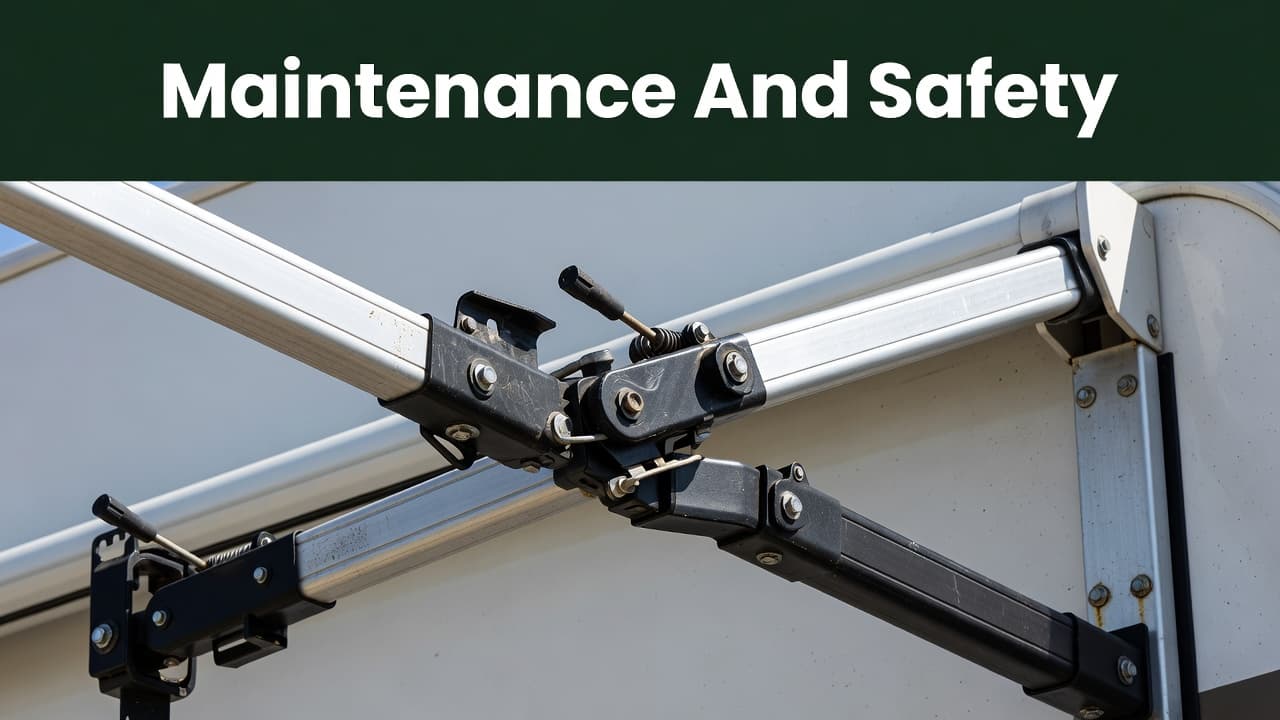
Pay close attention to these trouble spots:
- Frayed fabric edges or stitching that is starting to pull apart.
- Arms that do not slide smoothly or locks that do not click into place.
- Mounting screws that look rusty, loose, or uneven.
- Motor hesitation on electric models, especially when retracting.
If your owner’s manual calls for lubricant, apply it only where directed. Keep all lubricants off the fabric. Too much spray attracts unwanted grit, and the wrong product can permanently stain the material.
Safety matters even more when mobility is limited. Many seniors travel with excellent routines, but ladders, stools, and sidewall hardware can still create dangerous situations. Never stand on a folding chair to reach the roller. If the awning sits high, use a stable step stool or ask for assistance.
If you have a power awning, take time to understand its features. Many newer models include a wind sensor for auto-retraction, but you should never rely solely on technology. You must know how to locate and operate the manual override. If the power fails or the motor stops, you will want that knowledge before you are stuck at checkout time in a busy campground.
Wind causes more damage than dirt ever will, and heavy rain can pool quickly if the pitch is flat. When the weather turns or you are leaving the site, retracting the awning is the safest policy.
If the wind makes you uneasy, bring the awning in.
Awning habits that fit your travel style
The right awning routine depends on how you camp. A weekend camper may open it for lunch and close it before a hike. A snowbird might use it every day for months. Full time RVers often need the most discipline, because daily use can make the setup feel harmless when it is not.
That same idea applies across rigs. A large fifth wheel may have a wide patio awning, while a van life setup or a pop-up camper might use a slimmer side awning or a bag awning with fewer support points. The gear looks different, but the habits stay the same: check the weather, watch the angle, and retract early. If you choose to stake your awning to the ground, always take a moment to check the extension legs to ensure they are locked securely and providing proper stability.
Comfort also matters. Many seniors want shade during the hottest part of the day, especially in the South and Southwest. Place your chairs where they still work if the sun shifts. Keep the mat, table, and pet bowls easy to move so closing the awning never feels like a project.
Accessories can help, but only after you know the basics. Light strings, sun shades, and screen panels add comfort, yet they also add wind load and setup time. Proper awning installation of these accessories must follow the manufacturer’s weight limits, and you should never hang heavy items from the roller tube or arms.
Practice helps more than any gadget. Open and close the awning a few times at home, where the driveway is calm and the stakes are low. That dry run teaches you where the locks sit, how the awning fabric tracks, and how the vinyl material behaves, as well as how long the motor takes to fully retract.
If you like practical owner advice, trip ideas, and more camping tips, you can View All Our Newsletters for regular updates. You can also View Our Website for travel guides, planning tools, blogs, products, and community resources that make day-to-day RV travel easier.
Frequently Asked Questions
Can I leave my RV awning out while I am away for the day?
No, it is highly recommended that you retract your awning whenever you are away from the campsite. Sudden weather changes or high winds can cause significant, costly damage to your awning hardware and fabric in a very short amount of time.
How do I prevent water from pooling on my awning during a light rain?
You should adjust the pitch of the awning by lowering one of the support arms. This creates a slope that encourages rainwater to run off the side instead of accumulating in the center, which prevents sagging and damage from the weight of the water.
What is the best way to clean my RV awning fabric?
Use a gentle cleaning solution approved by the manufacturer to wipe away dirt and debris. Always rinse the fabric thoroughly with water and allow it to air dry completely before rolling it up to prevent the growth of mold and mildew.
Why should I choose a manual awning over a power model?
Manual awnings are often preferred for their simple, robust hardware and lower price point, making them a reliable choice for owners who want to avoid potential electrical failures. However, power models offer significant convenience for those who struggle with lifting or reaching, provided the user remains diligent about retracting them during bad weather.
A simple routine makes awnings easy
An awning feels complicated only at first. Once you learn the RV awning basics, understand the parts, respect the weather, and keep up with basic care, it becomes one of the most useful features on your RV.
The strongest habit is also the easiest to remember: use the awning when it helps, and prioritize retracting the awning before conditions turn. A calm routine protects the fabric, the arms, and your peace of mind.
That first shaded campsite should feel relaxing, not tense. With these simple habits, you can enjoy your outdoor space with total confidence.
This post may contain affiliate links. If you make a purchase through these links, I may earn a small commission at no extra cost to you.