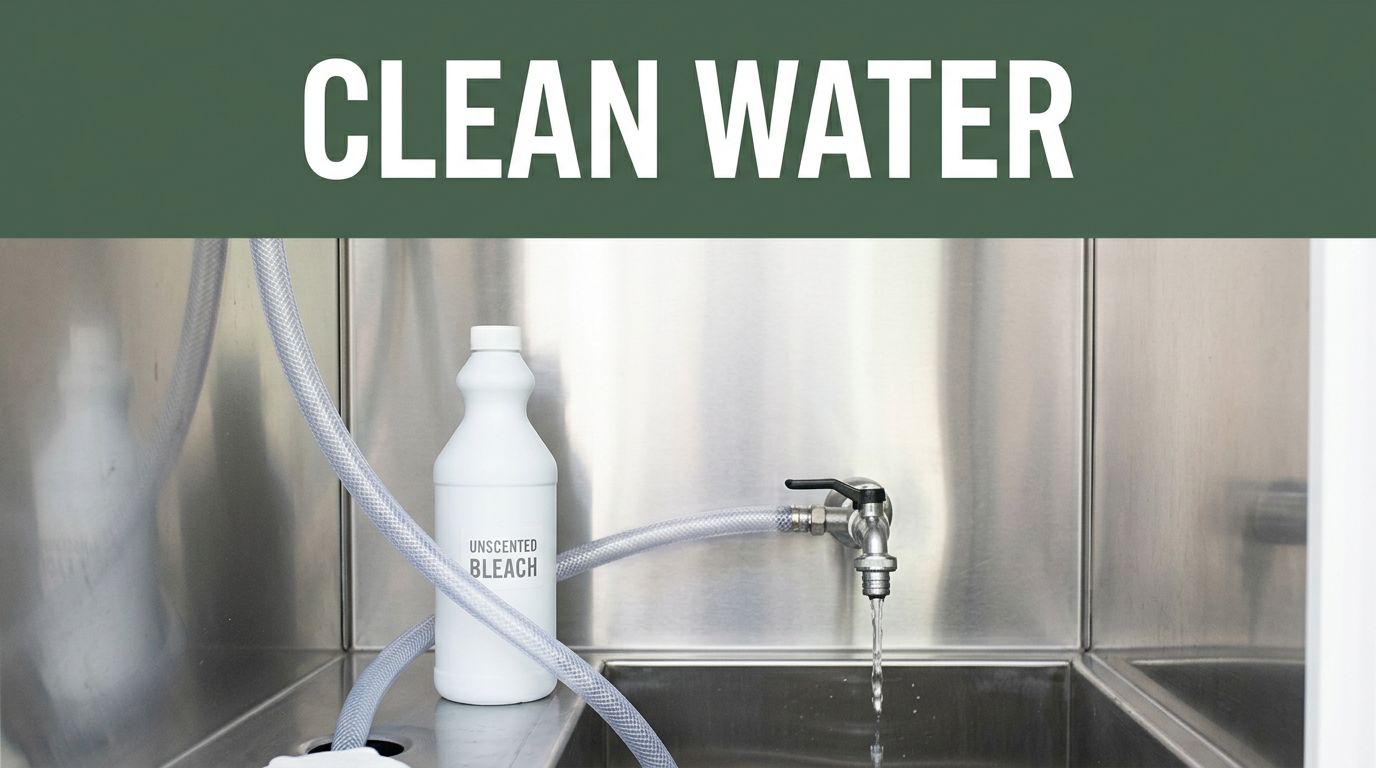
How to Sanitize an RV Fresh Water Tank Safely
Odd-smelling tap water can spoil a good camping morning fast. If your fresh water tank sat in storage, took on poor-quality water, or hasn’t been cleaned in months, it needs attention.
The good news is that RV fresh water tank sanitizing is simple when you follow the right order. Use the right bleach, push the mix through every line, and flush well, then your fresh water tank is ready for the road again.
Key Takeaways
- Routine Sanitization: Regularly sanitize your RV water system after winter storage, when purchasing a used rig, or if water begins to smell or taste stale.
- Use Only Unscented Bleach: Avoid scented or splash-less bleach products, which can leave behind harmful residue and unwanted tastes in your plumbing.
- Clean the Entire System: Sanitization must reach every cold and hot water line, including faucets, shower heads, and the toilet sprayer, to be truly effective.
- Protect Your Equipment: Always remove or bypass water filters before adding the bleach solution to prevent damage to the filter media.
- Focus on Thorough Flushing: A common cause of poor taste is an incomplete final rinse; if the chlorine smell persists, drain the system and perform an additional full-tank flush.
Know when the tank needs attention
Fresh water does not stay fresh forever. Inside an RV, water sits in a dark tank, warm plumbing lines, and the water heater. Given enough time, that stagnant water can pick up bacteria, mold and mildew, stale odors, and a flat taste that makes coffee, tea, and even brushing your teeth less pleasant. Routine maintenance of your RV water system is essential to avoid these issues.
Start with the easy triggers. Sanitize the system when you buy a used rig, after winter storage, after long-term parking, or any time the water smells off. Do the same if you filled from a source you did not fully trust, such as an older city water spigot at a fairground or a remote stop on a long trip.
Many owners clean the system at the start of the season and again if the RV experiences a long sitting period of several weeks. Many full time RVers do it more often because they cycle through more campgrounds and water sources. Even a small van life rig needs the same routine, because a smaller tank can still go stale.
If you mostly use city water hookups, do not skip this job. The tank, pump, and lines still need care, and so do the faucets and shower head within your plumbing system. For seniors, staying ahead of this job is easier than dealing with bad tasting water in the middle of a trip.
A clean water system does not have to be spotless every week. It does need regular care, because safe water is one of the small comforts that makes RV travel feel easy.
Gather the right supplies before you start
Before you touch the tank, pull together a few basics. You need plain unscented bleach, a measuring cup, a funnel, disposable rubber gloves, and a drinking-water-safe potable water hose. It also helps to have access to a drain area where you can flush the system responsibly.
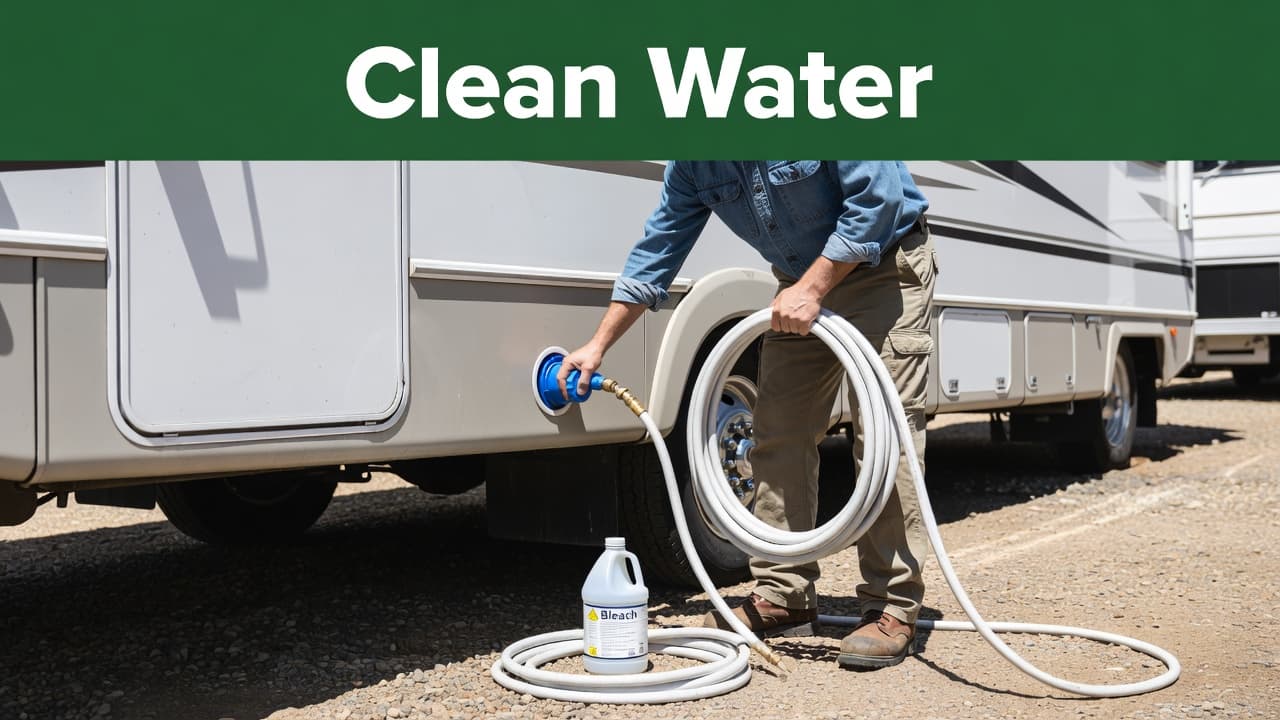
Skip scented bleach, splash-less bleach, and any version of household bleach that contains added cleaners. Those formulas can leave residue and unwanted taste behind. Also, remove or bypass any water filter first, because the sanitizing solution can ruin the filter media.
Check your tank capacity in the owner’s manual or on the tank label. Many RV manuals suggest using about 1/4 cup of bleach for every 15 gallons of tank capacity, diluted in water before it goes into the tank.
This quick table gives a common starting point based on your total tank capacity:
| Tank capacity | Bleach amount |
|---|---|
| 15 gallons | 1/4 cup |
| 30 gallons | 1/2 cup |
| 45 gallons | 3/4 cup |
| 60 gallons | 1 cup |
| 75 gallons | 1 1/4 cups |
If your manual gives a different amount, follow the manual. The goal is a mild sanitizing mix, not a harsh chemical bath.
This is also the best time to make the job easier on yourself. Many seniors like to pre-measure the bleach indoors, place the funnel and hose near the fill point, and work in a slow, steady order. Remember to remove your water filter before you begin to ensure the process goes smoothly. A little setup saves extra walking and backtracking.
Clean the whole system, not only the tank
The tank matters, but the lines matter too. If the bleach mix never reaches the plumbing, you have not finished the job.
Follow this order for a safe, thorough cleaning:
- Turn off the water heater and let it cool. If your RV has a bypass valve for the water heater, engage it now to keep the solution out of the tank. Then, drain the tank completely, open the low-point drains if your RV has them, and empty the water heater if your manual calls for it.
- Close the drains and mix the bleach with water in a bucket or large container to create your chlorine solution. Then, pour that diluted mix into the fresh water tank through the gravity fill or fill port.
Never pour straight bleach into the tank, and never mix bleach with vinegar, ammonia, or any other cleaner.
- Fill the fresh water tank the rest of the way with potable water. This helps spread the bleach evenly throughout the fresh water tank instead of leaving a strong pocket near the fill opening.
- Turn on the water pump. Open each cold-water faucet one at a time until you smell bleach, then close it. Repeat this process on the hot side. Be sure to address the kitchen sink, bathroom sink, shower, outside shower, and toilet sprayer if you have one. If your RV has an ice maker or washer, check the manual for the right sanitizing steps for the plumbing system.
- Let the chlorinated water sit in the system for several hours. A common sitting period is overnight, but do not leave a strong bleach mix in place for days. Too much contact time can be hard on seals and leaves more odor to flush later.
- Drain the entire system. Once you drain the tank, open the low-point drains again, and flush the plumbing. Refill the fresh water tank with clean water and run every fixture until the bleach smell fades.
- If you still smell the chlorine solution after one full flush, drain the tank and refill once more. Some rigs clear quickly, while others need a second rinse because of longer plumbing runs or a larger water heater.
Take your time with the final flush. A rushed rinse is why people think sanitizing does not work or leaves water tasting like a swimming pool. In most cases, the process worked fine, but the system simply needed one more full tank of fresh water to clear out the last trace.
When you are done, wipe the fill cap, the fill opening, and the hose ends. Those small contact points can re-introduce bacteria if they stay dirty.
Common mistakes that leave bad taste behind
Most problems come from small shortcuts during the sanitization process. Owners might use too much household bleach, forget to open a faucet, or leave the water filter installed while cleaning. These oversights result in poor water quality, leading people to blame the tank when the actual issue lies in the execution.
Using scented or splash-less products is one of the most frequent errors. You should always use unscented bleach as the preferred choice for drinking-water systems, as additives in other household bleach varieties are not designed for internal plumbing. Additionally, guessing the ratio instead of measuring it is a mistake. Using too much bleach does not mean cleaner water; it usually results in more odor and unnecessary wear on rubber seals.
Skipping the hot-water side of your system is another common miss. Because the system includes both hot and cold lines, you must sanitize both to effectively flush the plumbing. Remember to use your bypass valve correctly to prevent chlorinated water from entering the water heater tank. The same sanitization steps apply to outside showers, bar sinks, toilet sprayers, and any line that does not get daily use, ensuring you clear every one of your faucets.
Hoses can also undo your hard work. One of the best camping tips is to keep a white potable-water hose strictly for fresh water, cap both ends, and store it away from sewer gear. Never use a rinse hose for drinking water, even if you are tempted to do it just this once.
Finally, do not forget the filter. Always remove your cartridge before starting the process, and then install a new one after the lines are flushed. Following these steps helps maintain the overall integrity of your water system.
Keep your water system cleaner between deep cleanings
Good habits stretch the time between full cleanings. If your RV will sit for a while, be sure to drain the tank instead of leaving old water inside. When you travel often, use and refill your reservoir regularly so the water stays fresh. Maintaining your entire water system with these simple habits prevents major buildup and keeps your supply ready for the road.
Fill your tank from trusted sources of potable water whenever possible. If a spigot looks dirty, leaks badly, or sits too close to a dump station, it is better to move on. A few careful choices at the campground regarding your water source will save you significant work later on.
Keep your drinking water hose clean, capped, and off the ground. Furthermore, try to sanitize your system sooner after trips during hot weather, as high temperatures can cause mold and mildew to develop much more quickly in stagnant water. If you are preparing for a long break from traveling, remember to drain the tank completely to ensure you are ready for your next adventure.
RV Life Insider is a helpful stop for seniors who enjoy RV travel, camping, and practical upkeep. You can View All Our Newsletters for regular road-life updates, or View Our Website for blogs, trip-planning tools, community posts, and more camping tips.
Frequently Asked Questions
How often should I sanitize my RV fresh water tank?
You should sanitize your tank at the beginning of each camping season, after the vehicle has been in long-term storage, or anytime the water develops an off-putting odor or taste. Full-time RVers who frequently change water sources may choose to perform this maintenance more often to ensure consistent water quality.
Why do I need to remove my water filter before sanitizing?
The sanitizing bleach solution can damage or ruin the internal components of many water filter cartridges. By removing or bypassing the filter first, you protect your equipment while ensuring the bleach flows freely through all your plumbing lines.
Can I use household bleach to clean the tank?
Yes, but it must be plain, unscented, and free of additives like cleaners or splash-less formulas. These additives can leave behind chemicals that are difficult to flush out and may contaminate your drinking water system.
Why do I smell chlorine after flushing the system?
If you still notice a chlorine smell, it is likely that some of the solution is lingering in your plumbing or the water heater. Simply drain the tank, refill it with fresh potable water, and flush all your faucets again until the scent disappears.
Final thoughts
Clean water should be the easy part of RV travel. Once you know the routine, sanitizing your system is a manageable maintenance task, not a messy mystery.
The biggest takeaway is simple: clean the whole system, not only the fresh water tank. When the entire water system, including your lines and fixtures, receives regular care, your water tastes better and your next campsite feels a lot more comfortable.
This post may contain affiliate links. If you make a purchase through these links, I may earn a small commission at no extra cost to you.