A Safer RV Camp Setup Order for Seniors
Arriving at camp tired is when small mistakes show up. For many seniors, the best RV campsite setup is the one that saves steps, cuts strain, and gets the basics working first.
A lot of camping tips focus on speed, but that misses the point. A calm routine is easier on your body, and it makes every stop feel better, whether you transitioned from tent camping, tried van life, explored remote boondocking, or now travel like many full time RVers.
The smartest setup starts before the first cord or hose comes out.
Key Takeaways
- Prioritize a consistent routine: Using a fixed, written setup checklist prevents physical strain, minimizes backtracking, and reduces decision fatigue after long travel days.
- Master the sequence: Always secure your rig with wheel chocks and level the coach before extending slide-outs or connecting utilities to ensure equipment safety and proper function.
- Optimize for your physical comfort: Group tasks to limit bending or climbing, keep essential items accessible near the door, and utilize labor-saving tools like cordless drills for stabilizers.
- Simplify short-term stops: You do not need a full setup for overnight stays; skipping unnecessary connections like the sewer hose saves energy and speeds up your departure.
Why setup order matters more as you get older
Camp arrival asks a lot from you in a short window. You park, check the site, level the rig, connect power, watch for trip hazards, and still try to remember where you put the chocks. If your knees, shoulders, or balance aren’t what they used to be, the order of operations matters significantly.
Following a reliable rv setup checklist is the best way to lower arrival risk, as it helps you avoid the strain of constant backtracking. You do not want to climb in and out of the RV six times because you forgot the water hose was stowed away while you were already placing your leveling blocks. By using a consistent checklist, you can mentally prepare for whether you are backing in to a tight spot or pulling through a pull-through site, which helps you plan your movements around the rig before you even put the vehicle in park.
You also do not want to set up in the dark if you can help it. One practical guide on setting up before sunset makes that point well, and it is easy to see why. Good light helps you spot roots, low branches, muddy ground, and uneven pads before they turn into a problem.
There is also a comfort side to this. When the order is fixed, your mind relaxes. You stop deciding what comes next because the routine already decided for you. That matters on long travel days, in bad weather, and at crowded campgrounds where noise and movement can break your focus.
Most of all, a repeatable setup protects your energy for the part you came for, camping itself.
The safest RV camp setup order at the campsite
The best arrival routine isn’t the fastest. It is the one you can repeat consistently, even when you are feeling tired.
A calm setup beats a rushed one every time, especially after a long drive.
This order works well for most rigs. Still, your owner’s manual comes first, especially for slide-outs and leveling steps.
- Park and pause. Put the rig where you want it, then stop for a minute. Whether you are navigating a tight back-in site or pulling into a spacious pull-through site, take a moment to look at the pad, hookups, tree limbs, picnic table, and door swing. If you travel with a partner, decide who does what before anyone starts moving gear.
- Secure the rig right away. Set the parking brake. Then, place wheel chocks before you wander off or start unhitching. If you tow, do not disconnect your weight distribution hitch or operate the tongue jack until the trailer is fully secure.
- Check level before you commit. Use your built-in system or a simple bubble level to determine if your RV is sitting flat. If you need leveling blocks, place them now. It is much easier to fix the position before cords, hoses, or stabilizers lock you into place.
- Level first, then stabilize. This is where many people waste energy. Leveling changes the position of the rig, so save your stabilizer jacks until the RV is exactly where it needs to be. Stabilizer jacks are designed to reduce bounce, not to level the coach.
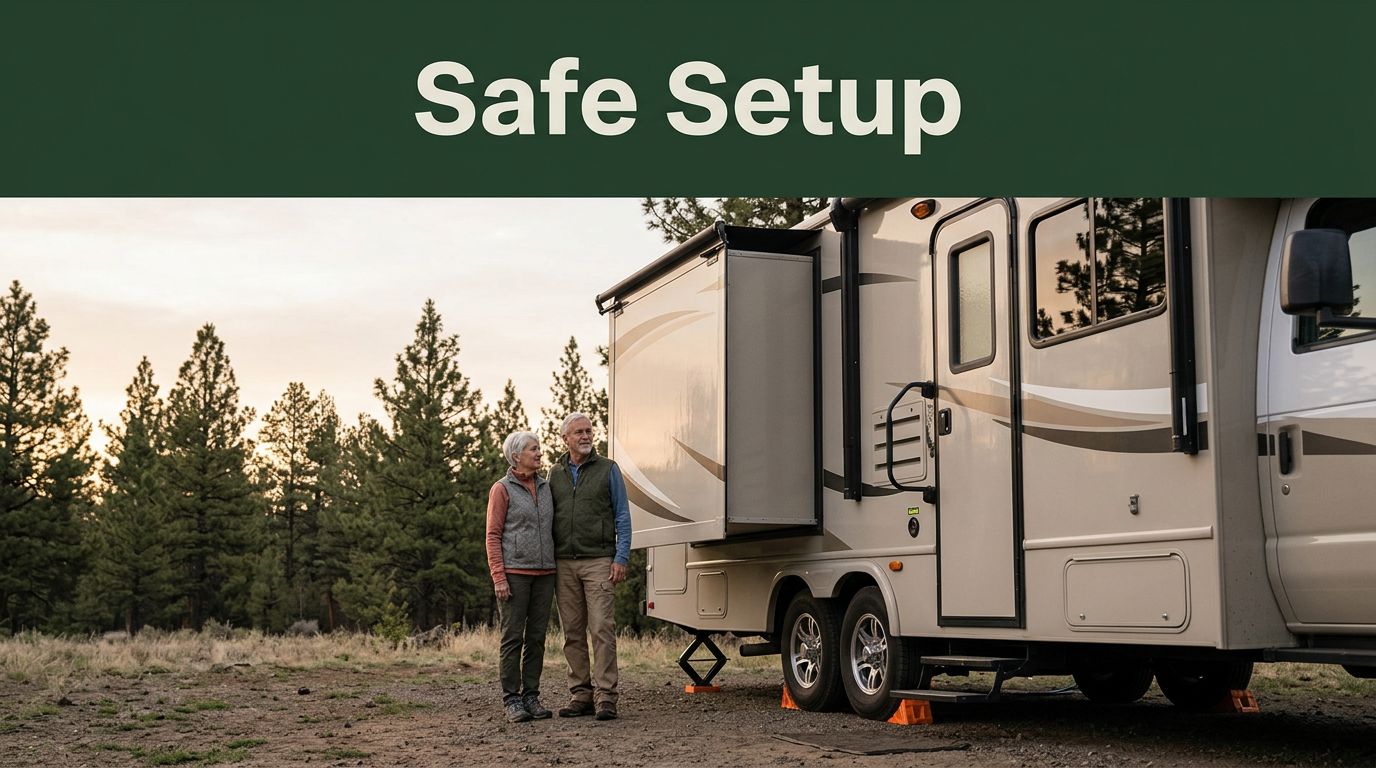
- Open slide-outs only after you confirm clearance. Walk both sides of your RV and look up. Check power posts, trees, and picnic tables. Then follow your specific rig sequence for the slide-outs. Some units require full leveling first, while others have different operational steps.
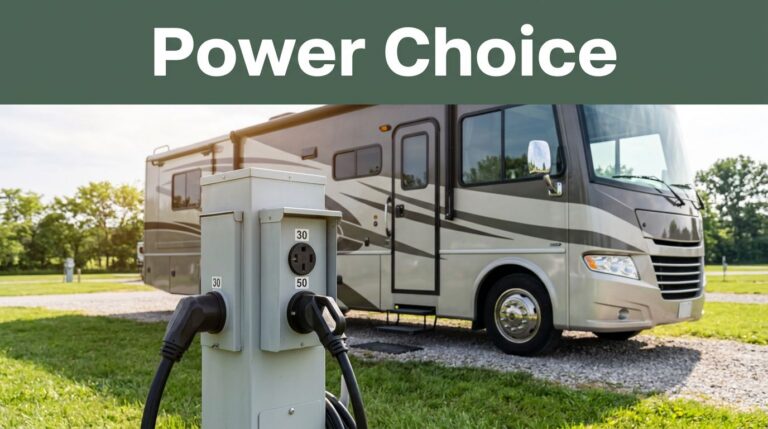
- Connect the electrical hookup next. Turn the electrical pedestal breaker off before plugging in, if your campground allows that standard process. Then connect your surge protector and power cord to establish a safe shore power connection. Having power early is essential because it gives you lights, climate control, and access to medical devices or battery charging.
- Hook up water after power is on. Connect your water pressure regulator, fresh water filter, and potable water hose. Take your time here. A twisted hose or a poorly seated washer can turn into a wet mess very quickly. Affiliate spot: insert your recommended water pressure regulator with gauge here.
- Set the sewer hose last, or wait until you need it. If you are staying overnight or for a short stop, you may not need a full sewer hose connection right away. Many experienced campers wait because one less connection means one less thing underfoot.
- Finish the comfort items near the door. Put out the step rug, handrail, shoes, and entry light. Those small touches matter because they prevent slips during the next few hours, when you are still moving in and out of the rig.
- Do one final lap. Walk the site one last time. Check chocks, cords, hoses, slide-out clearance, storage doors, and the electrical pedestal. This last look catches the mistakes that often happen when you are hungry or distracted.
That order feels slower at first. Then it starts to save time because you are no longer redoing steps or troubleshooting avoidable issues.
Creating your personal setup workflow
Many full time RVers still use a dedicated RV setup checklist, and that is not because they have forgotten how to camp. It is because a consistent routine beats relying on memory. A written flow keeps the same steps in the same order, even when rain starts, neighbors chat, or you are arriving at the site late in the day.

Photo by Kampus Production
Start with a physical card or a digital note on your phone. Keep the print large. Put it near the driver’s seat, inside a cabinet door, or on the fridge. This advice on using a setup and breakdown checklist is simple, and it works because it removes guesswork. When it comes time to leave, rely on a similar teardown checklist to ensure you do not miss a step before hitting the road.
A personal workflow should also match your physical needs. As you organize your outdoor living space, keep items accessible to ensure the area remains safe and easy to navigate. If bending is difficult, group low-level tasks together so you only have to crouch once. If using stairs is a challenge, gather door-side items before you step out of the vehicle. If you camp solo, pause after each major step and look back at the rig before moving on.
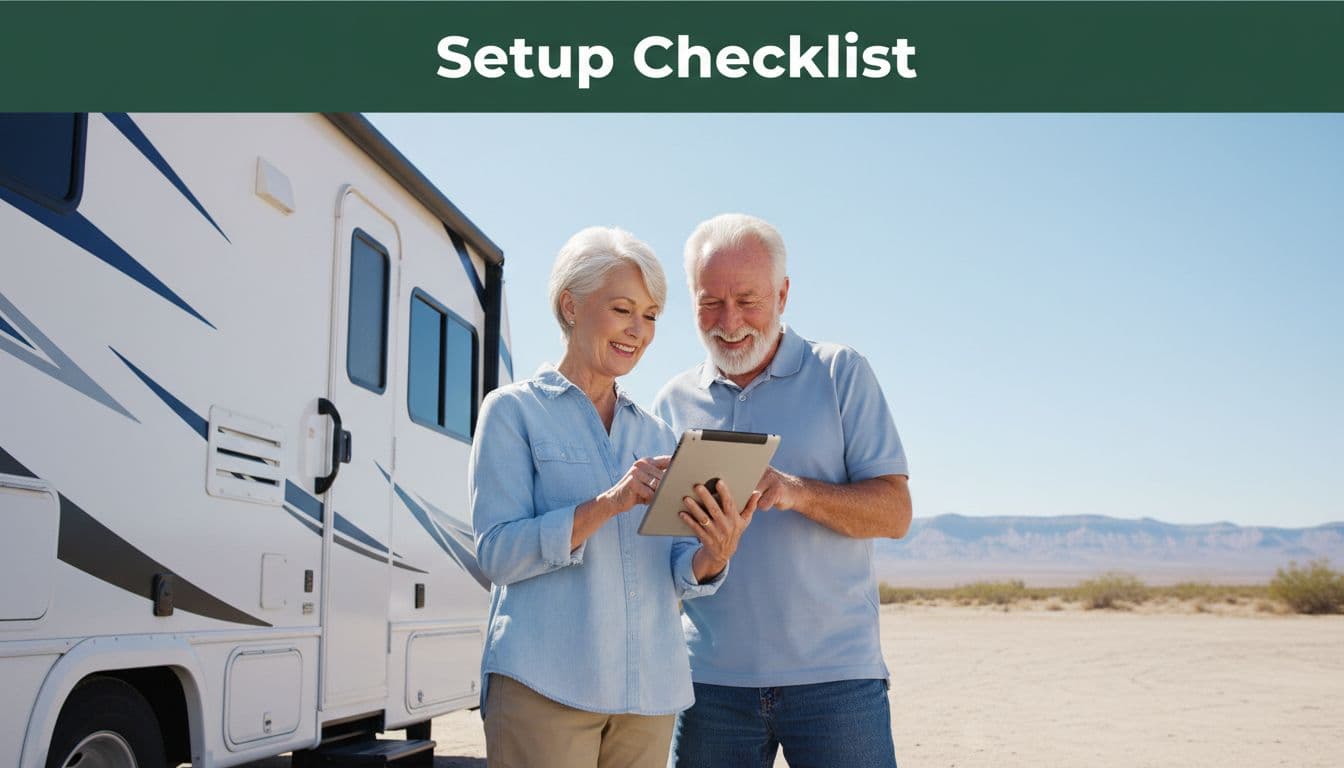
One more tip helps on every trip. Write the campground name, site number, and office phone where you can easily see them. These RV camping tips for seniors mention keeping that information handy, and it is smart advice. After a long drive, even familiar details can blur together, and having a reliable system helps you stay calm and organized from arrival until departure.
Small changes that make setup easier on your body
You do not need a fancy rig to make arrival easier. A few well-chosen tools can save your back, knees, and patience.
- Keep a light pair of wheel chocks near the door, rather than buried in a deep storage compartment. Affiliate spot: insert your preferred lightweight wheel chocks here.
- Use a non-slip campsite mat and install a solid grab handle at the entry. These two items provide necessary stability every time you step in or out. Affiliate spot: insert your entry mat or add-on grab handle here.
- If your stabilizer jacks allow it, a cordless drill with the correct socket can save your arms from significant strain. Affiliate spot: insert your cordless drill and stabilizer socket kit here.
- Store power and water gear in separate, easy-lift bins. This prevents you from dragging one heavy tote all over the site.
- Set out your comfortable camping chairs early in the process. Having a place to rest immediately after finishing your setup helps you stay energized.
- If you arrive late, extend your RV awning and turn on your patio lights before finishing your tasks. These additions improve visibility and create a much safer environment around your site.
These are the kind of camping tips that age well because they work at every campground, not only at perfect pull-through sites. They also help if your partner handles fewer physical tasks now than before.
If you like route ideas, planning tools, and more practical RV advice, View Our Website and View All Our Newsletters are useful places to keep on hand before your next trip.
Setup mistakes that cause extra fatigue
The most common mistake is doing things out of order. Open the slides too soon, and you may need to move the rig. Drop the stabilizers too early, and you may find yourself doing the leveling work twice. Before connecting every hose at once, ensure your propane supply is checked and secure, as neglecting this can lead to frustration once the site becomes cluttered.
Another problem is splitting your attention. Talking with neighbors while hooking up power is not rude, but it is risky. Friendly campgrounds are one of the best parts of RV travel, but some tasks require your full focus to avoid injury or equipment damage.
Finally, do not treat every stop like a full setup. If you are only staying one night, keep it light to save your energy. Many campers make short stays harder than they need to be because they unpack as if they are staying for a week. You can simplify your routine by skipping the sewer hose entirely during quick stops; instead, plan to manage your black water tank and gray water tank at a dump station on your way out the next morning. Your body will thank you for the extra rest.
A smart RV camp setup keeps the essentials first and leaves the extras for later.
Frequently Asked Questions
Why should I wait to extend my slide-outs until after the RV is leveled?
Extending slide-outs before leveling can cause the mechanism to bind or put undue stress on the frame if the coach is tilted. Leveling first ensures the RV is structurally square, allowing the slides to operate smoothly without mechanical strain.
Is it necessary to connect my sewer hose as soon as I arrive?
Not at all. For short stays or overnight stops, it is often better to keep the sewer hose stowed and use the RV’s internal tank capacity. This reduces clutter around your site and minimizes the number of physically demanding tasks you have to perform upon arrival.
What is the most important step for safety during a campsite arrival?
Setting the parking brake and immediately placing wheel chocks is the most critical safety step. This prevents the rig from rolling while you are walking around the exterior, disconnecting your tow vehicle, or adjusting leveling blocks.
How can I make setup easier if I have limited mobility?
Focus on grouping tasks to reduce movement; for example, gather all items needed for the exterior connections into one bin to avoid multiple trips. Additionally, using a cordless drill for your stabilizer jacks and keeping a dedicated, light pair of wheel chocks near the door can significantly reduce physical exertion.
A calm arrival gives you a better trip
The best RV campsite setup order for seniors is simple: secure the rig, level it, power it, add water, and then finish the comfort items. That sequence cuts down on repeat work and keeps the site safer while you are still getting settled. Once the slide-outs are extended and the RV awning is out, the hard work is officially finished and your time for relaxation can begin.
You do not need to move fast. You need a routine you can trust when you are tired, sore, or arriving in fading light. Once your setup workflow becomes a reliable habit, camping feels much easier before the chairs even come out.
This post may contain affiliate links. If you make a purchase through these links, I may earn a small commission at no extra cost to you.